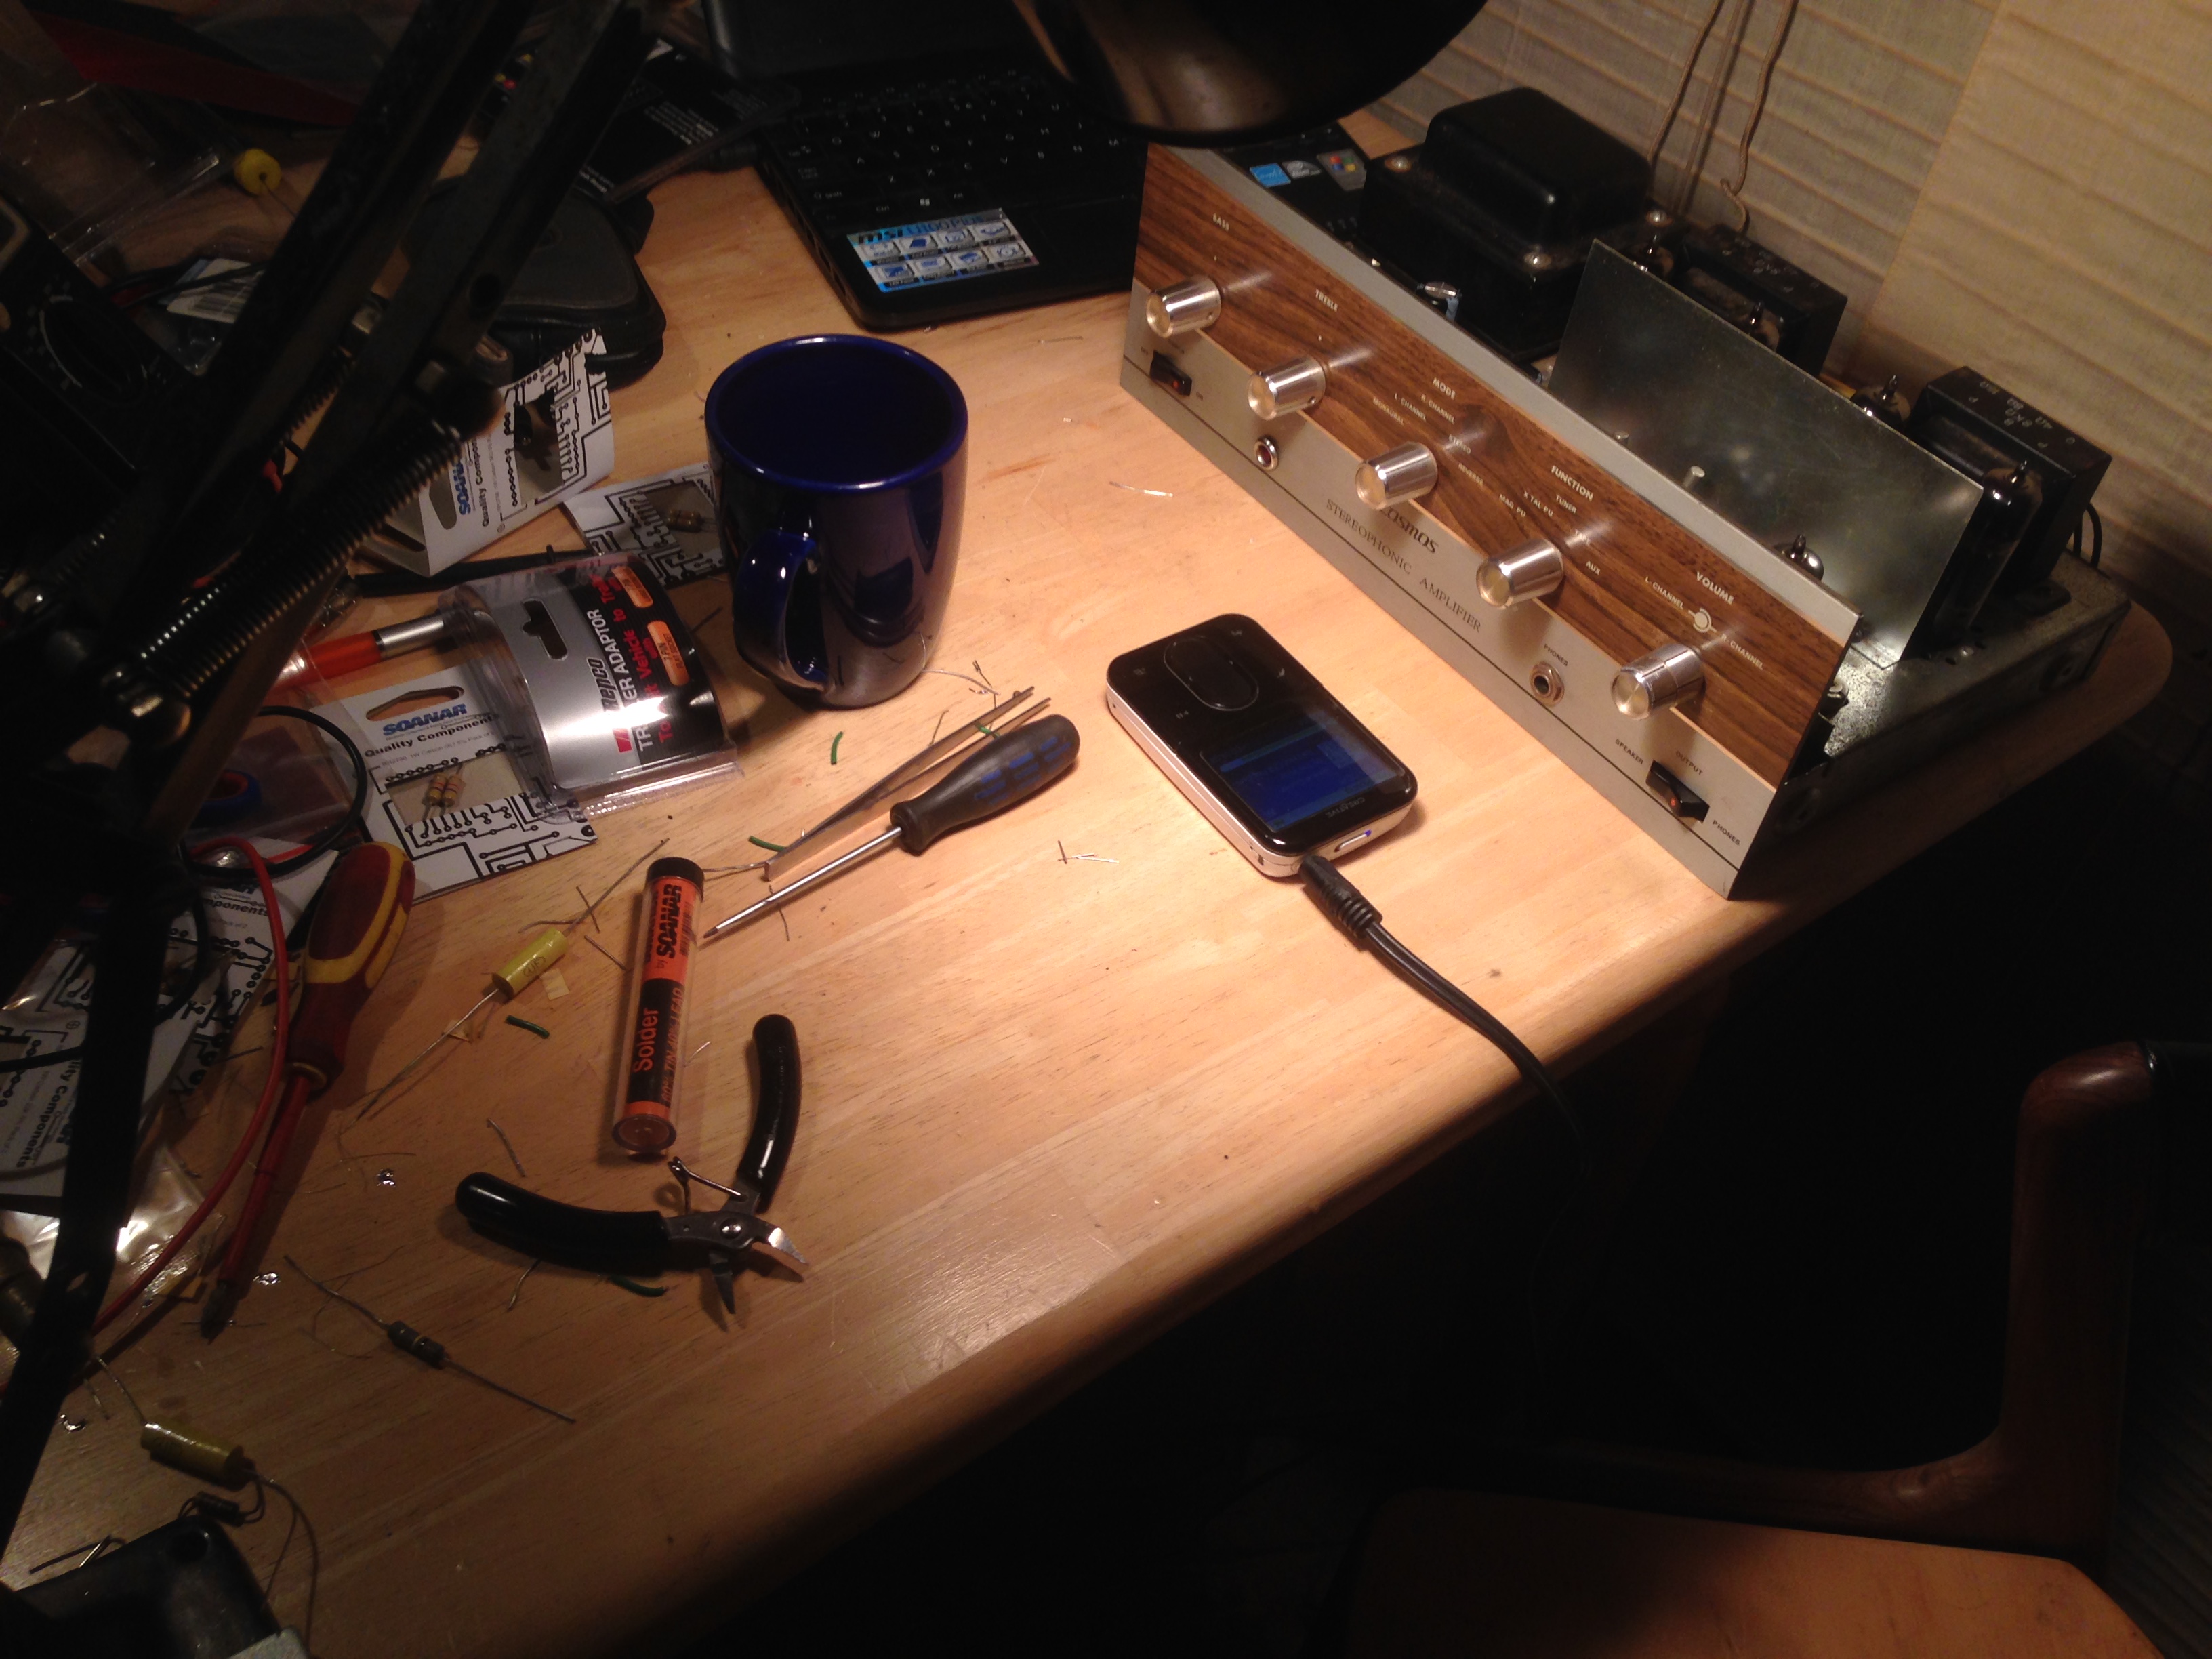
A few months ago I spotted a very interesting and attractive looking valve amplifier on gumtree that I couldn’t resist. The amplifier was being sold for repair or parts as one of the valves was red-plating leaving one channel dead. This really didn’t phase me as troubleshooting valve gear is pretty straight forward, and red plating is more often than not a sign of a faulty screen grid resistor or decoupling capacitor than an output transformer, so I felt it was worth the gamble. The guy selling the amp was insanely nice and also an enthusiast, so he threw in a lovely direct drive servo controlled turntable with the deal.
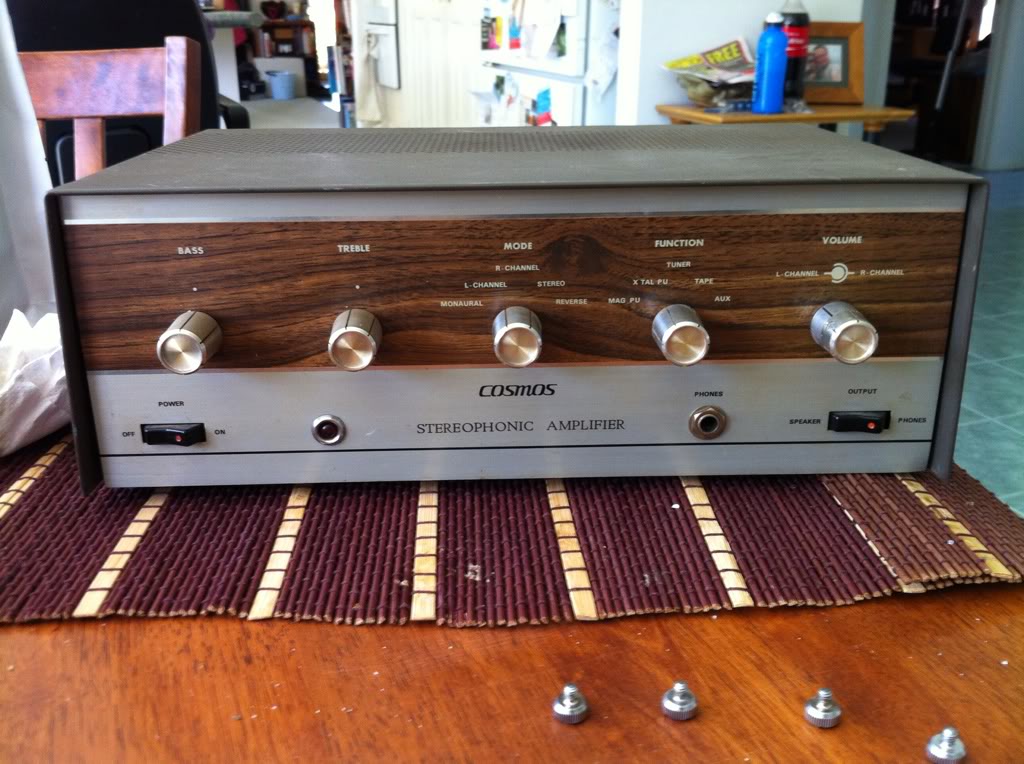
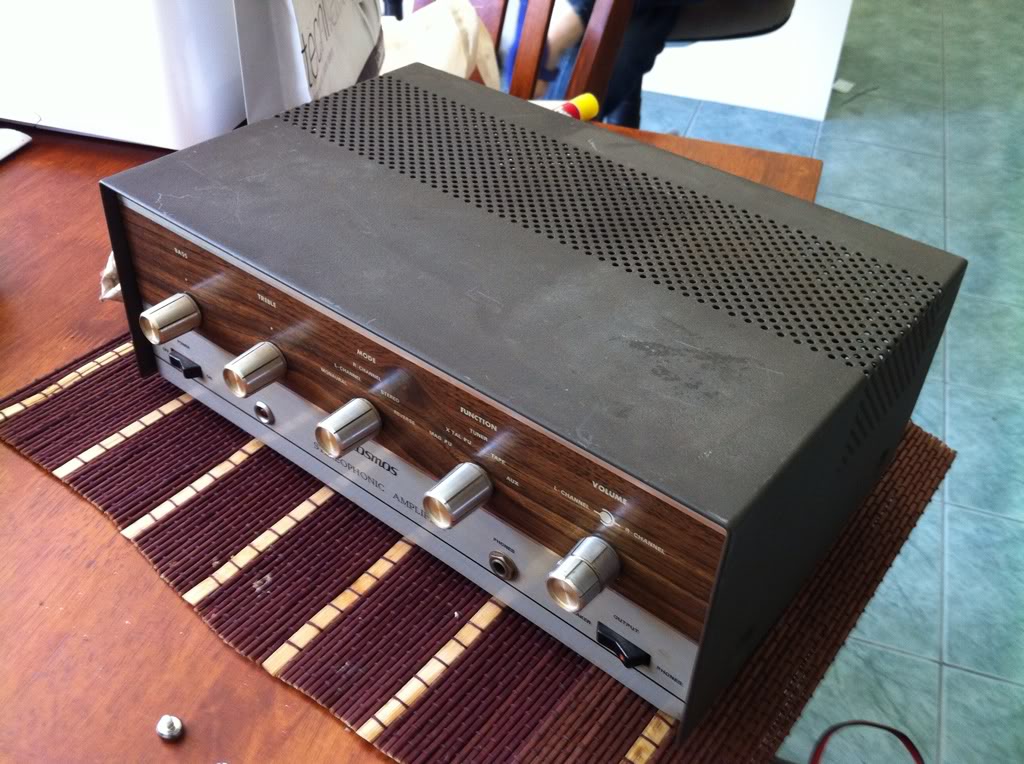
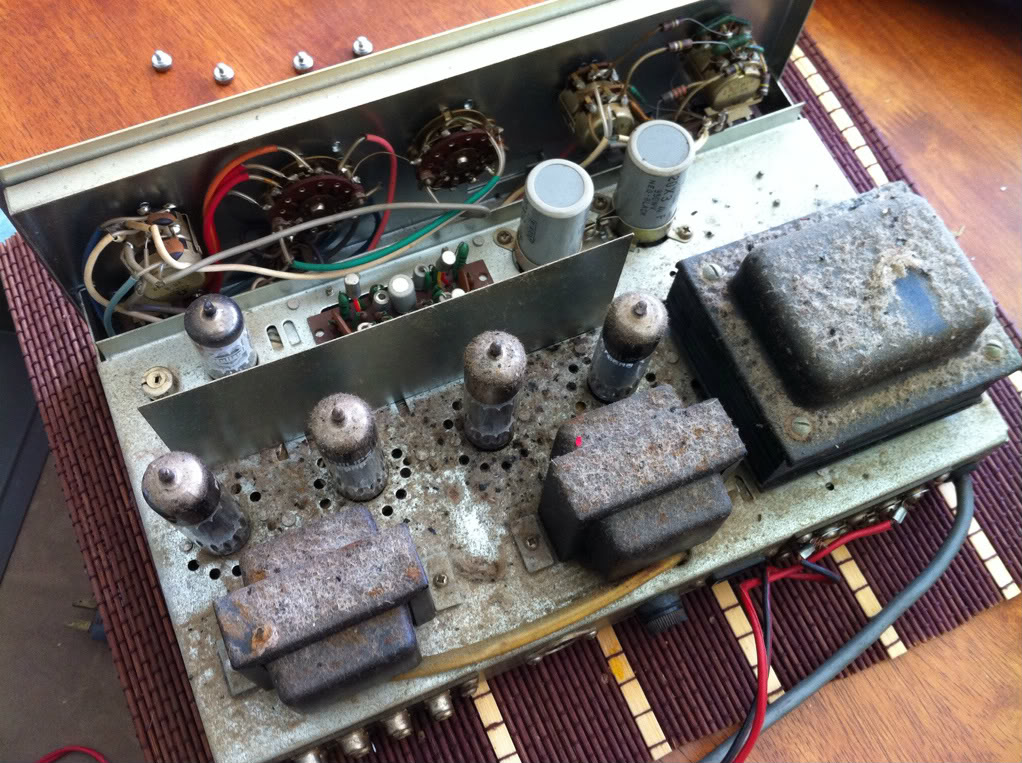
As you can see it was in OK shape, there was a little bit of corrosion on the chassis from what I can imagine were years of sitting in storage but cosmetically it looked great. Unfortunately my SD card corrupted as I was transferring the pictures of the restoration, so all I have are sketchy reference photos from my phone. Luckily the previous owner had taken these pictures for the advertisement.
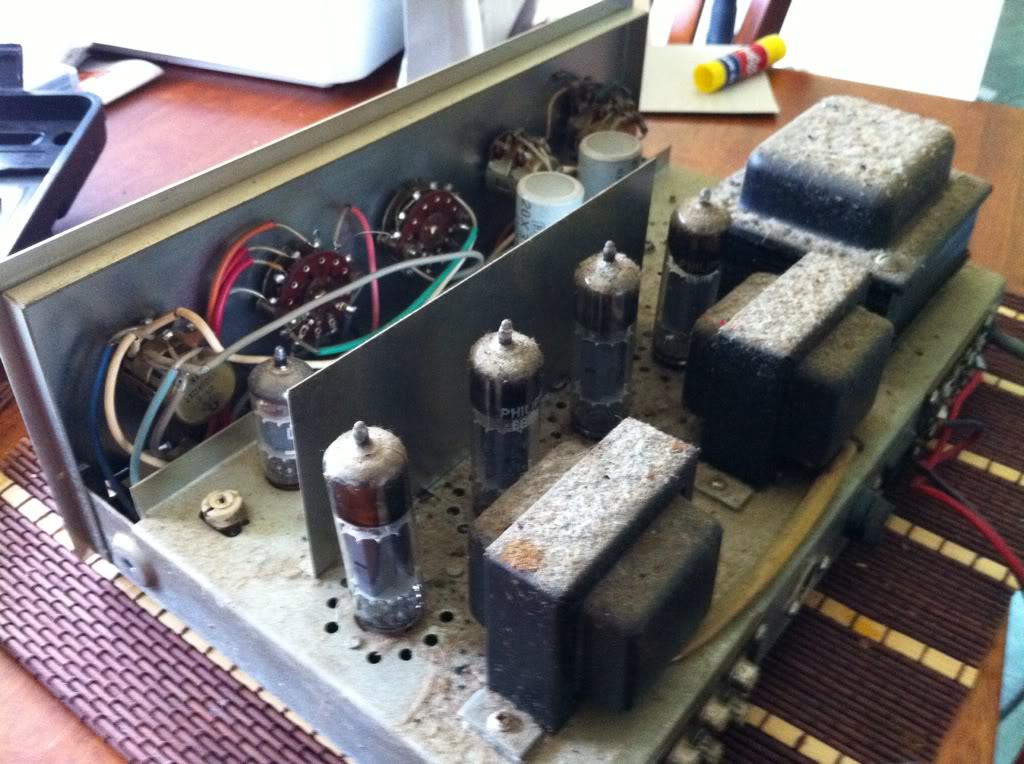
The amp is running a 12AX7 as a preamp, into a pair of 6BM8/ECL82/6F3P in push pull for each channel. The output transformers are surprisingly small for an amp claiming to deliver 10 watts per channel, but somehow it really packs a punch.
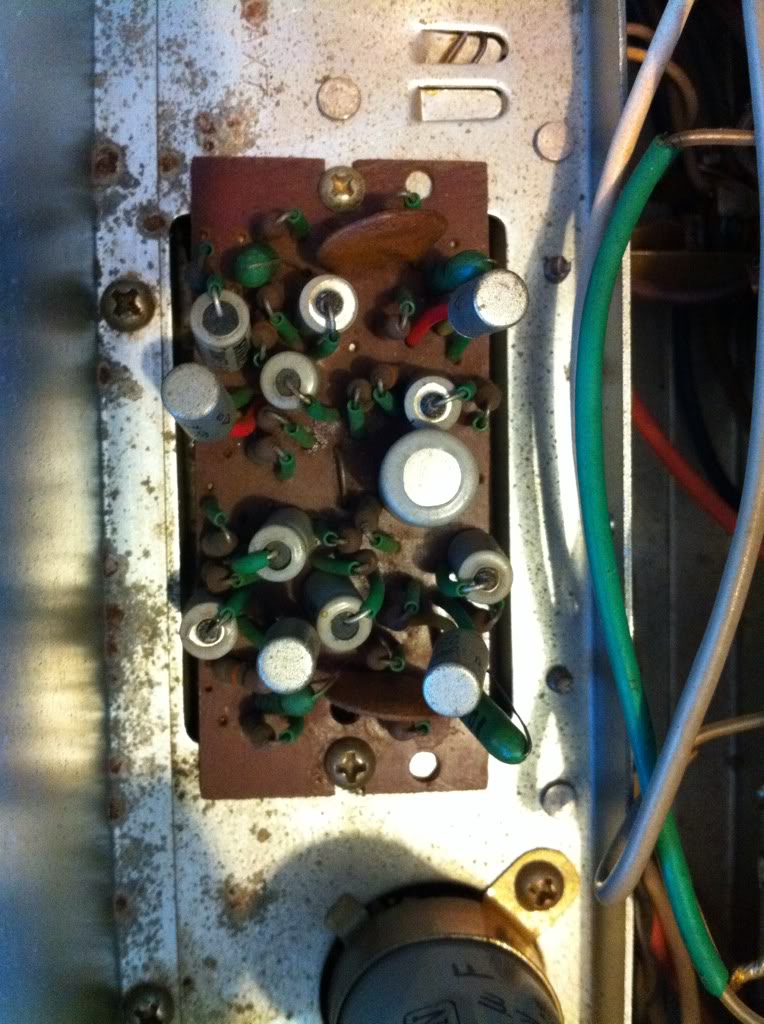
There is a little circuit board at the front of the amp with 4 transistors, this makes up the phono preamp for the turntable input. This amp gives you the option of selecting either magnetic or x-tal cartridges, where x-tal seems to have been a forerunner to ceramic cartridges. It seems that magnetic cartridges are velocity responding devices, while ceramic cartridges are amplitude responding devices, so it makes sense that there would be different gain and equalization requirements for both.
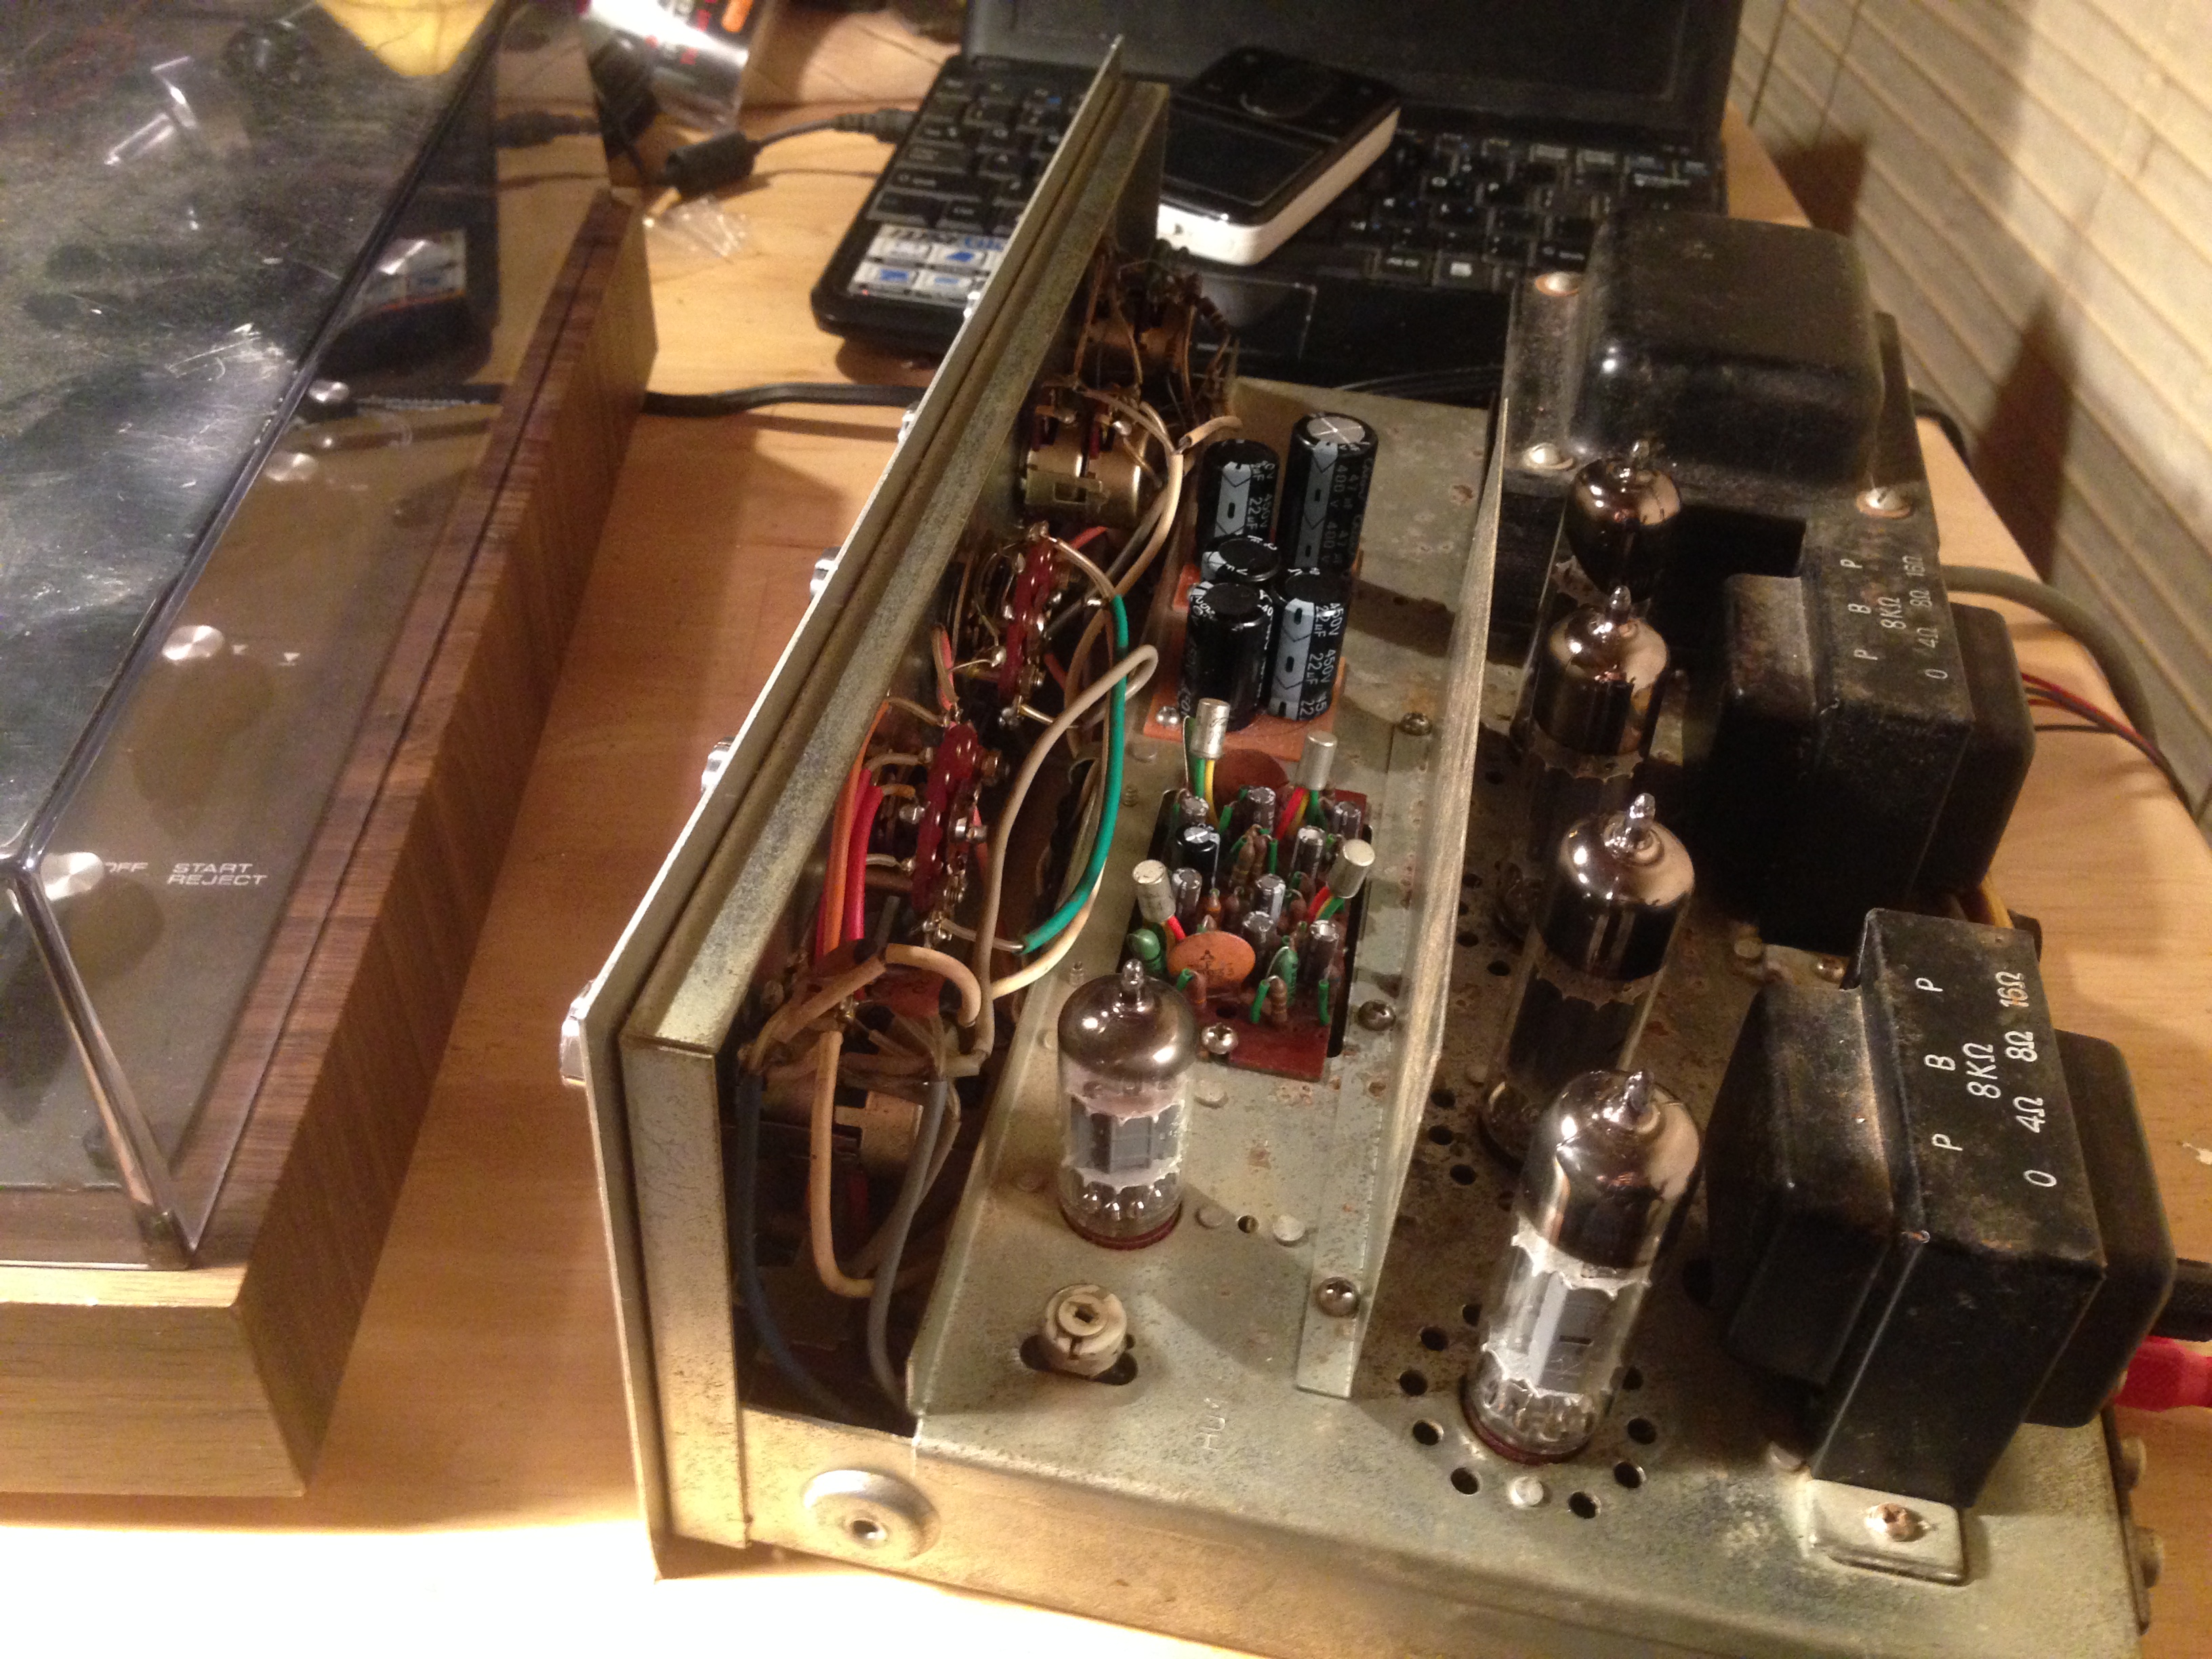
The first thing I did when I got the amp home was take the back off and look for parts that were charred or physically damaged, and it didn’t take me long to find a whole heap of them. One of the main capacitors had been leaking electrolyte from around it’s legs which had caused shorting and some nasty melting.
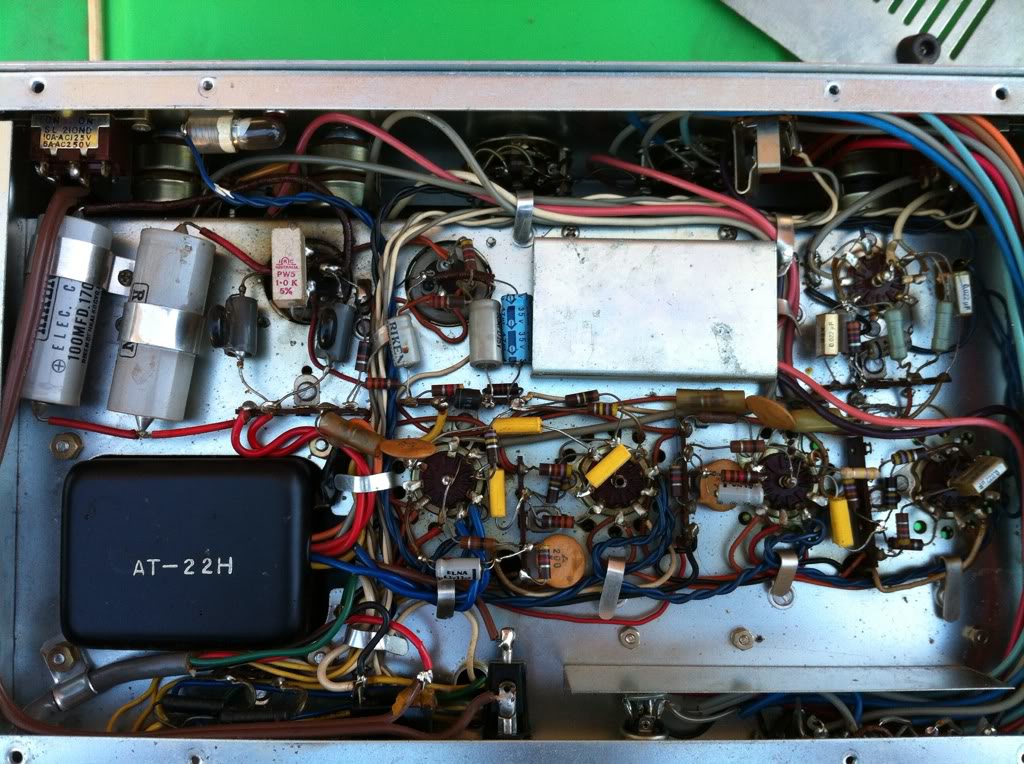
It looked like someone had previously replaced a few of the decoupling capacitors with modern foil types, but for some reason they had stopped two short of replacing them all, as luck would have it the remaining two had failed, splitting wide open.
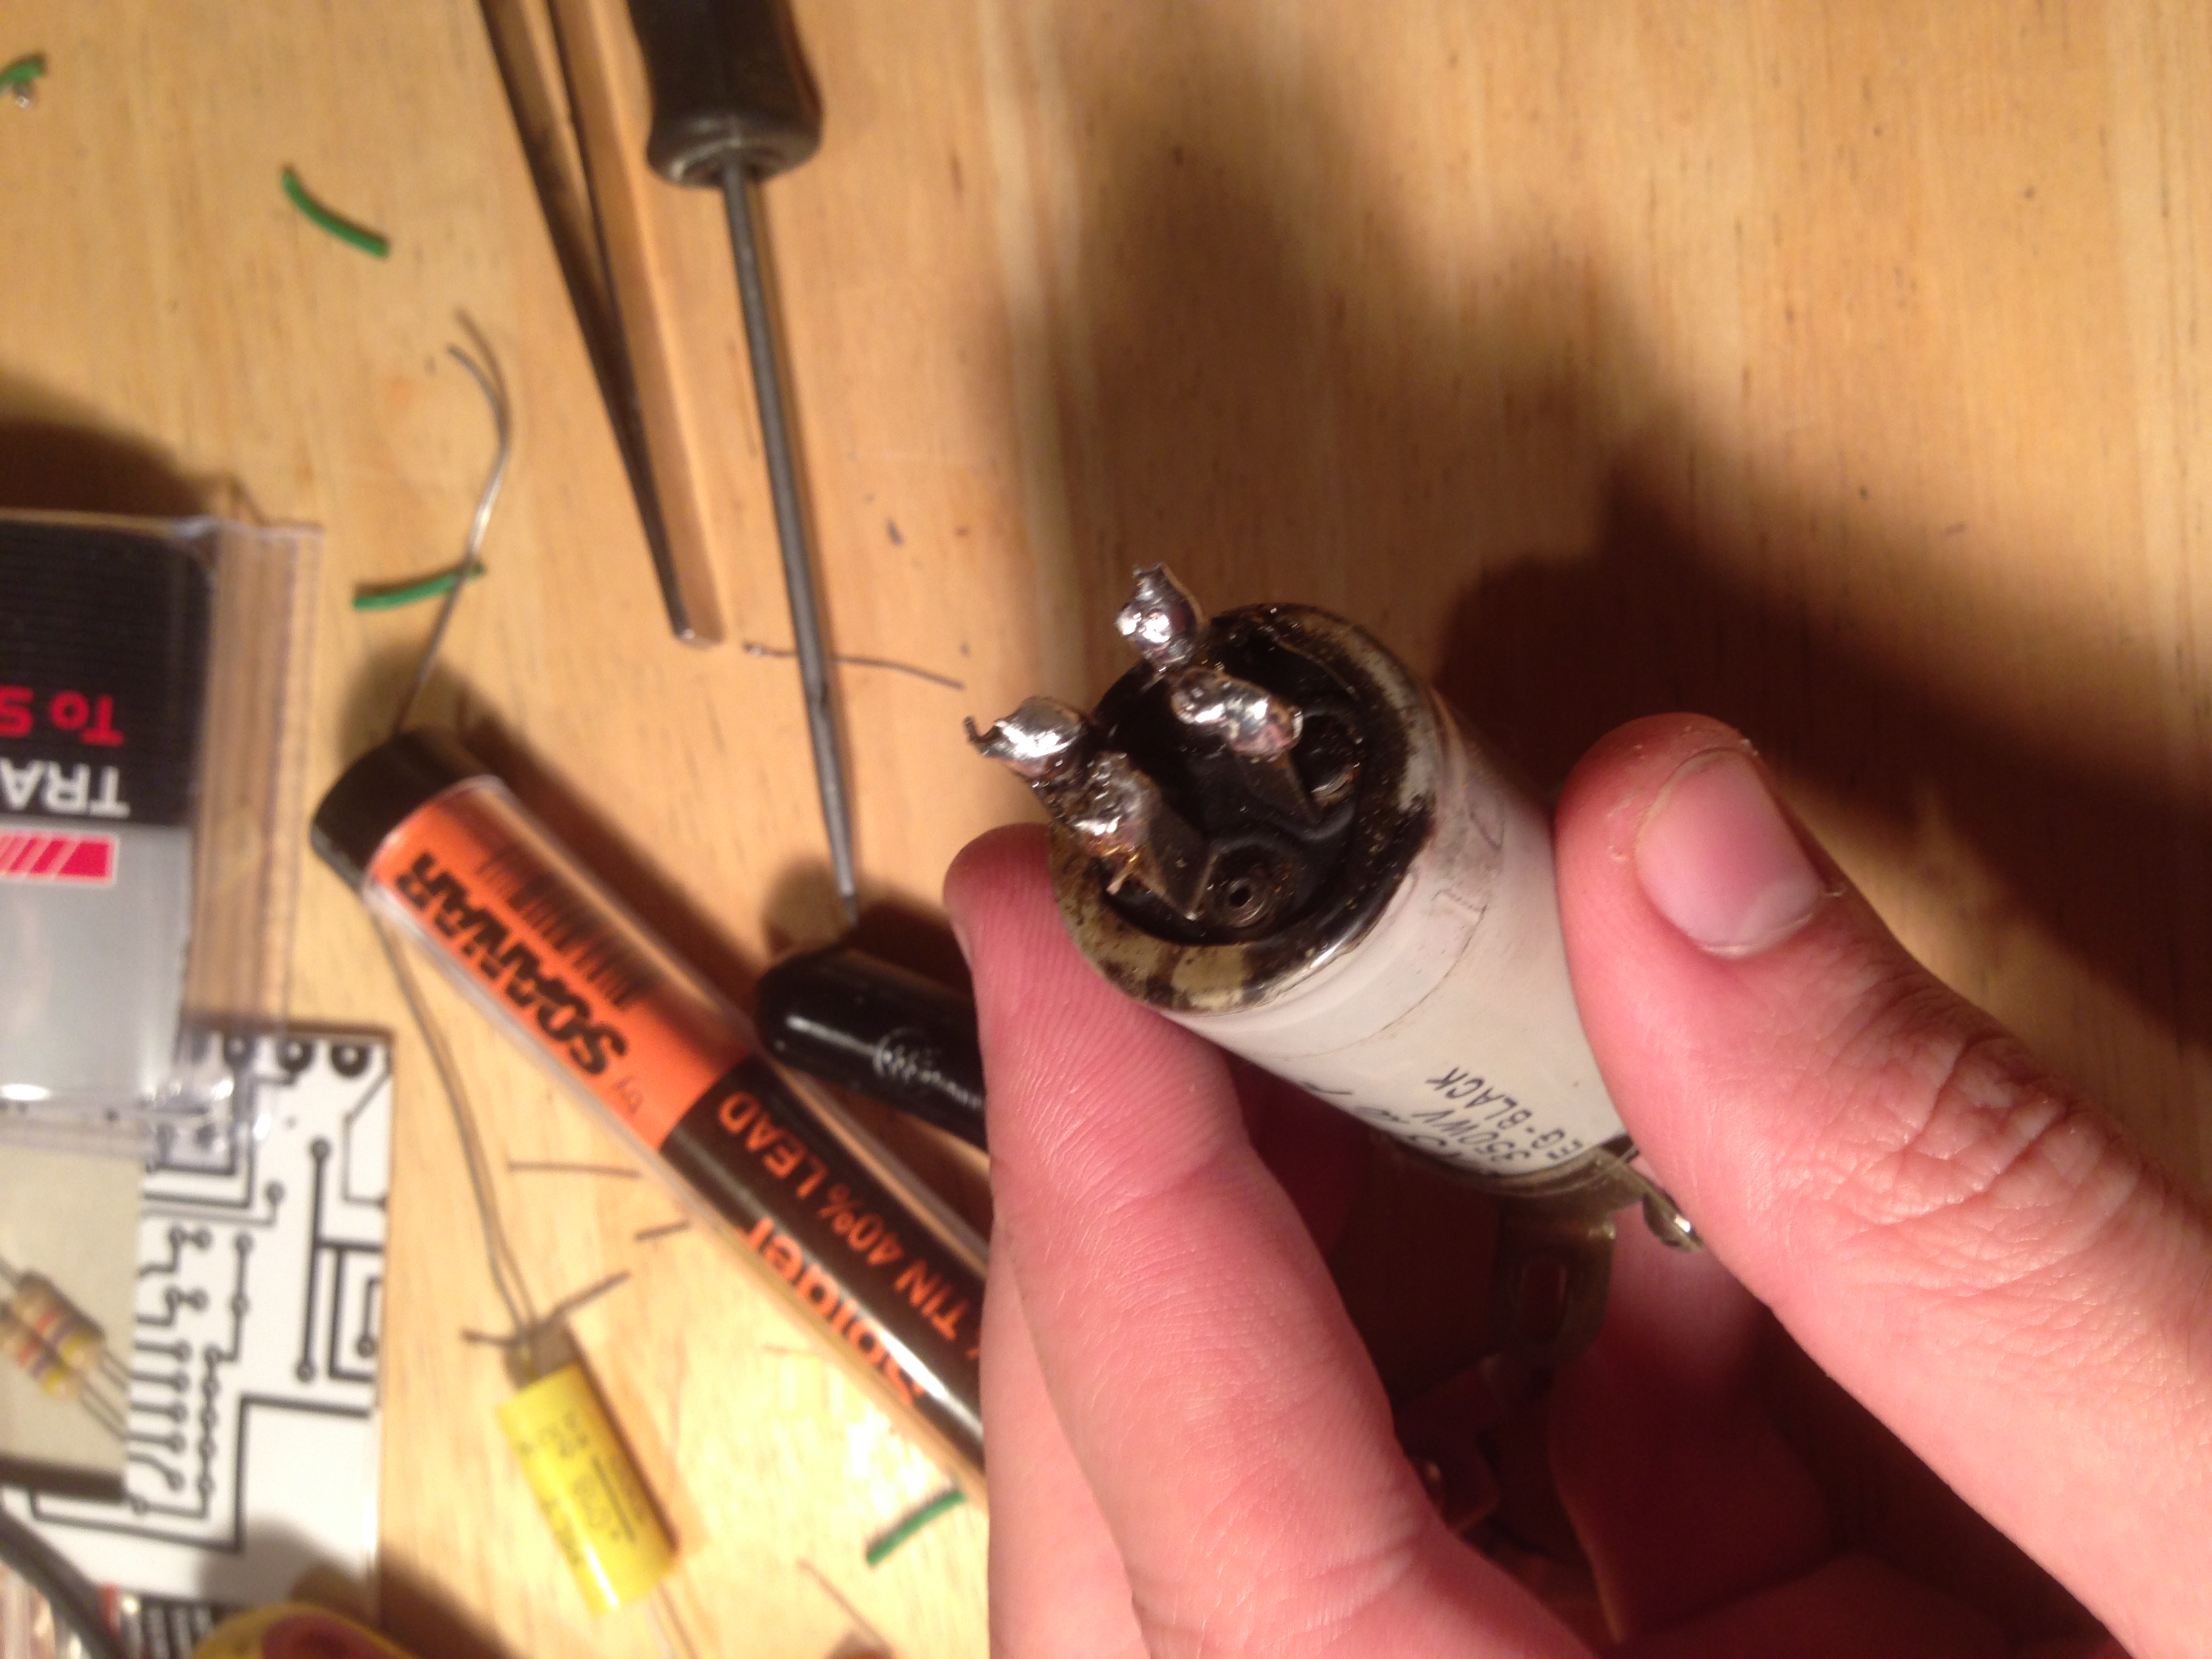
Finding replacements for the can type electrolytic capacitors was troublesome as each can contained 3 separate 20uf capacitors. So I decided to go ghetto and breadboard it up…
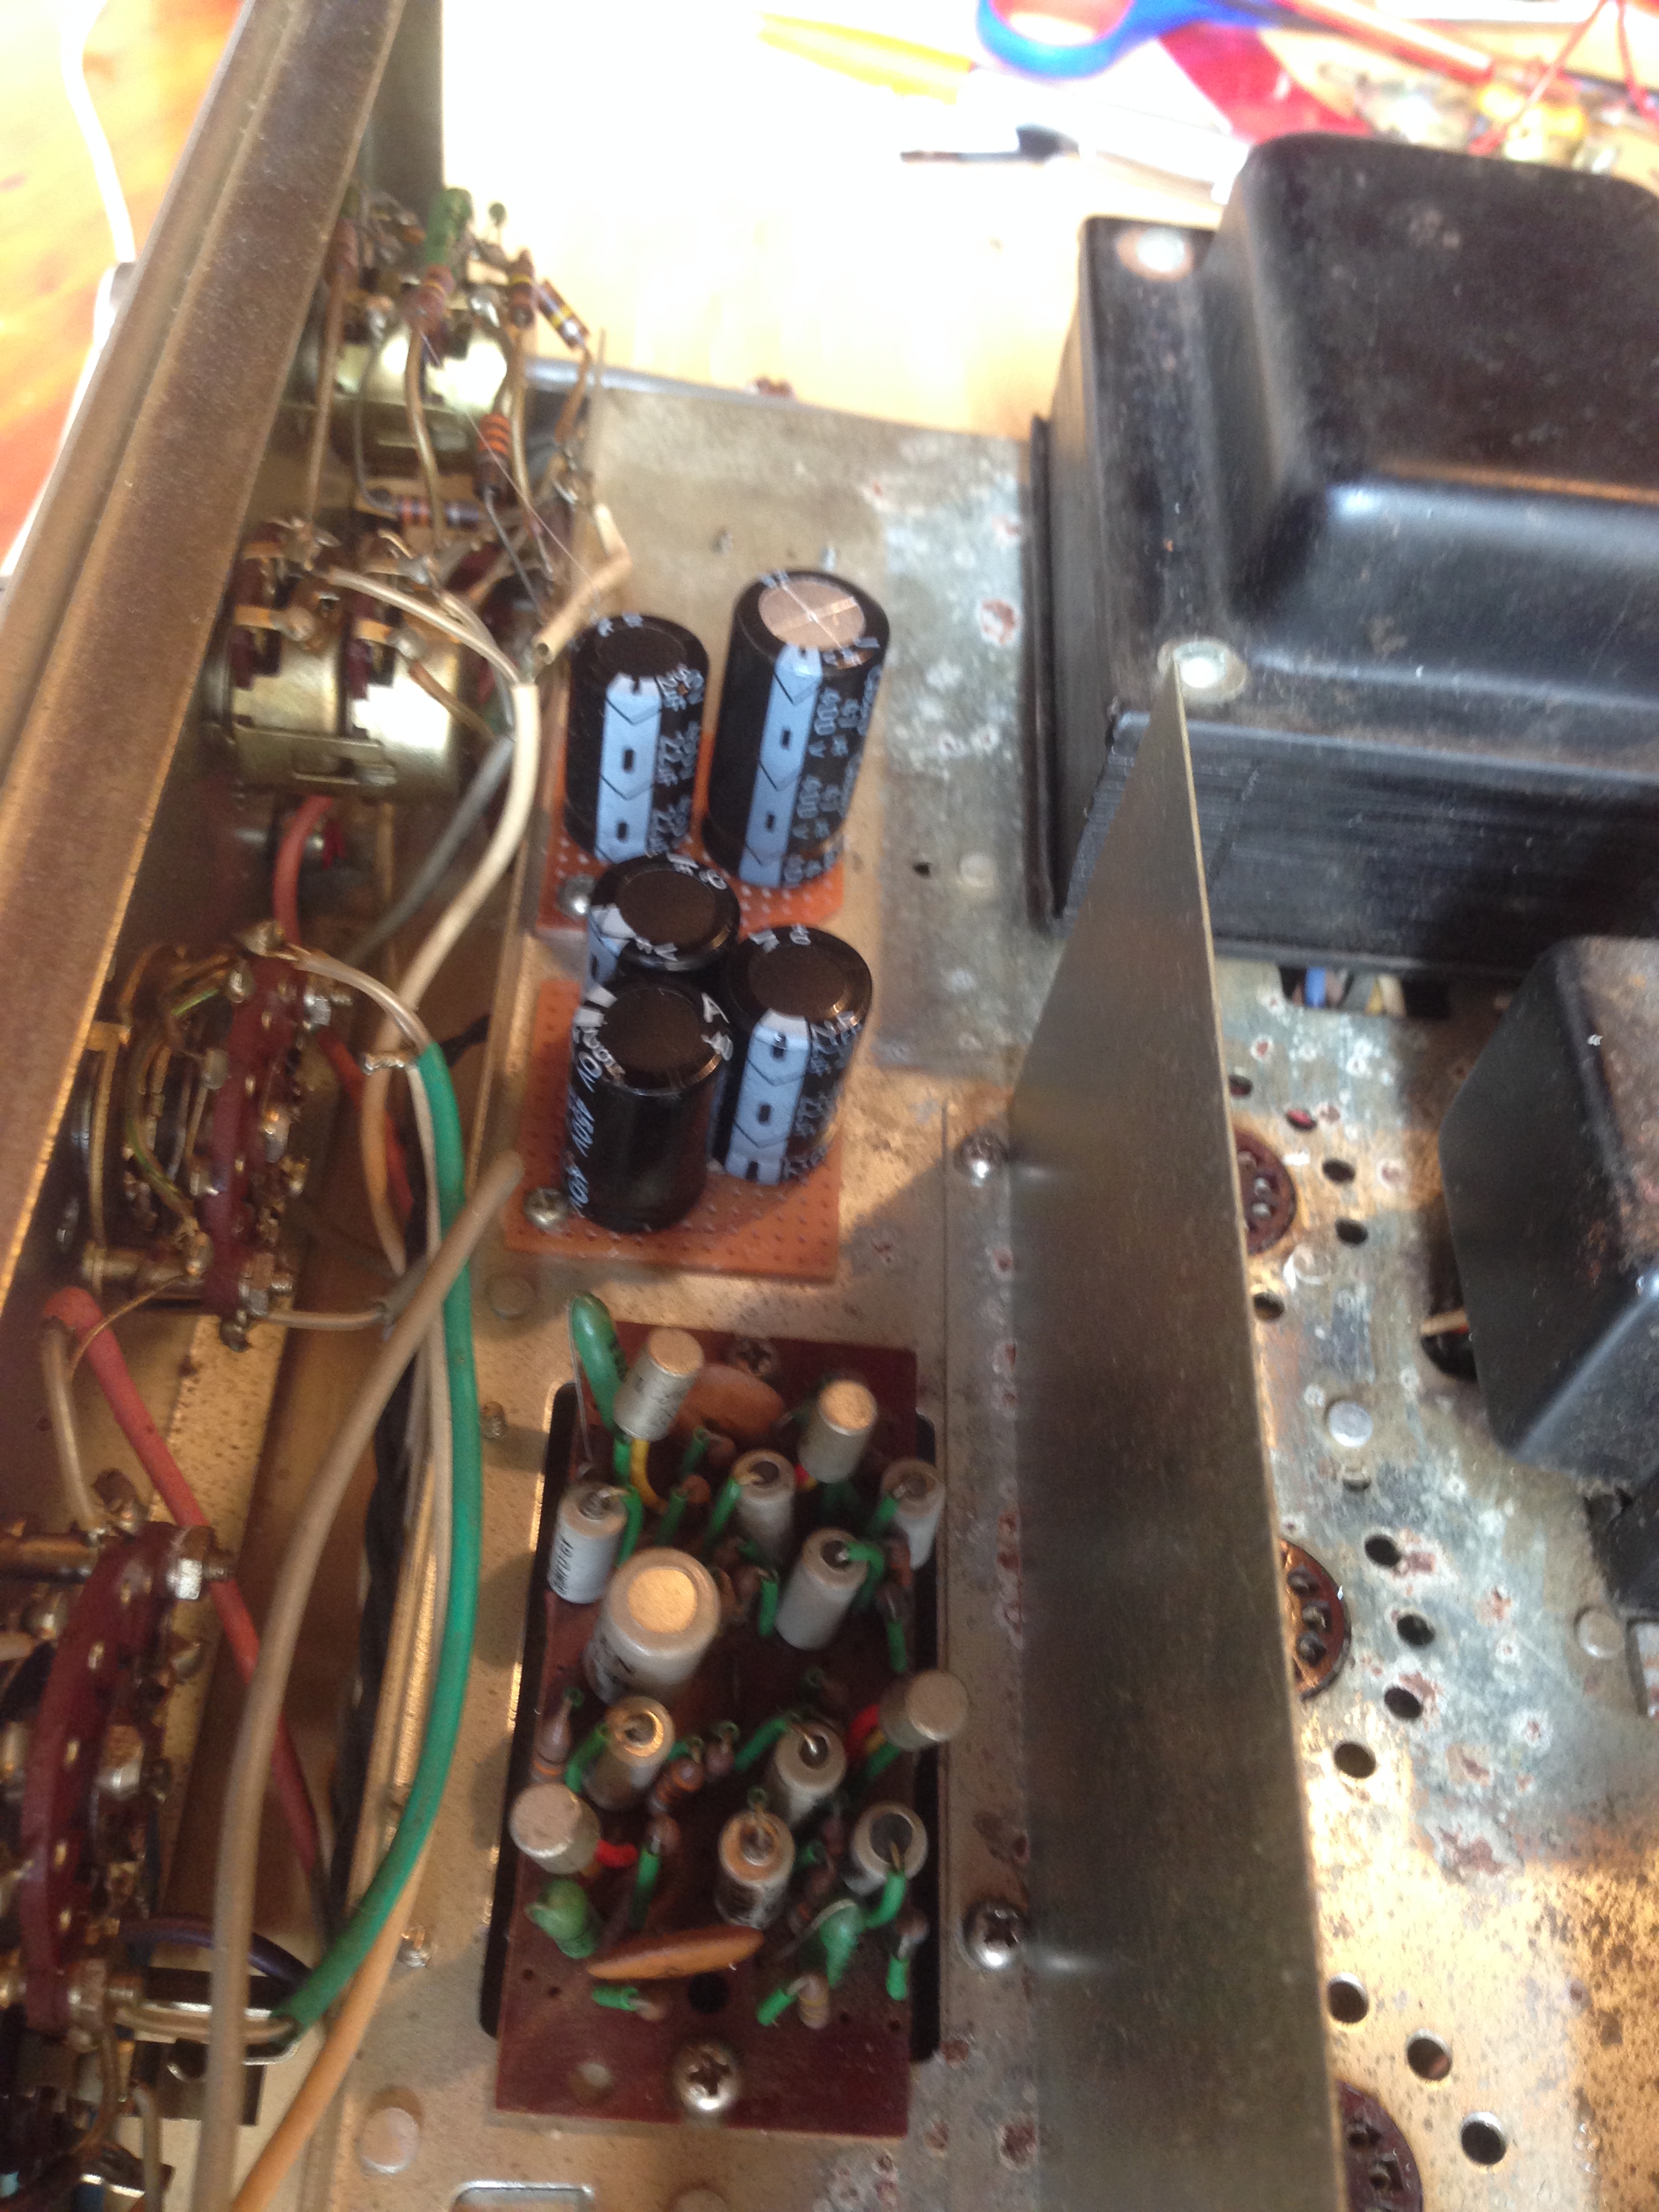
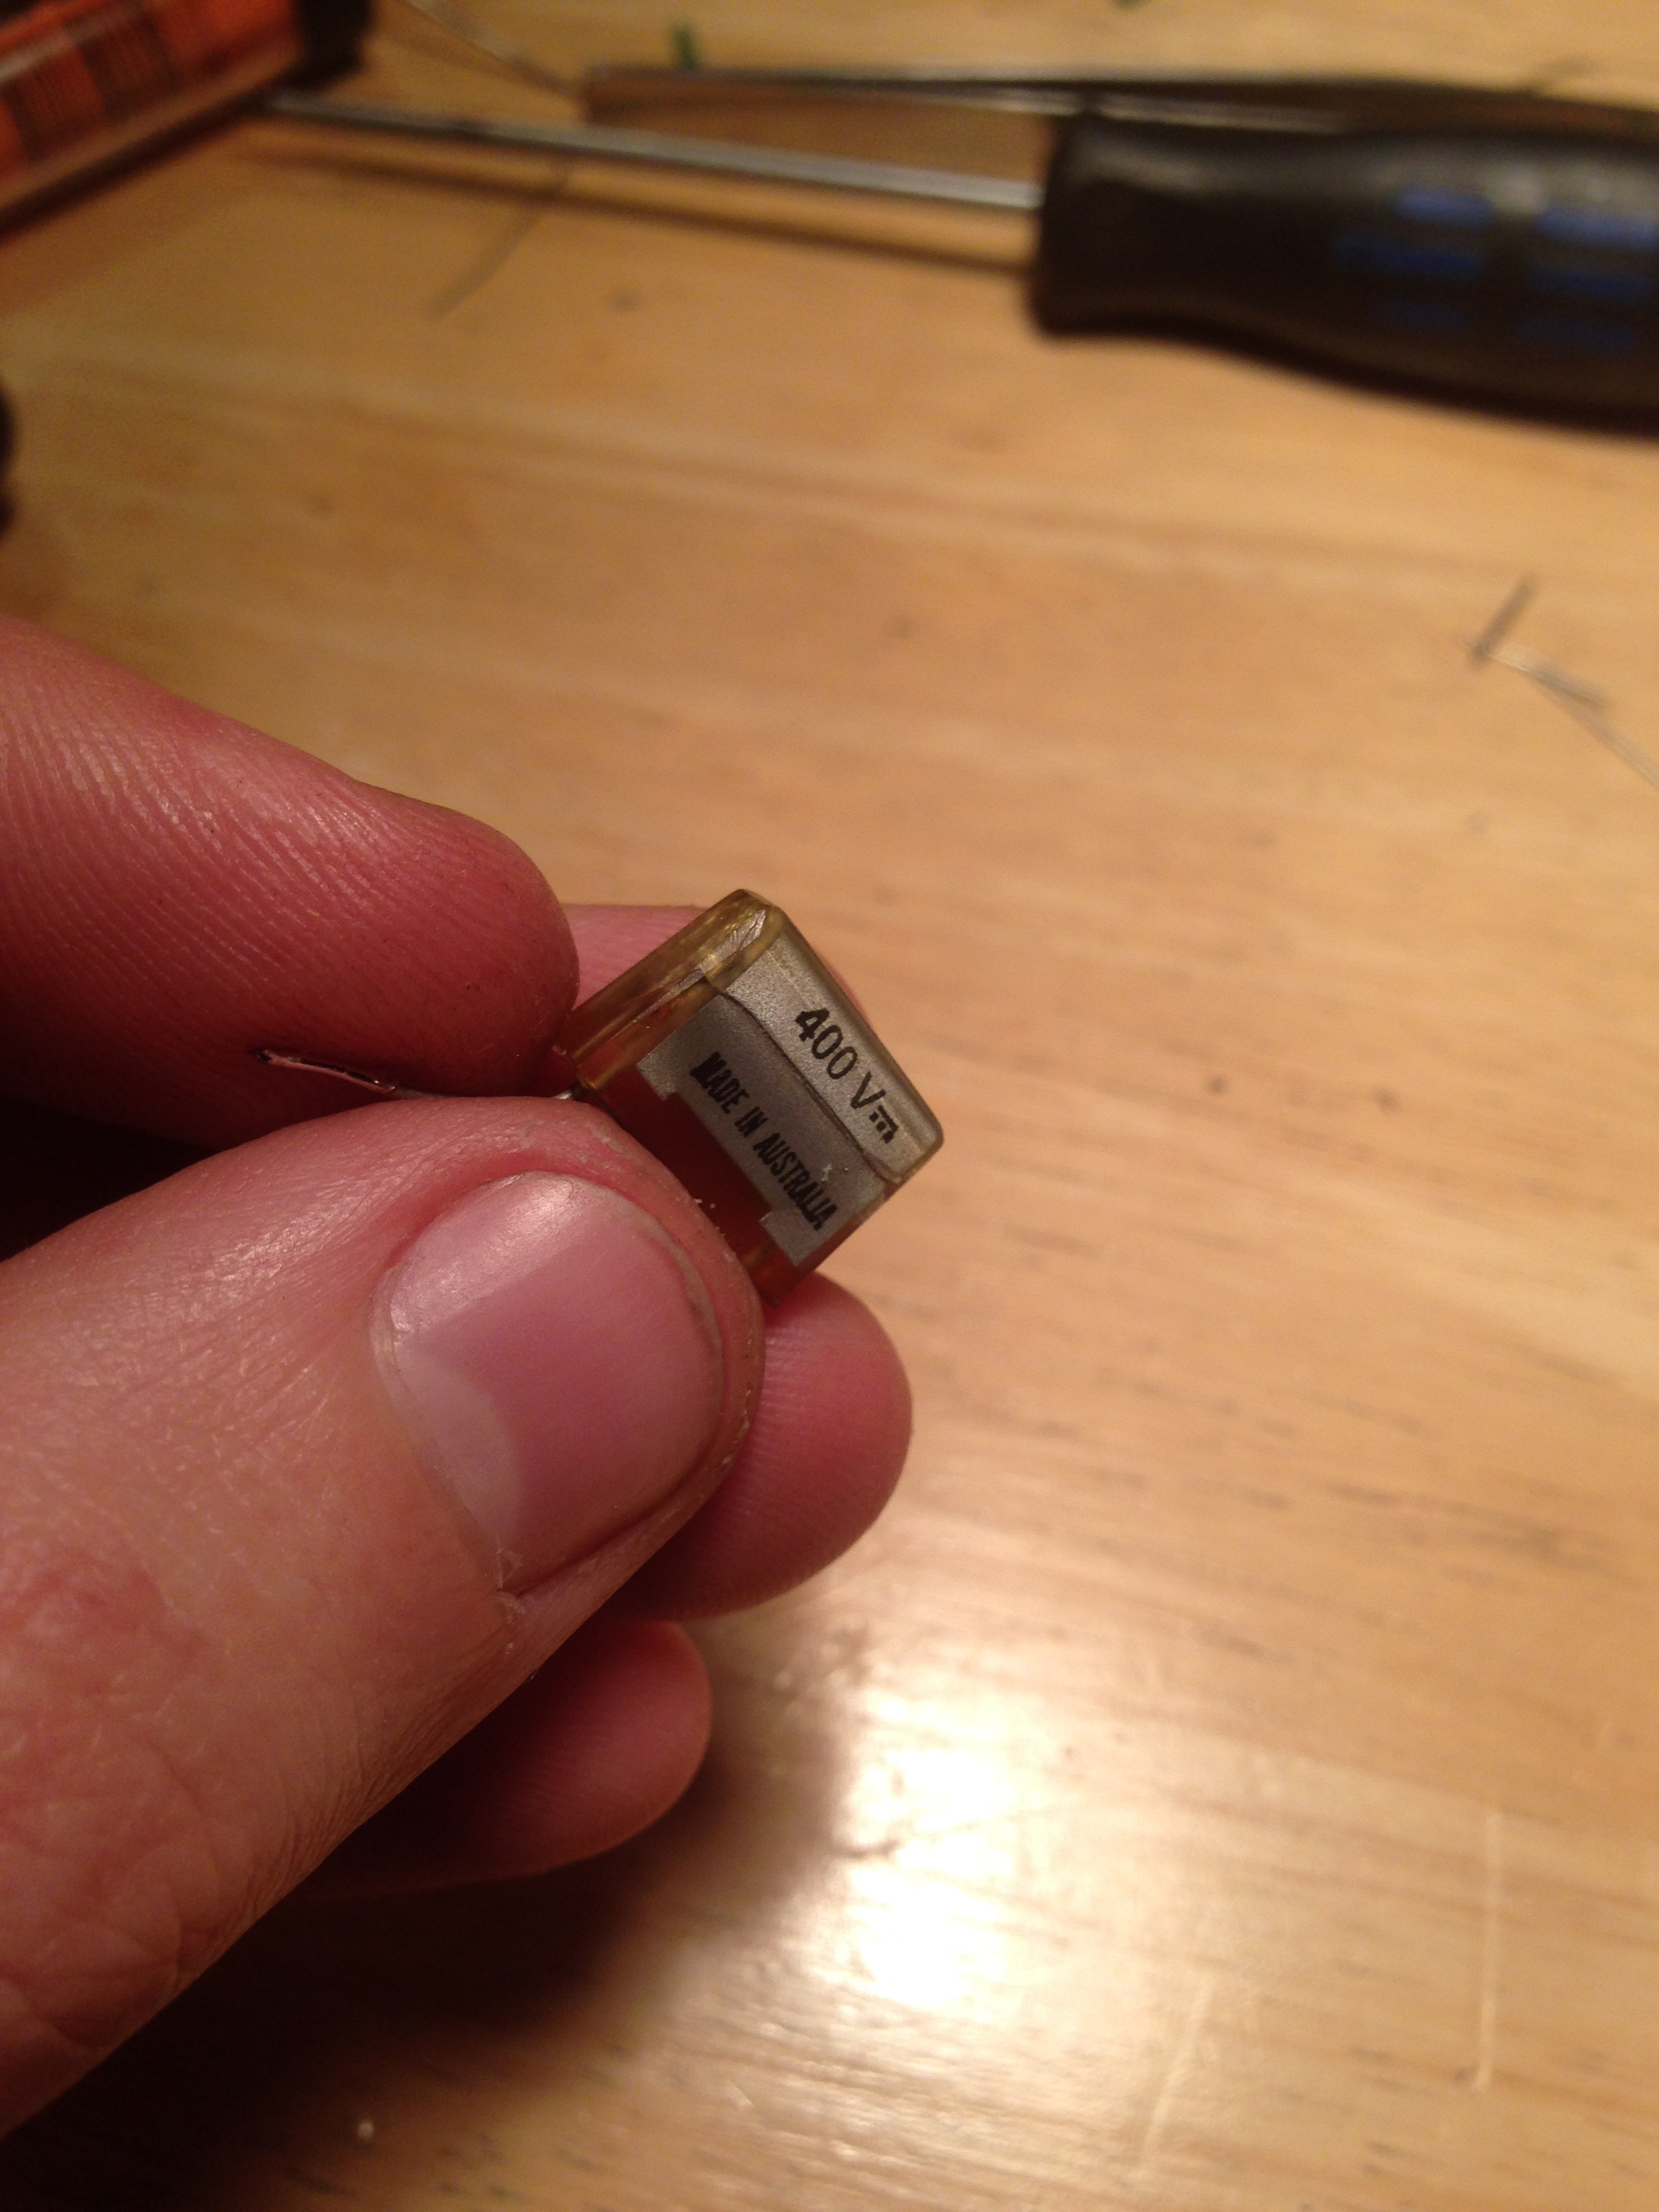
I then proceeded to replace every other electrolytic capacitor in the whole thing… but why stop there, after measuring a few of the resistors I realised that a majority of them had drifted off value, some by rather alarming amounts. So all the resistors were replaced too!
I can’t say that it wasn’t a tedious job, but it was strangely therapeutic soldering away into the early hours of the morning. Finally it was time to connect the speakers and fire it up, Creative Zen attached for the ride. And it sounded surprisingly good, far better than I had imagined, putting my old class A single ended EL84 amplifier to shame. I realised that if it sounded great with the old thrashed out valves on a set of test speakers, it was probably going to sound even better once my new Svetlana tubes arrived from the Ukraine.
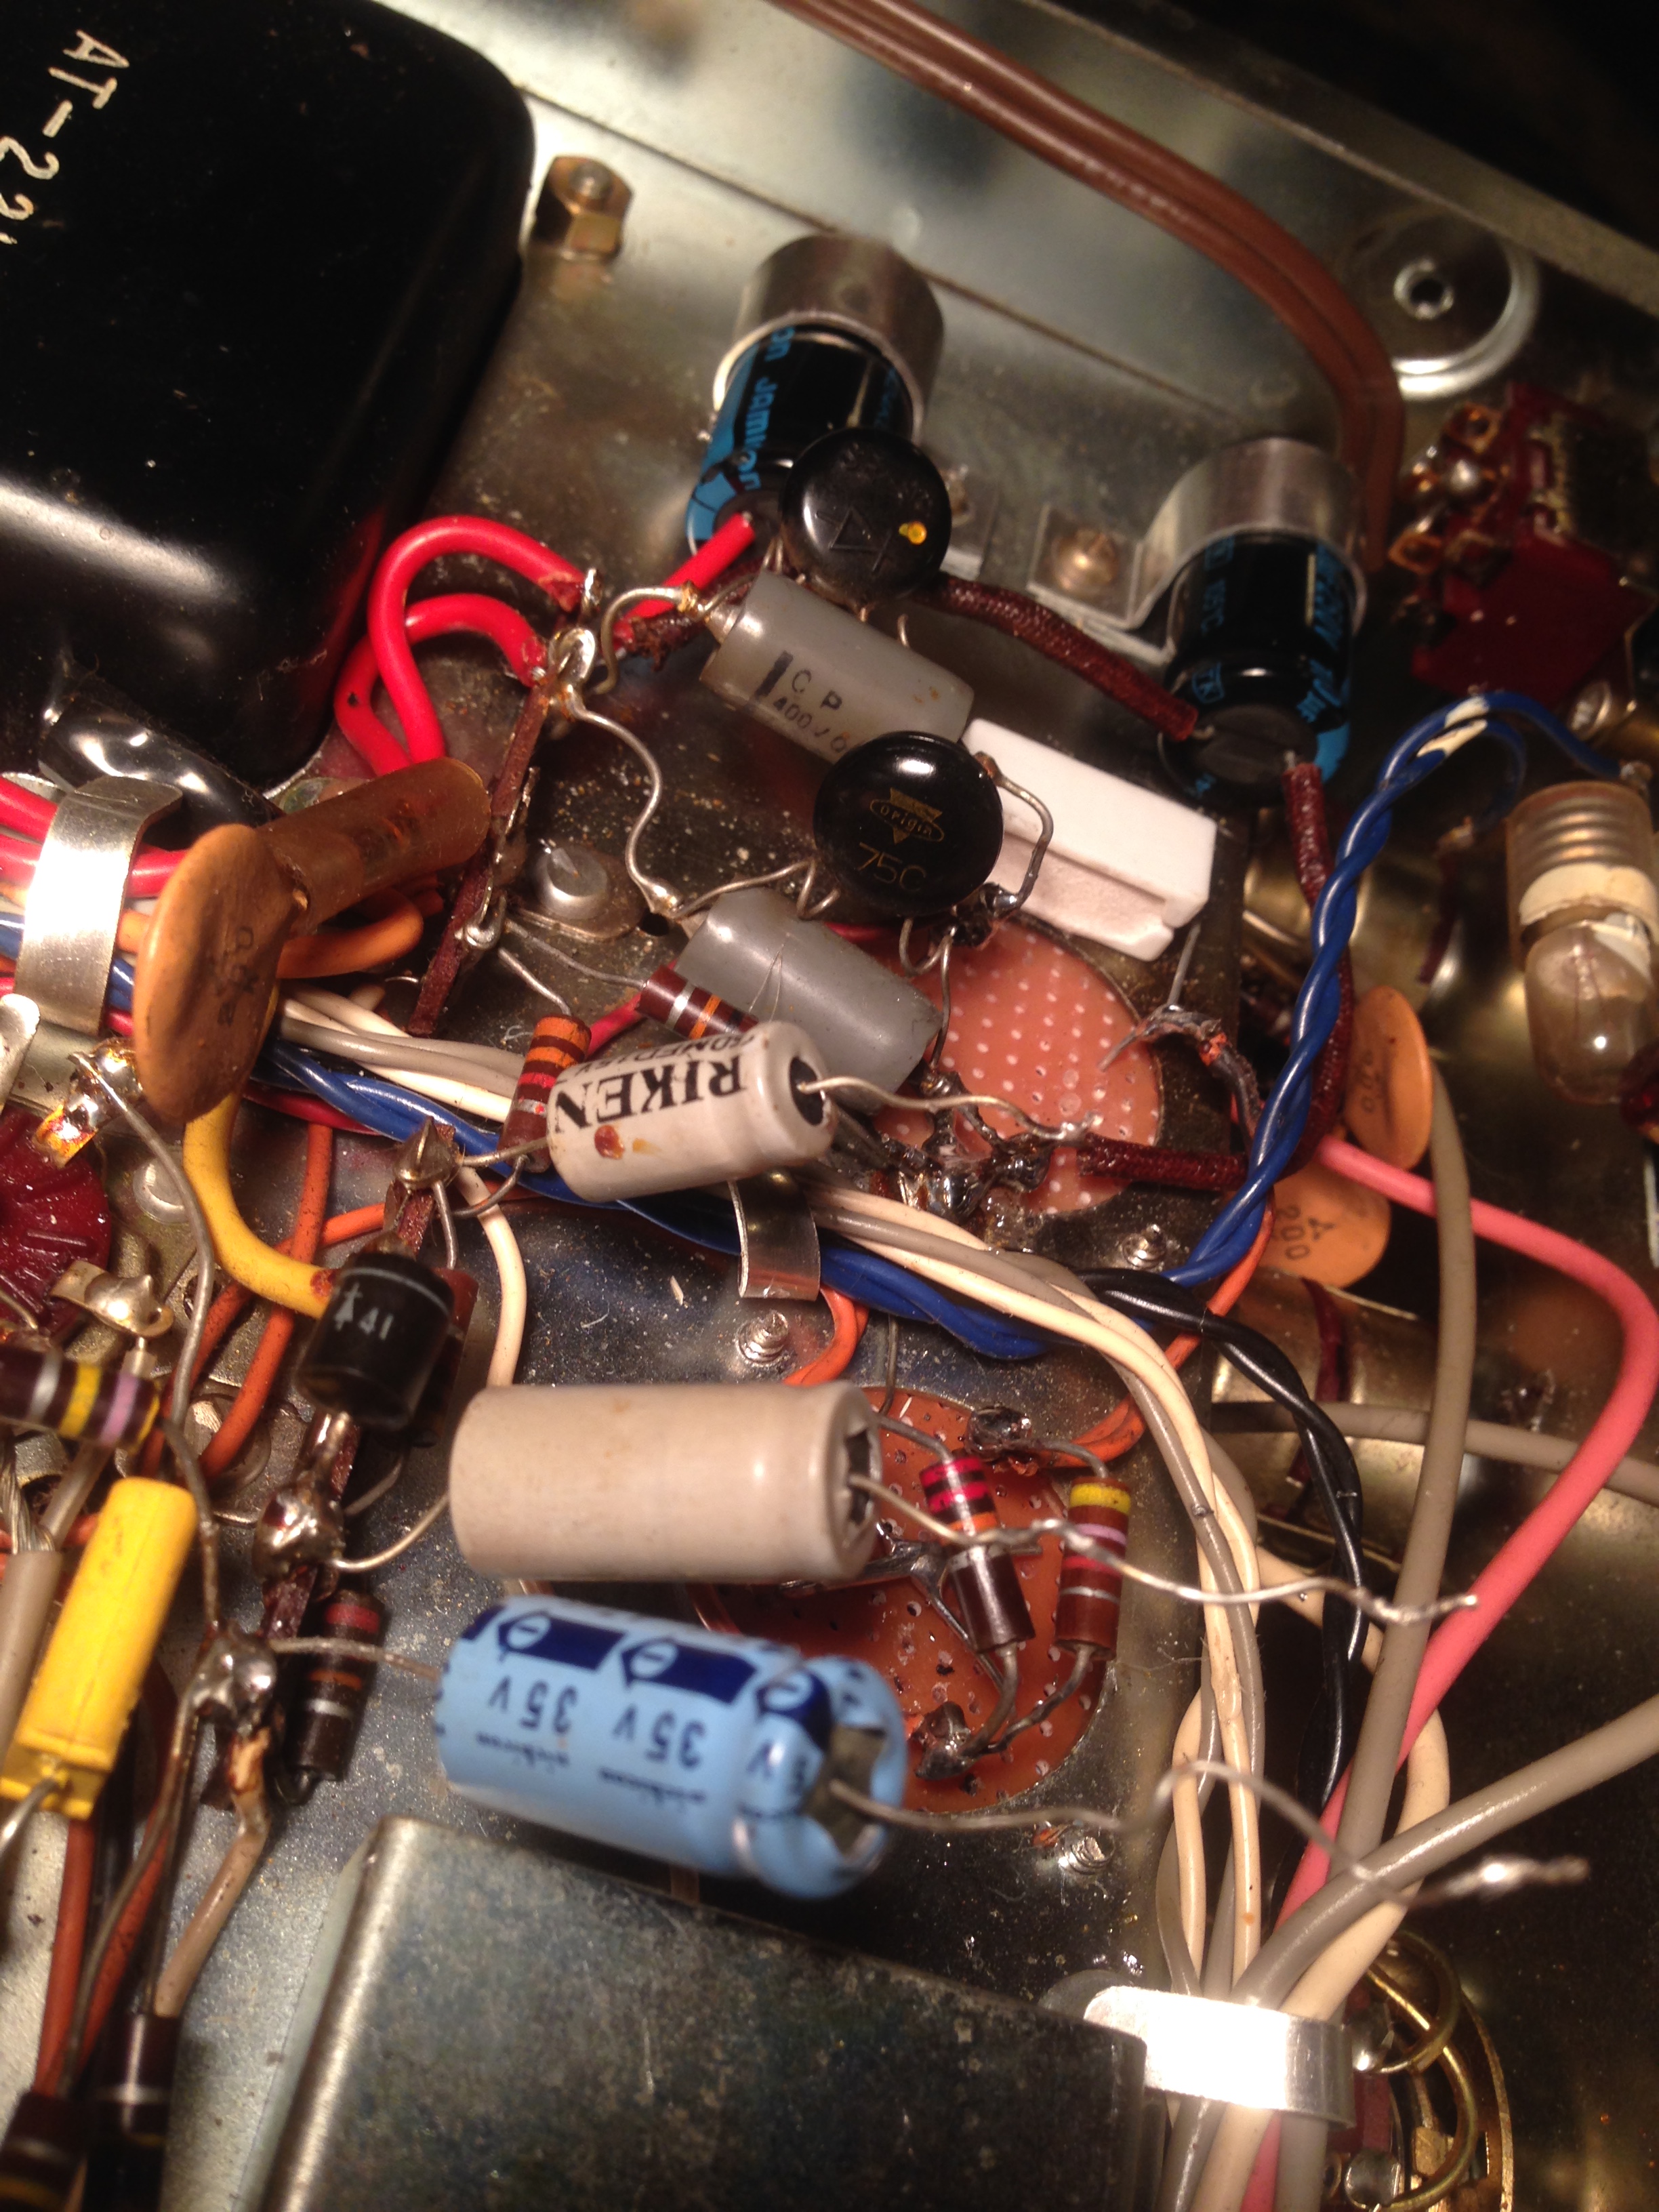
After the good results, and seeing that nothing was getting hot, and that none of my valves were red-plating I decided to finish the job by recapping the preamp as well. It was insanely fiddly and the board was rather well tethered to the chassis, so everything had to be done in situ.
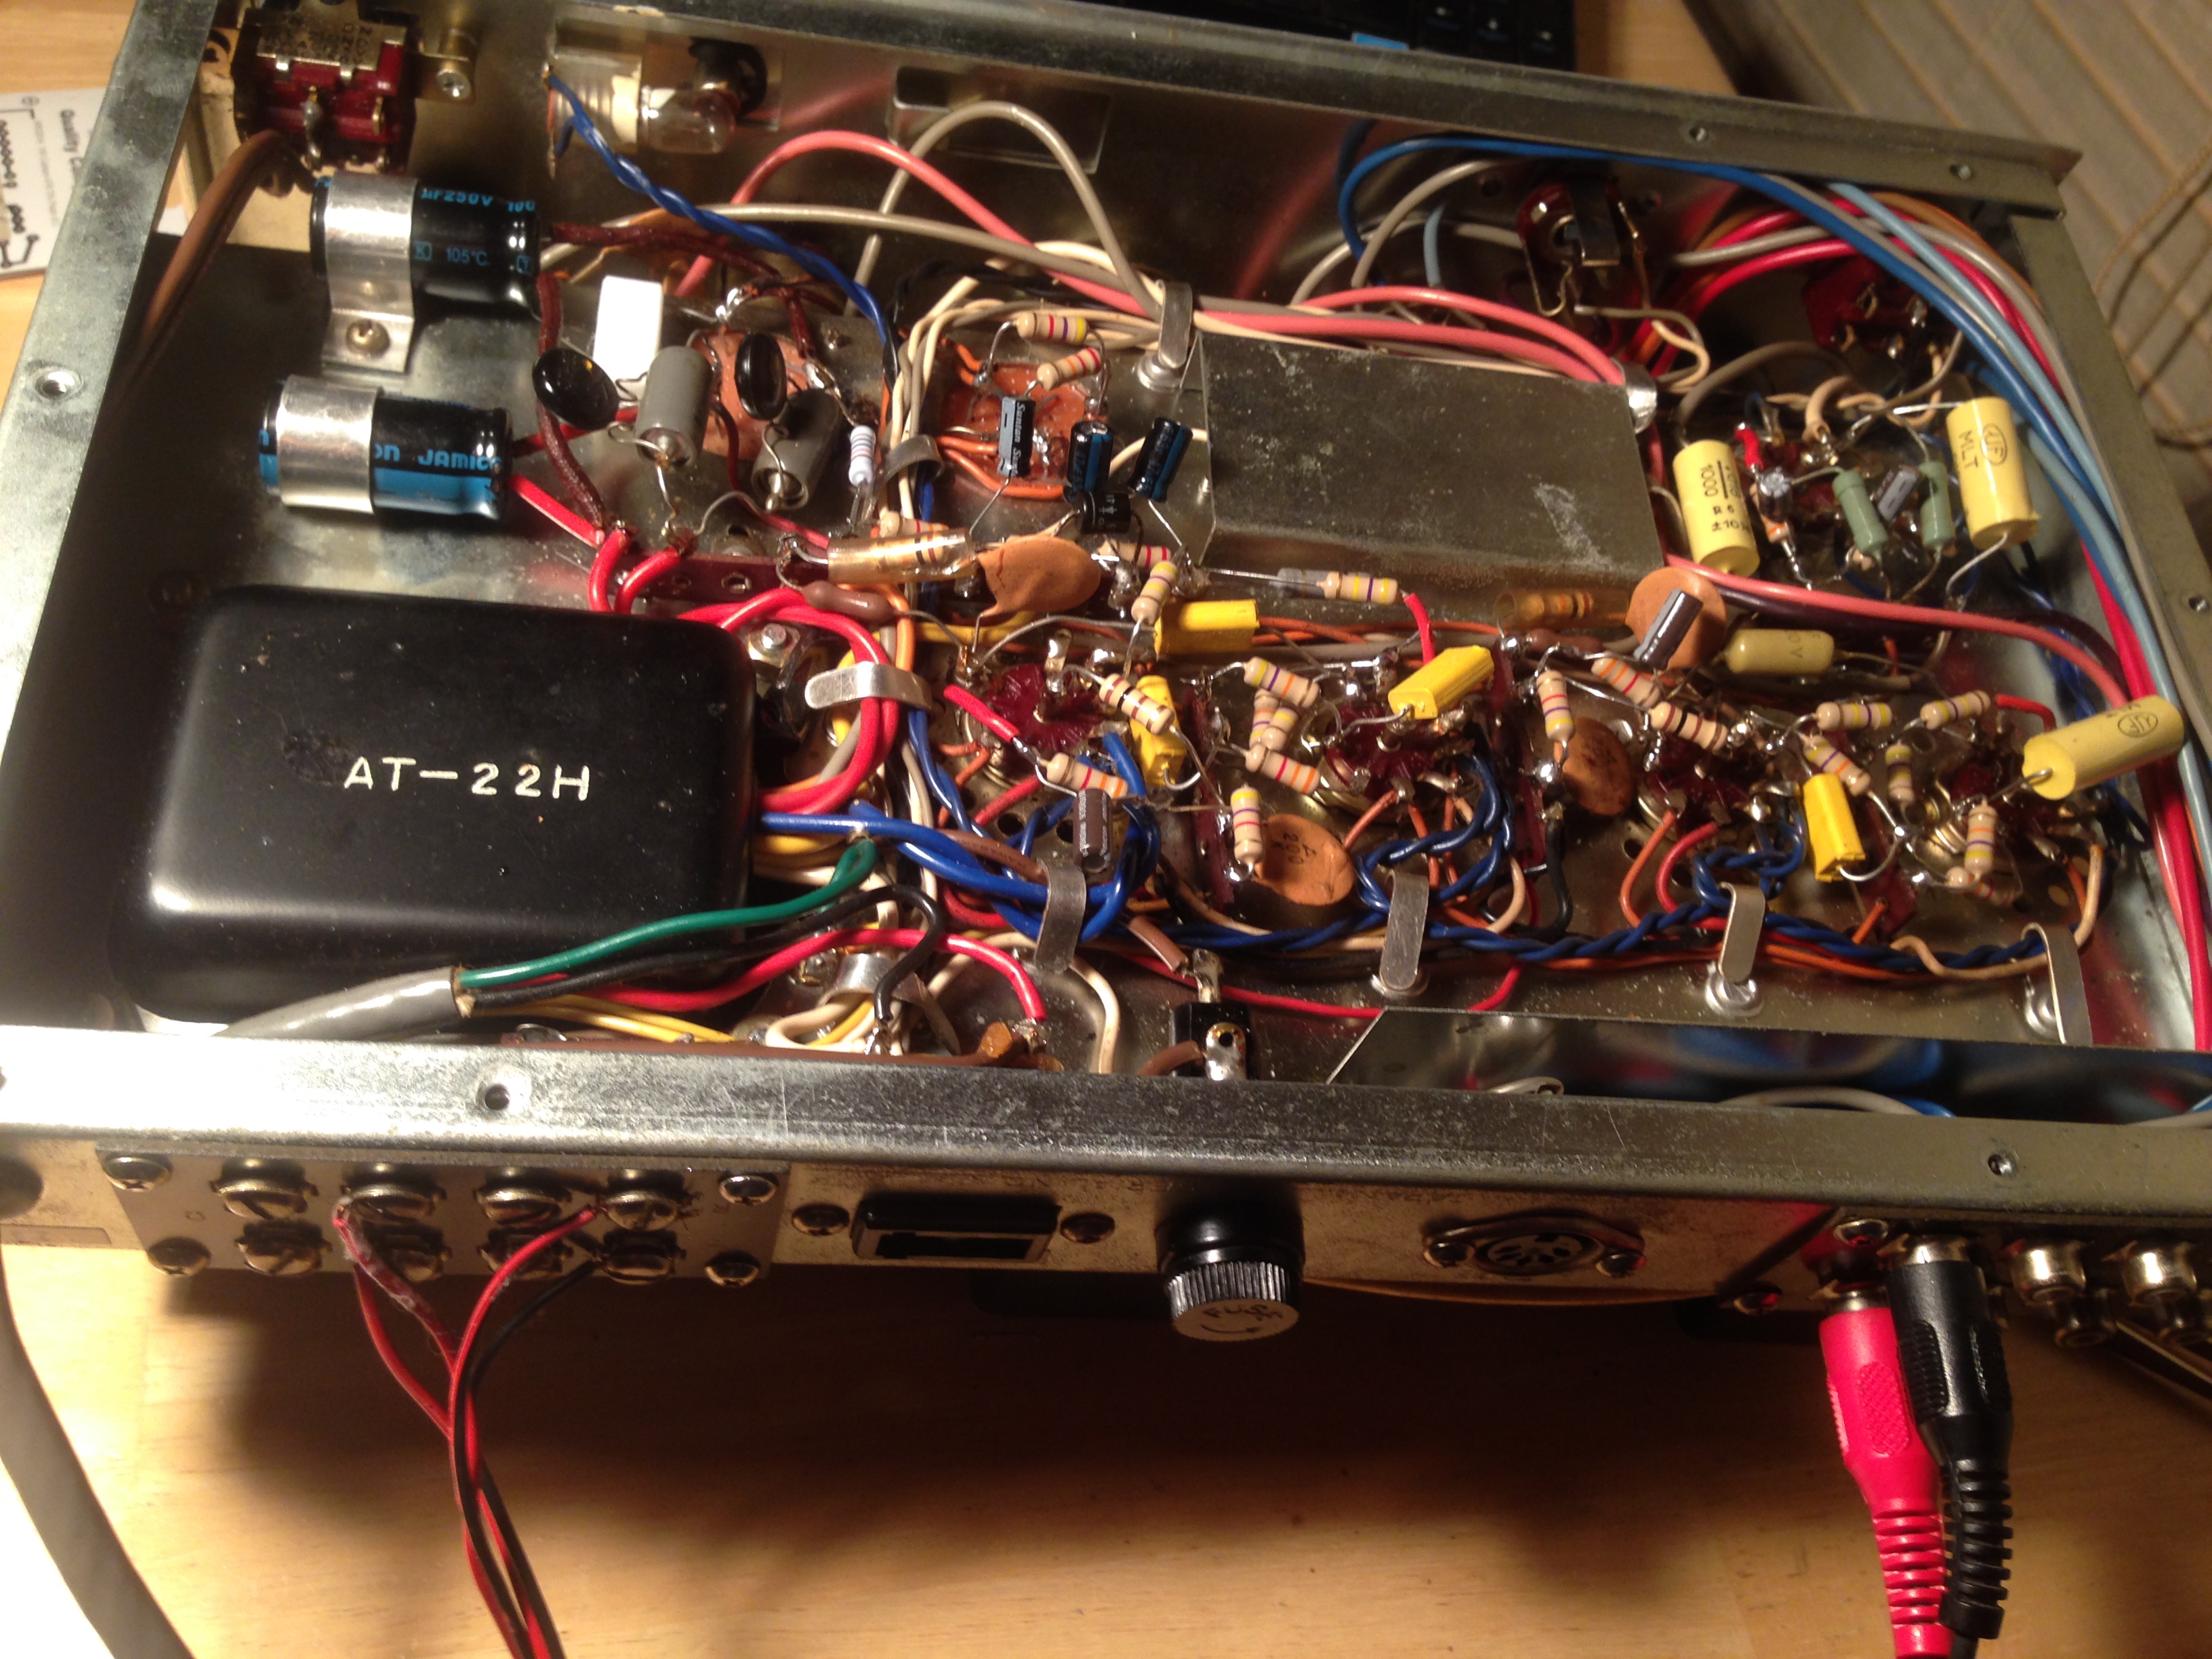
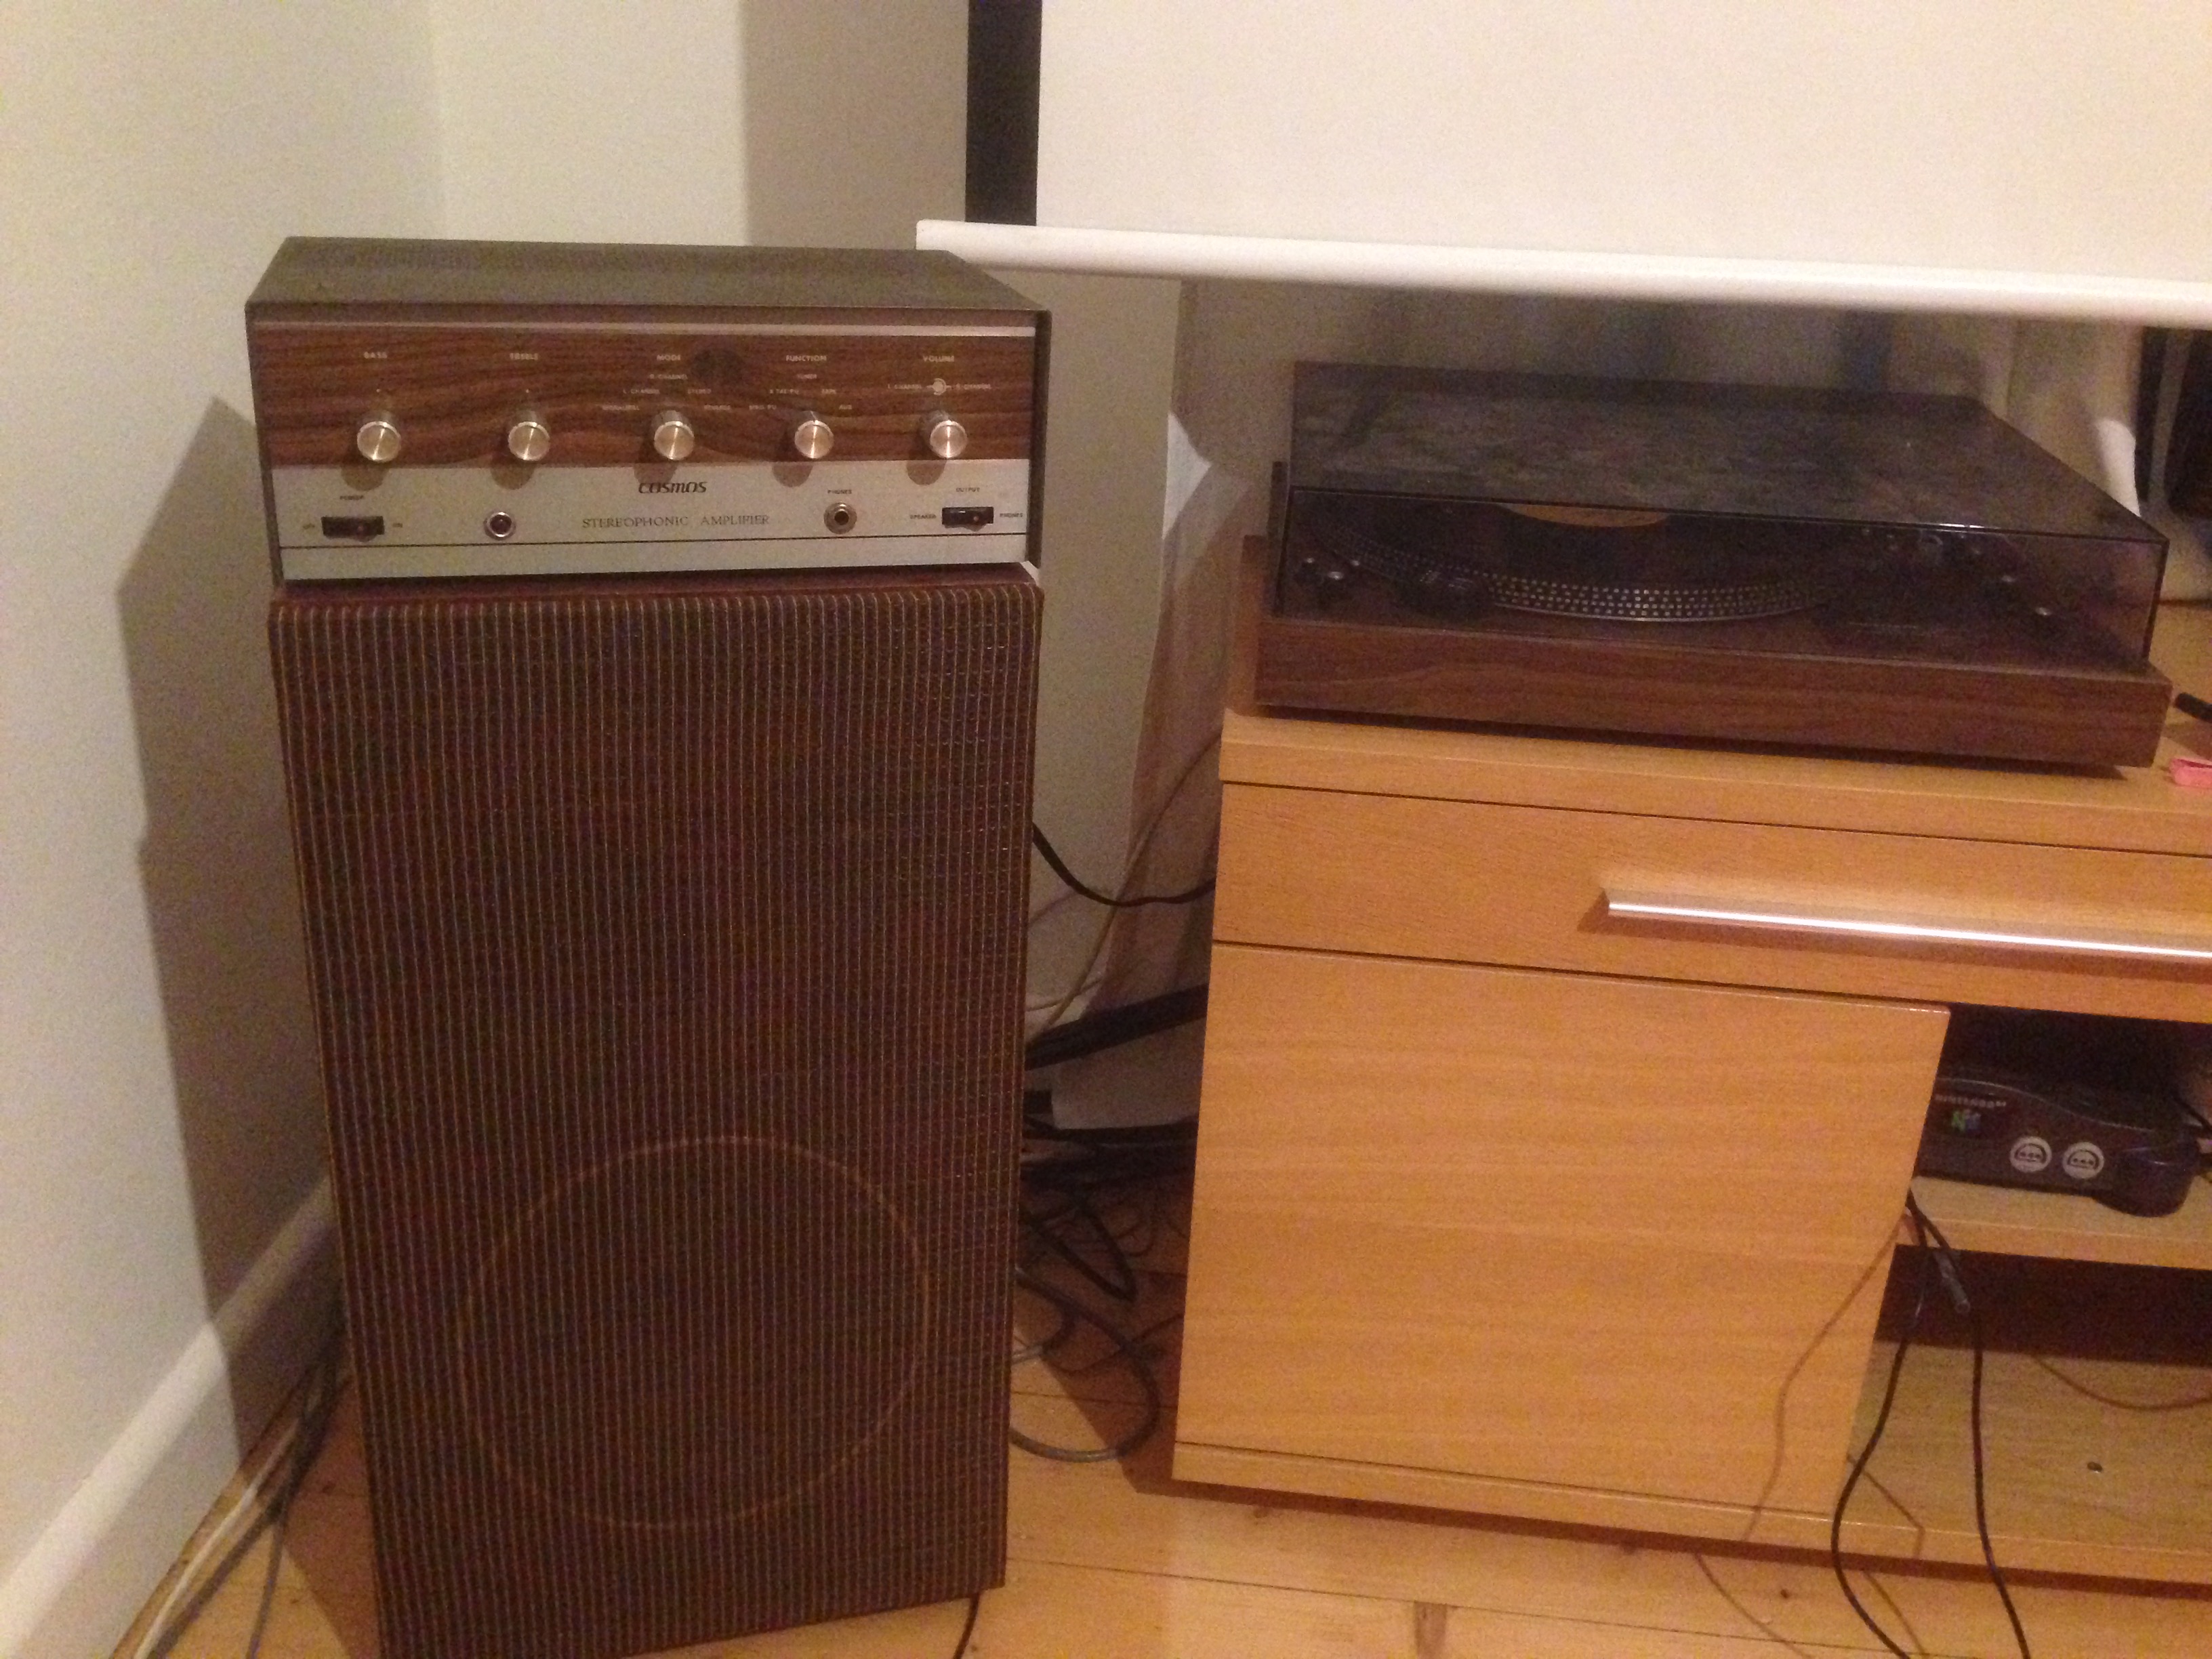
All set up with the new Svetlana valves and it sounds great, I use it not only for music and records, but I also run my media computer and projector into it. The bass response is really crisp for a valve amp while the highs are nice and clear. I also quite like how it is the exact same width as my speakers, a complete fluke.
One of my followers kindly sent me a schematic for the cosmos, so I’ll post it up here so that everyone can make good use of it.

Hi hello there, what an informative page and helpful site you have here. I am currently fixing my cosmos stereophonic tube amplifier which identical to yours. Mine is made in Japan and has been stored since ages which I bought it not working and currently planning to fix it. I would be grateful if you can share some tips and information on how to fix this thing. I changed all the electrolytics and resistors since it has drifted the value off badly.
I am having a problem currently in locating the preamp section of this amp and it would be great if you have a schematic for this. It was working at some point and making a sound but now there’s not even a sound of a transformer hum with this thing. I checked all the voltage point on the plates and B+ shows 270v, its all see fine but theres no sound at all.
Do you know what caused this?
That’s very odd that you’re not even getting sound now, have you checked the power supply to the heaters? maybe they are not heating up? for memory this uses a rectified DC source for the heaters, so check to see that the rectifier diodes are in good shape. Did you change all of the decoupling capacitors?
Great job you’ve done!
I bought a Pioneer receiver amp – SX410 years ago that was in much better nick than the Cosmos. Also ECL 86 output valves. Also recapped it. The FM stations in Cape Town are all poor so I don’t bother with that. MW is music here and some Brits have started a station. I also line in old tape decks to keep the old sound going. The currency here has really slumped so valve stuff is dear.
Keep well!
Craig.
Hi Ross,
my name is Zoltan Lazar (50) and I will be hopefully a new owner of Cosmos stereophonic amplifier. I found one on local second hand advertisement site for reasonable amount of money.
Link: https://www.kupujemprodajem.com/Audio/Pojacala/Cosmos-Stereophonic-Amplifier-76105514-oglas.htm?filter_id=158222603
The previous owner claims that it is in good working condition.
I have some skills with soldering iron and the basic electronics, so I decided to make a similar restoration with recap, rewiring and changing the capacitors as You did.
Unfortunately I cant find the schematics for this amp. Would You be so kind to send it to me, or advice me where can I get it?
I am very grateful for any reply from You.
Kind regards from Serbia,
Zoltan Lazar
I actually never had a schematic for the amplifier, I ended up rebuilding the amplifier one component at a time specifically so that I wouldn’t need one. It’s a bit slow at first, but once you get into it you fly through it, especially because there aren’t that many different component values used. The most important part is definitely the electrolytic power supply capacitors and the coupling capacitors.
I have a Cosmos in my bedroom ant is a great little amp. I also have a schematic if you need.
I’d love the schematic, if you send it to me I can post it here for anyone else who is wanting to restore one of these amazing little amps. I use mine almost every day and it hasn’t missed a beat.
I sent to your email. Yes they are great little amps though the Phono pre amp is not so strong. I use an outboard phono preamp ans works well.
Thanks for the circuit… although I’ve already put it over the bench several times and now have it running quite sweet. Still runs the original stock Miniwatt 6BM8’s it came with.
Had a Cosmos in then museum for 20 odd years, no idea how it got here! I now use it weekly for a radio show called “Vinyl Shop Valves” : https://www.mixcloud.com/zordmaker/
The unit runs into 10w dummy load resistances with a sniff taken off the headphone jack – that’s what you’re listening to. Set so it’s at the onset of clipping most of the time.
Becoming a very popular show on the radio station!
I never thought about using it as a preamp… but it sounds incredible! The reason I fell for this little amp is how pleasantly warm the mids are, and how snappy the bass is for a valve amp, it must have magic output transformers. You have yourself a new subscriber 🙂