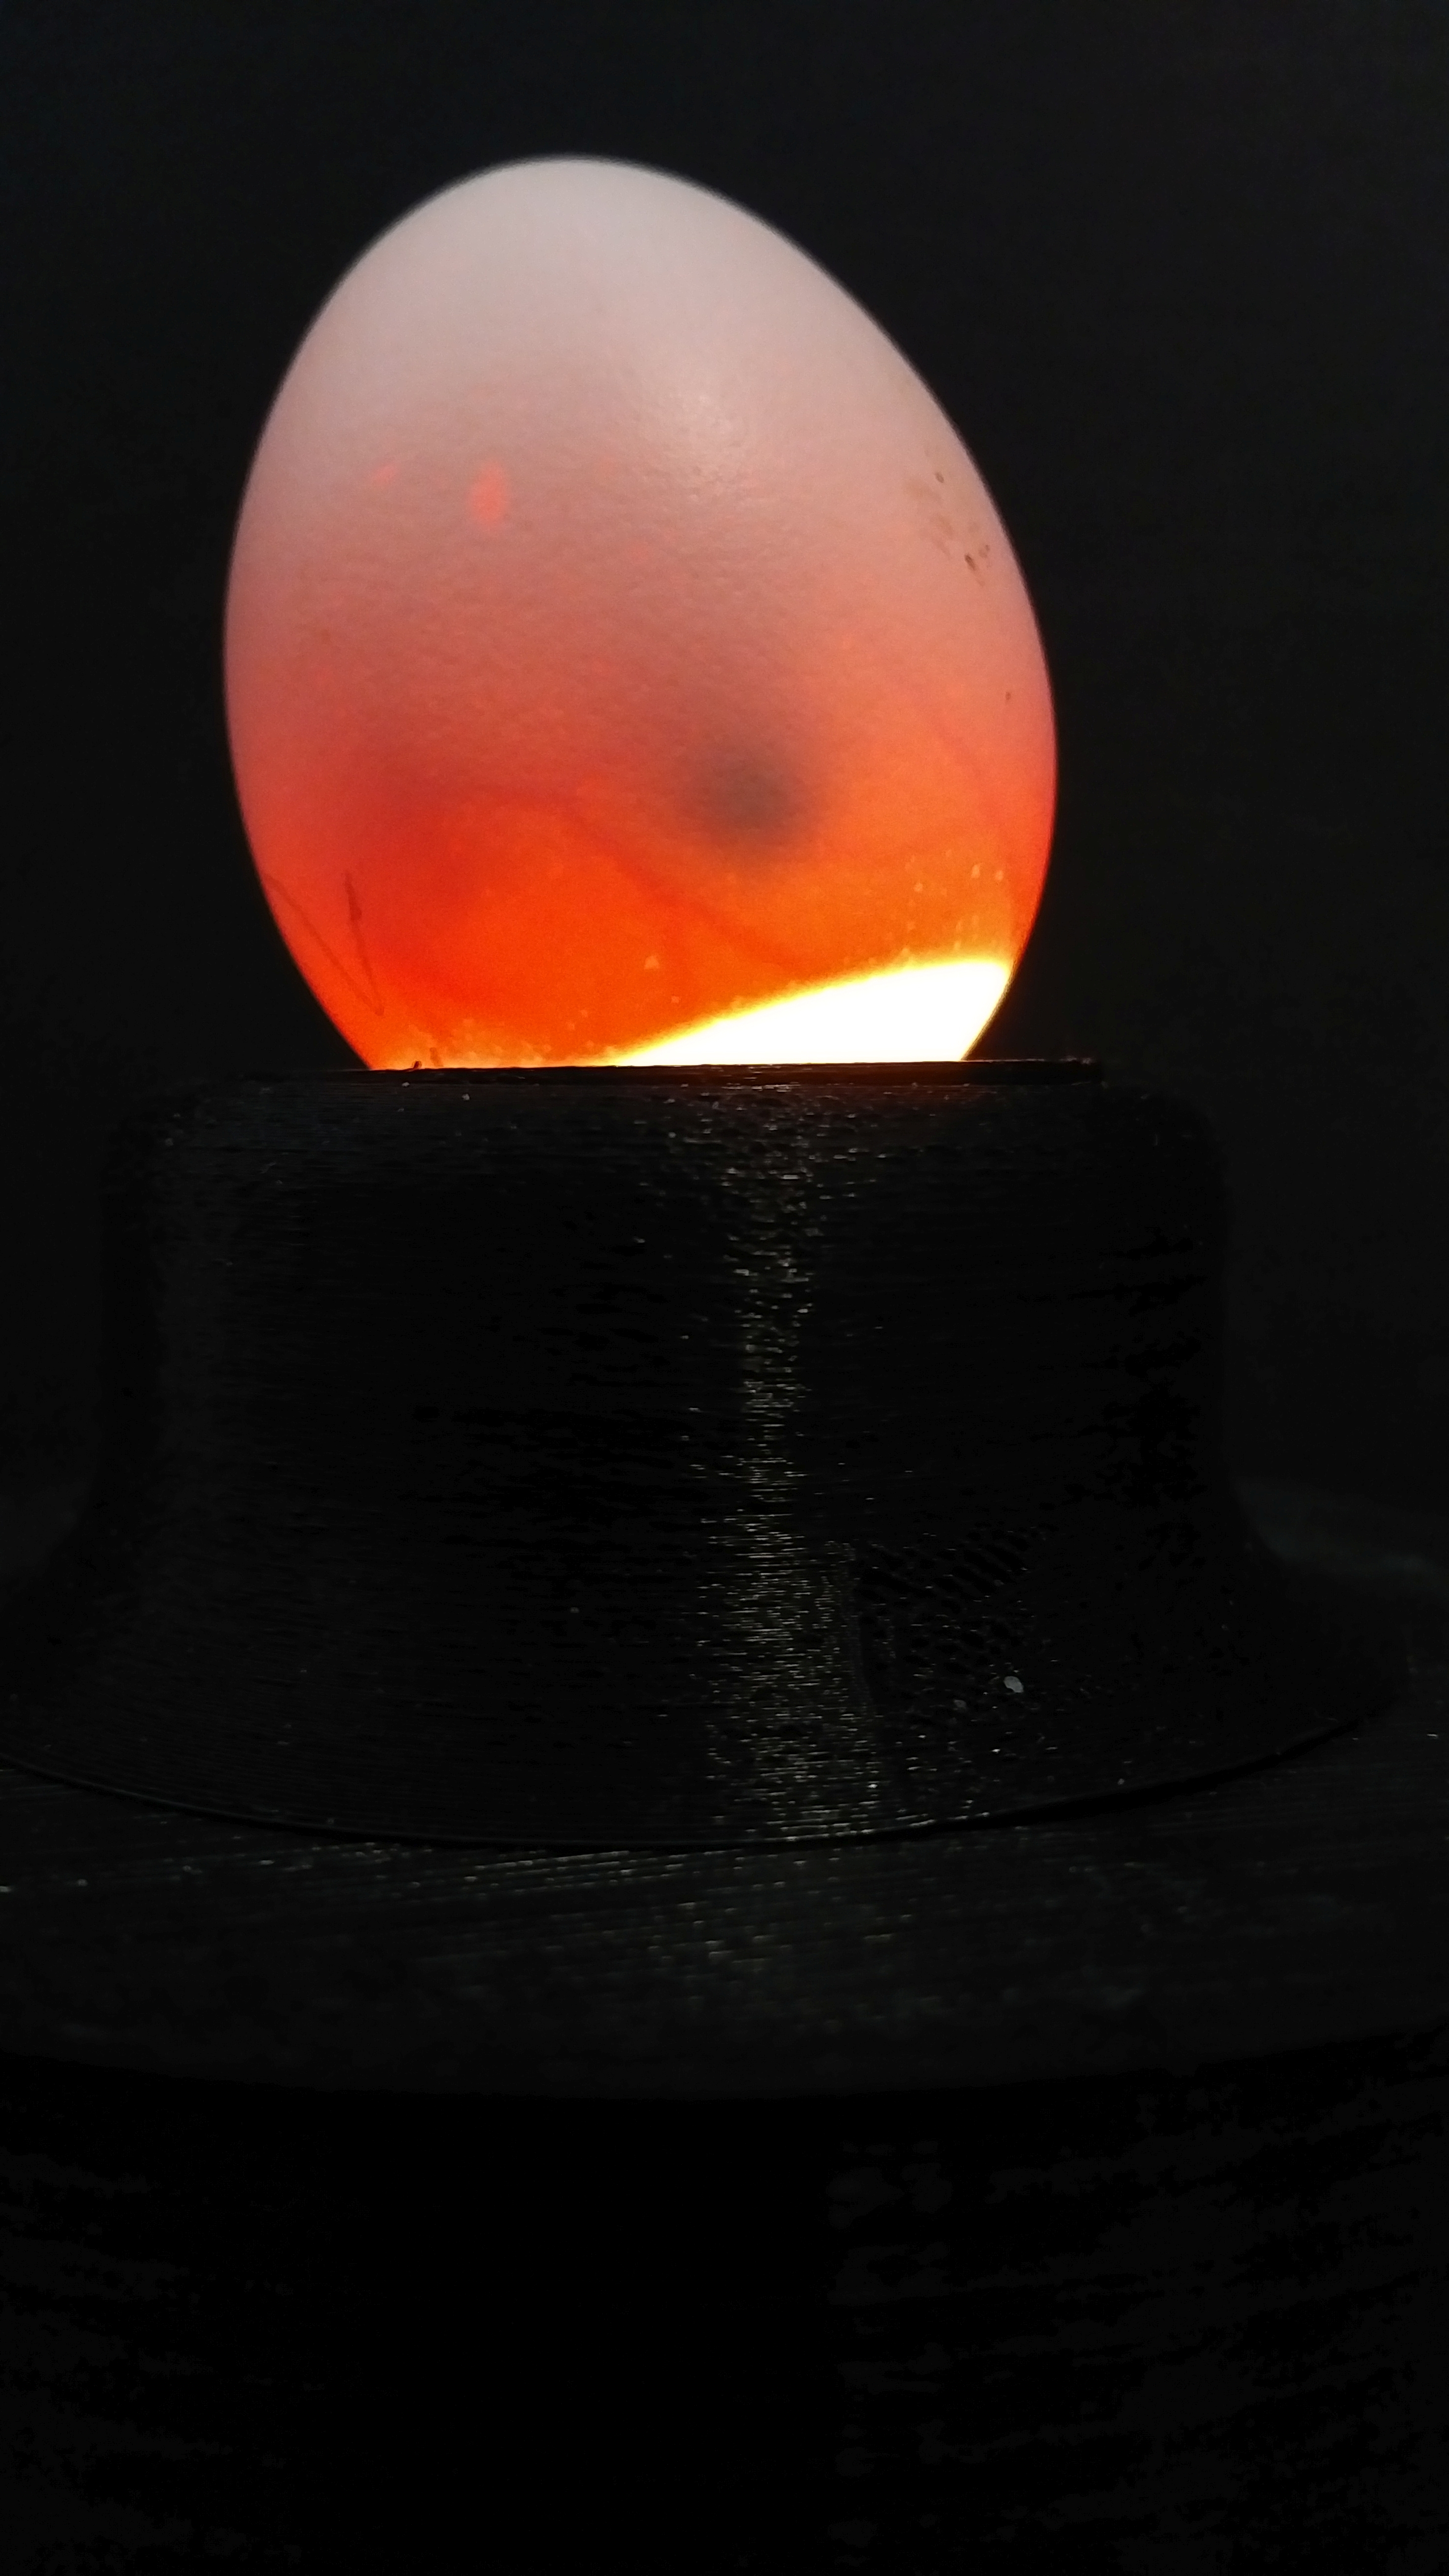
I’m currently incubating some bantam chicken eggs and wanted a candler so that I can see how the chicks are progressing.
It’s dead simple to build, all you need is a miniature Osram LED globe, an old power cord, and a miniature on/off switch. I scrounged all of my bits from throw-outs, with the exception of the globe which will set you back a massive $5.
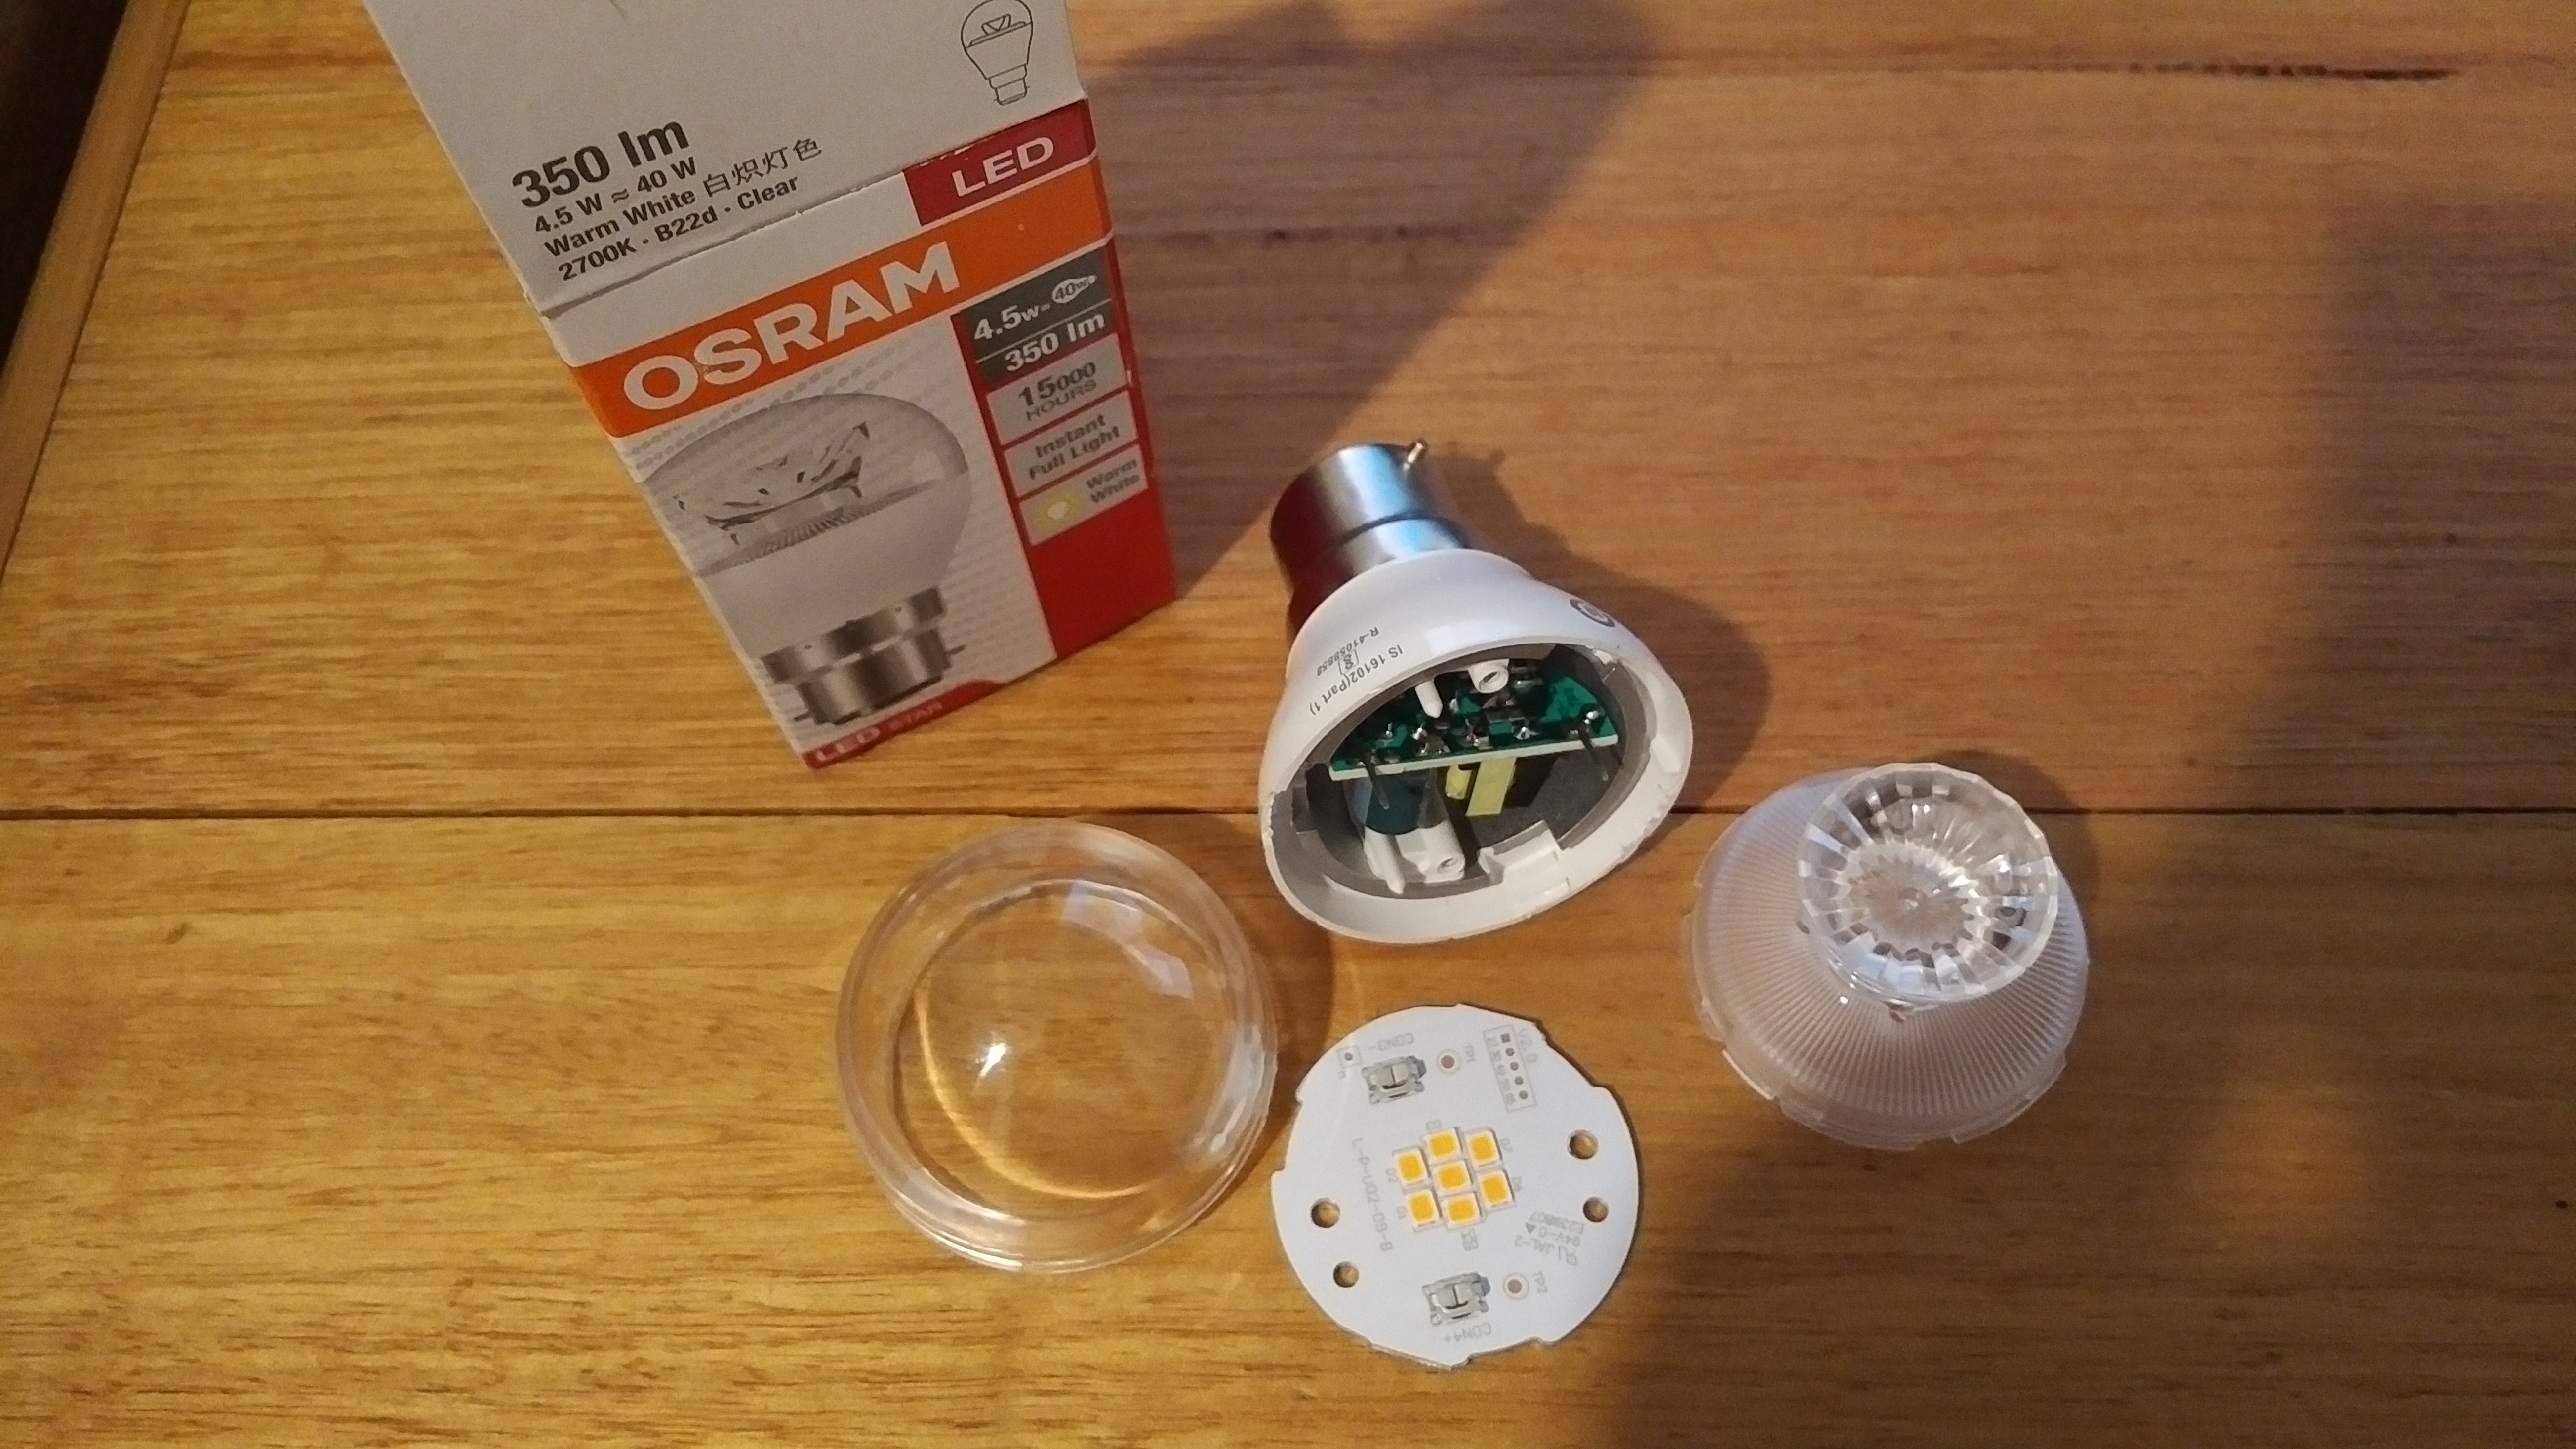
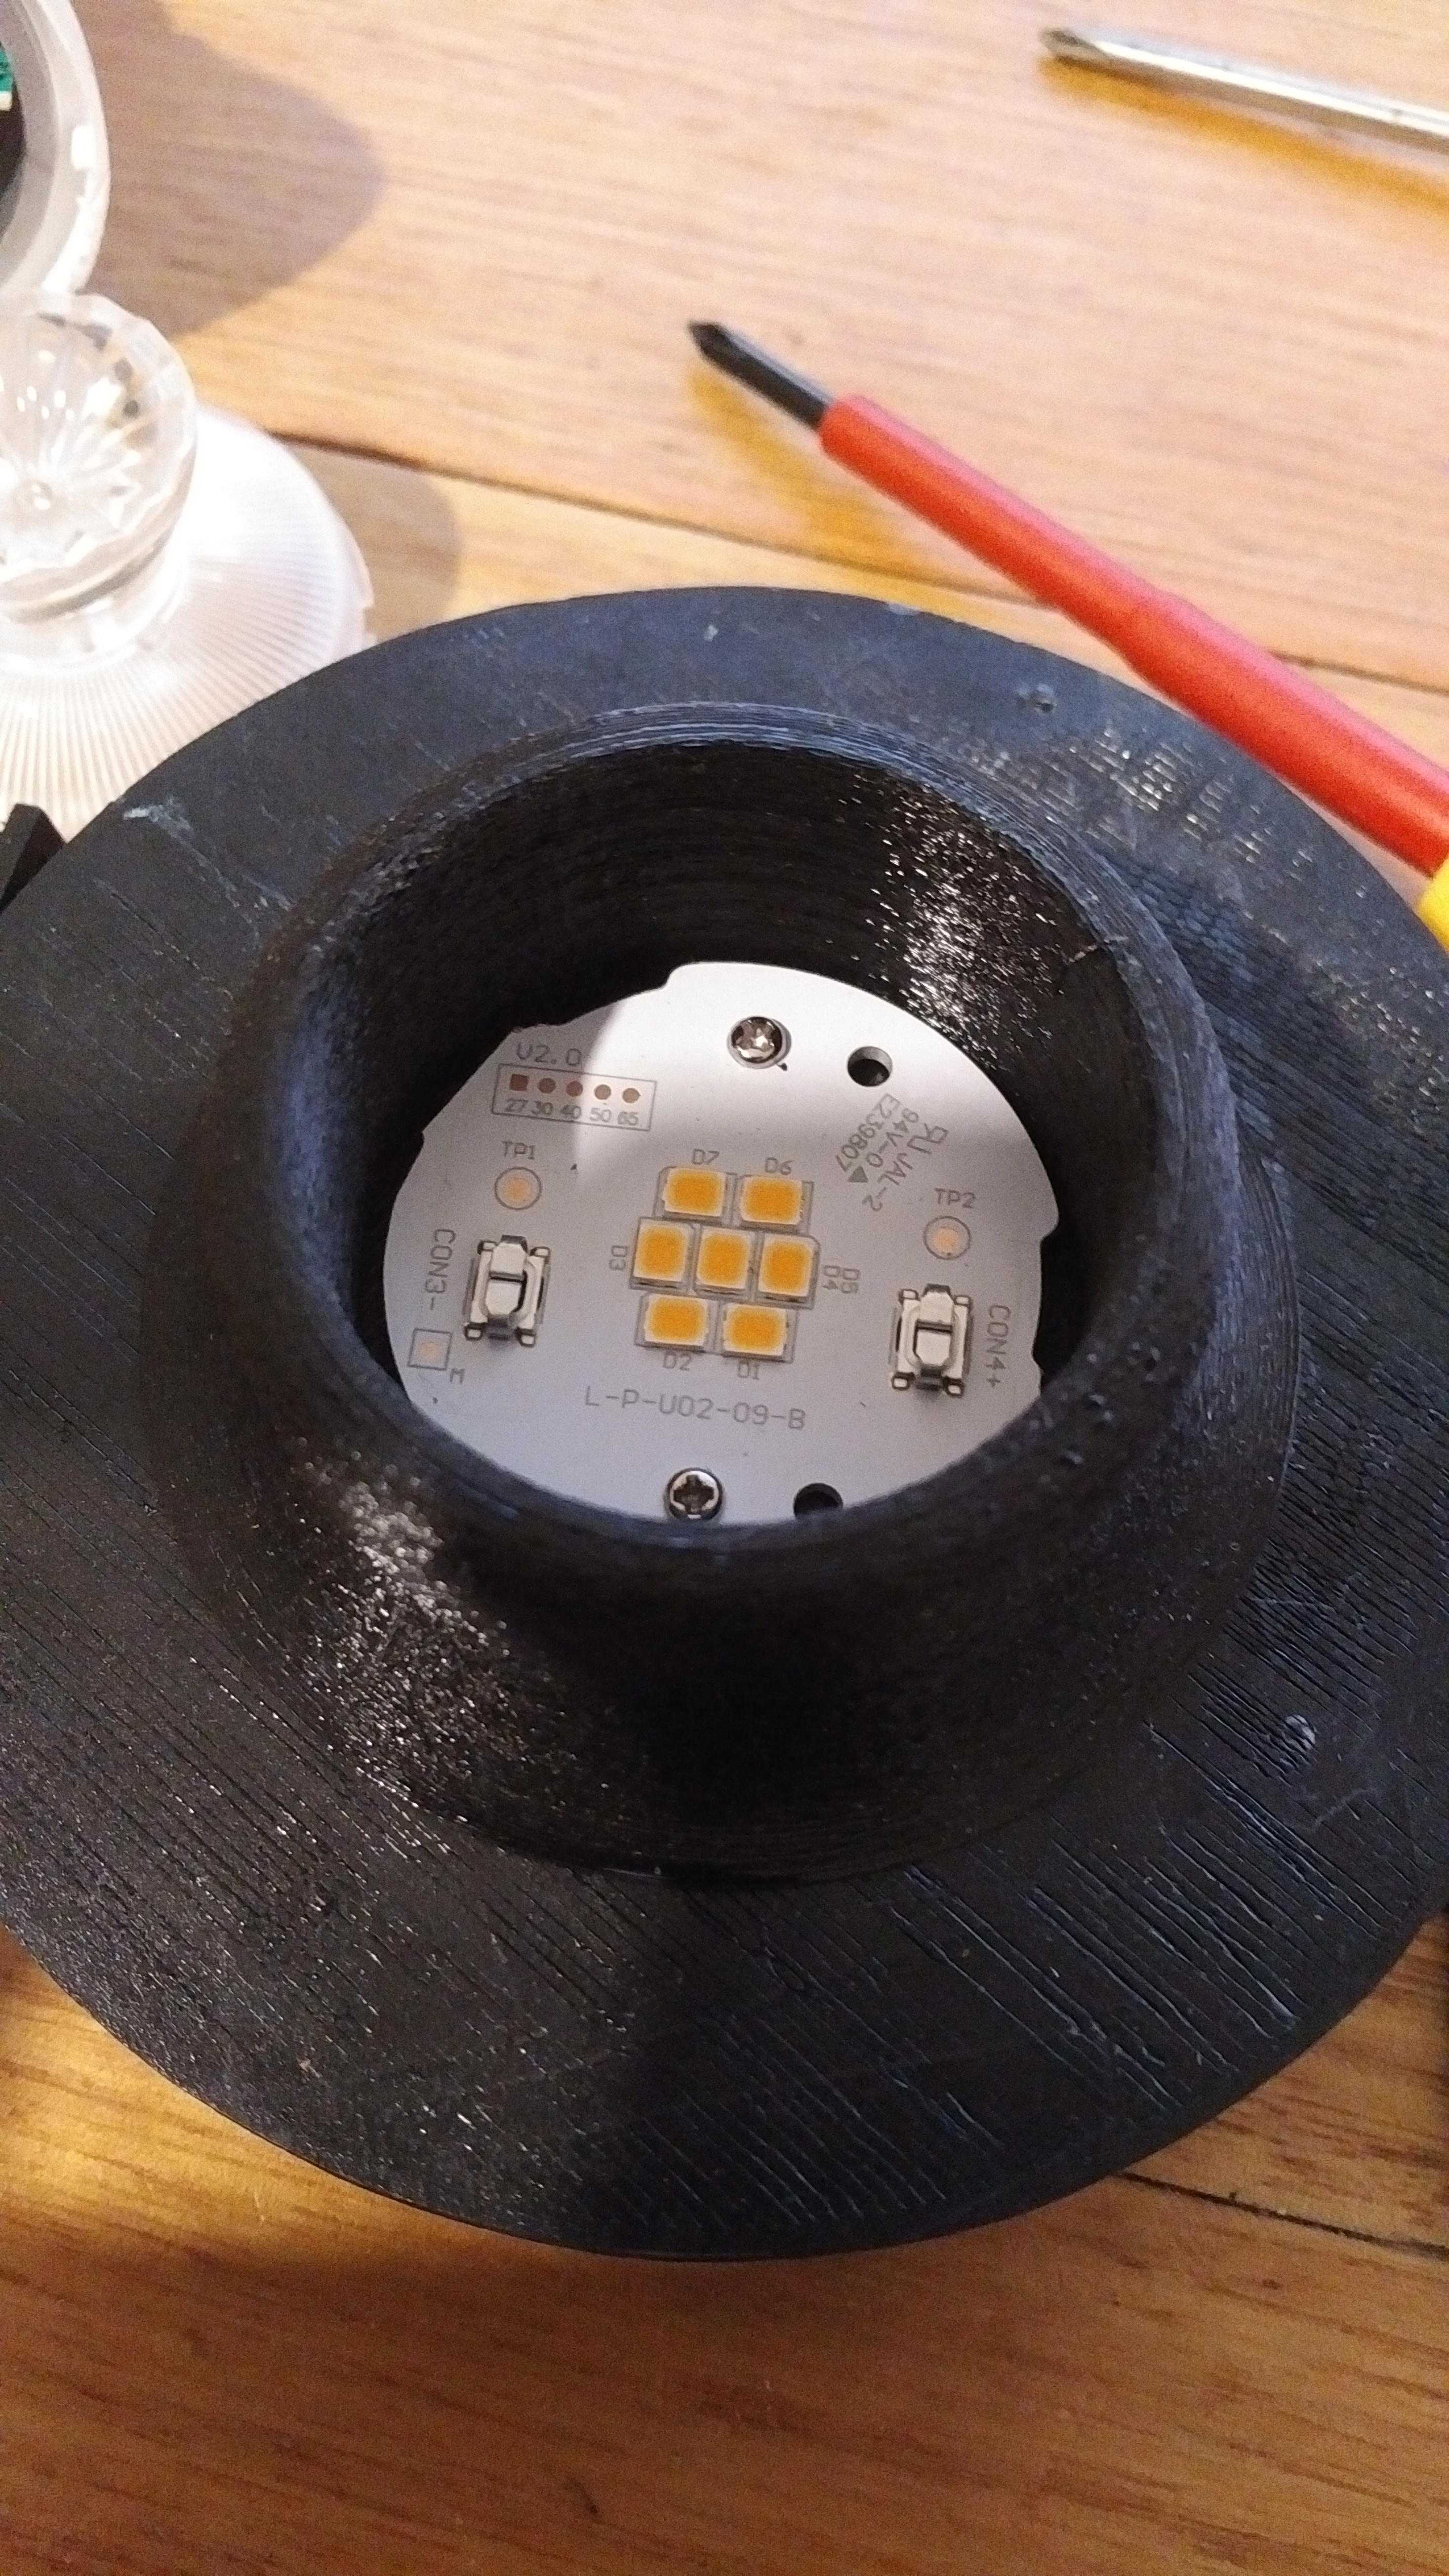
 Print all the parts at 100% fill so that the unit has a little more weight to it. once printed you will want to disassemble the LED bulb, to remove the power supply you will need to melt the solder on the bulb contacts and gently pull the unit out.
Attach the lamp holder to the base unit using 4 small countersunk self tapping screws.
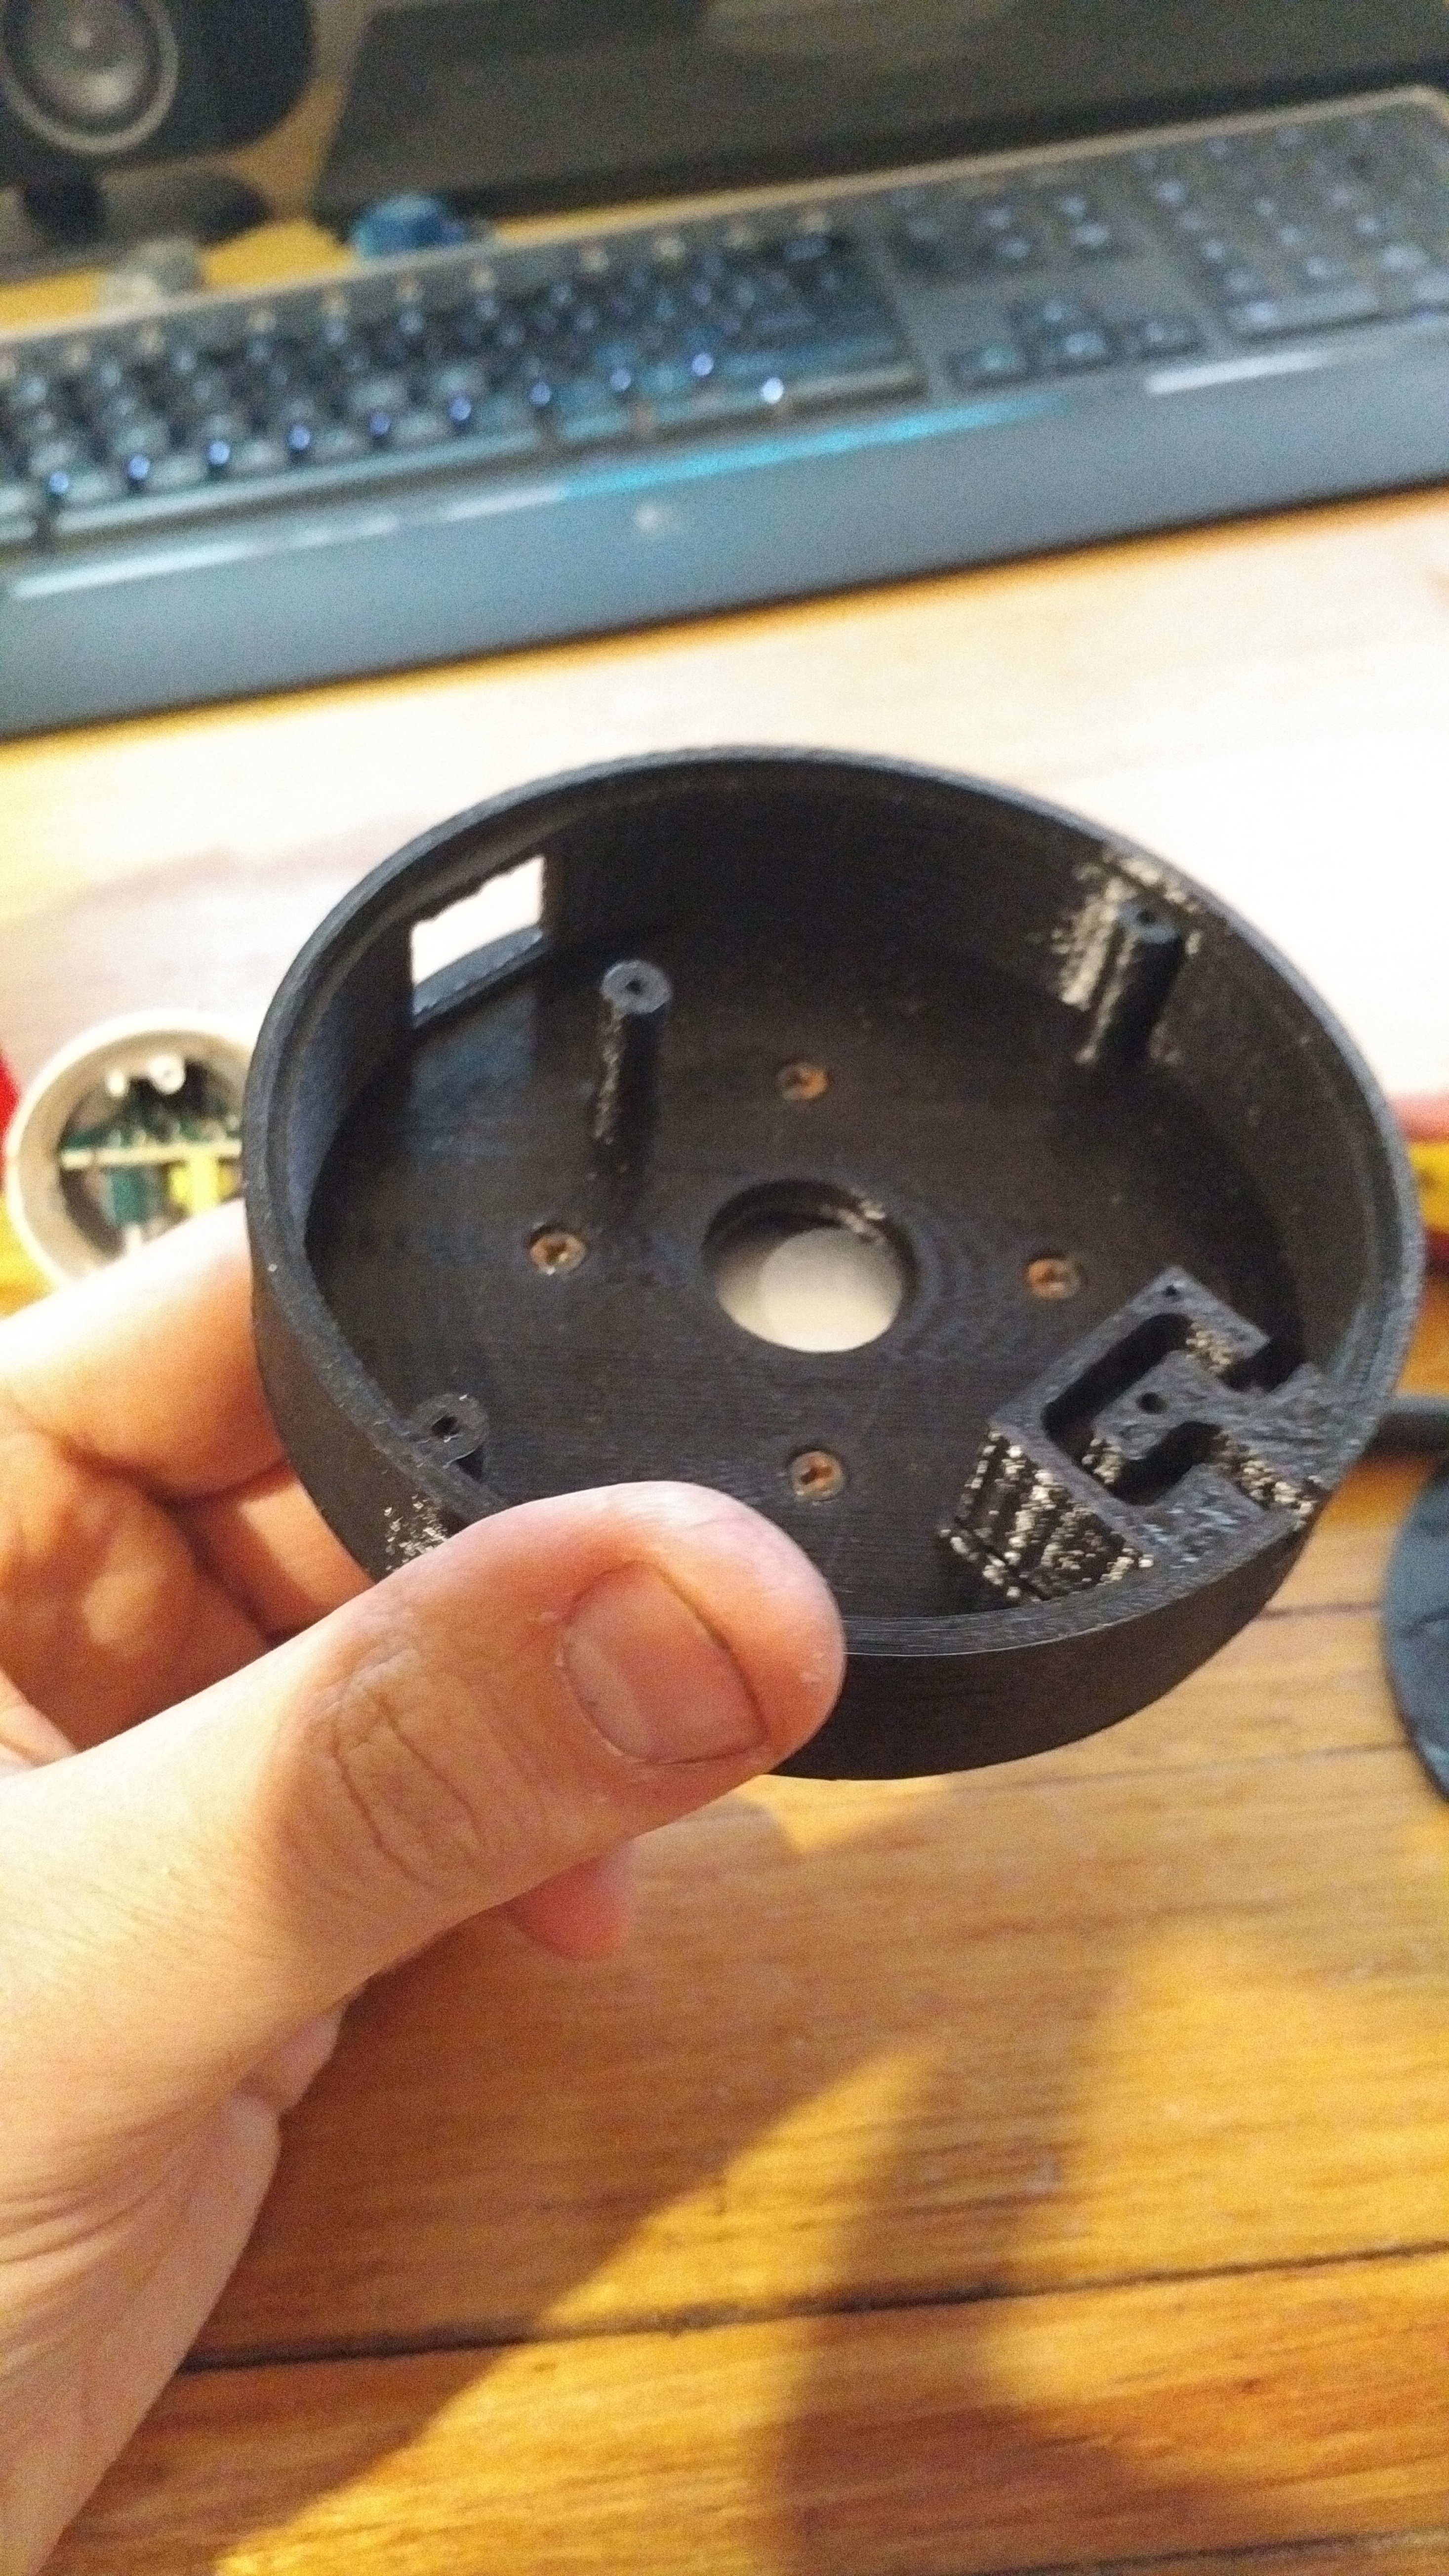
Once secured, place the LED panel inside the lamp holder and fix with two small self tappers.
Drill two holes for your wire through, then solder the wires onto the LED panel and feed them into the base unit. It’s now just a matter of soldering the wires from the LED panel to the power supply (checking that you have your polarity right) and you’re done with the low voltage side of things.
Feed the mains cord through the labyrinth clamp, then solder one wire to your switch and the other to the input terminal on the power supply board, then simply connect the output from the switch to the second mains point on your power supply board and you’re good to go. Don’t worry about polarity as this is AC power so it doesn’t matter. Use plenty of heat shrink tubing where needed.
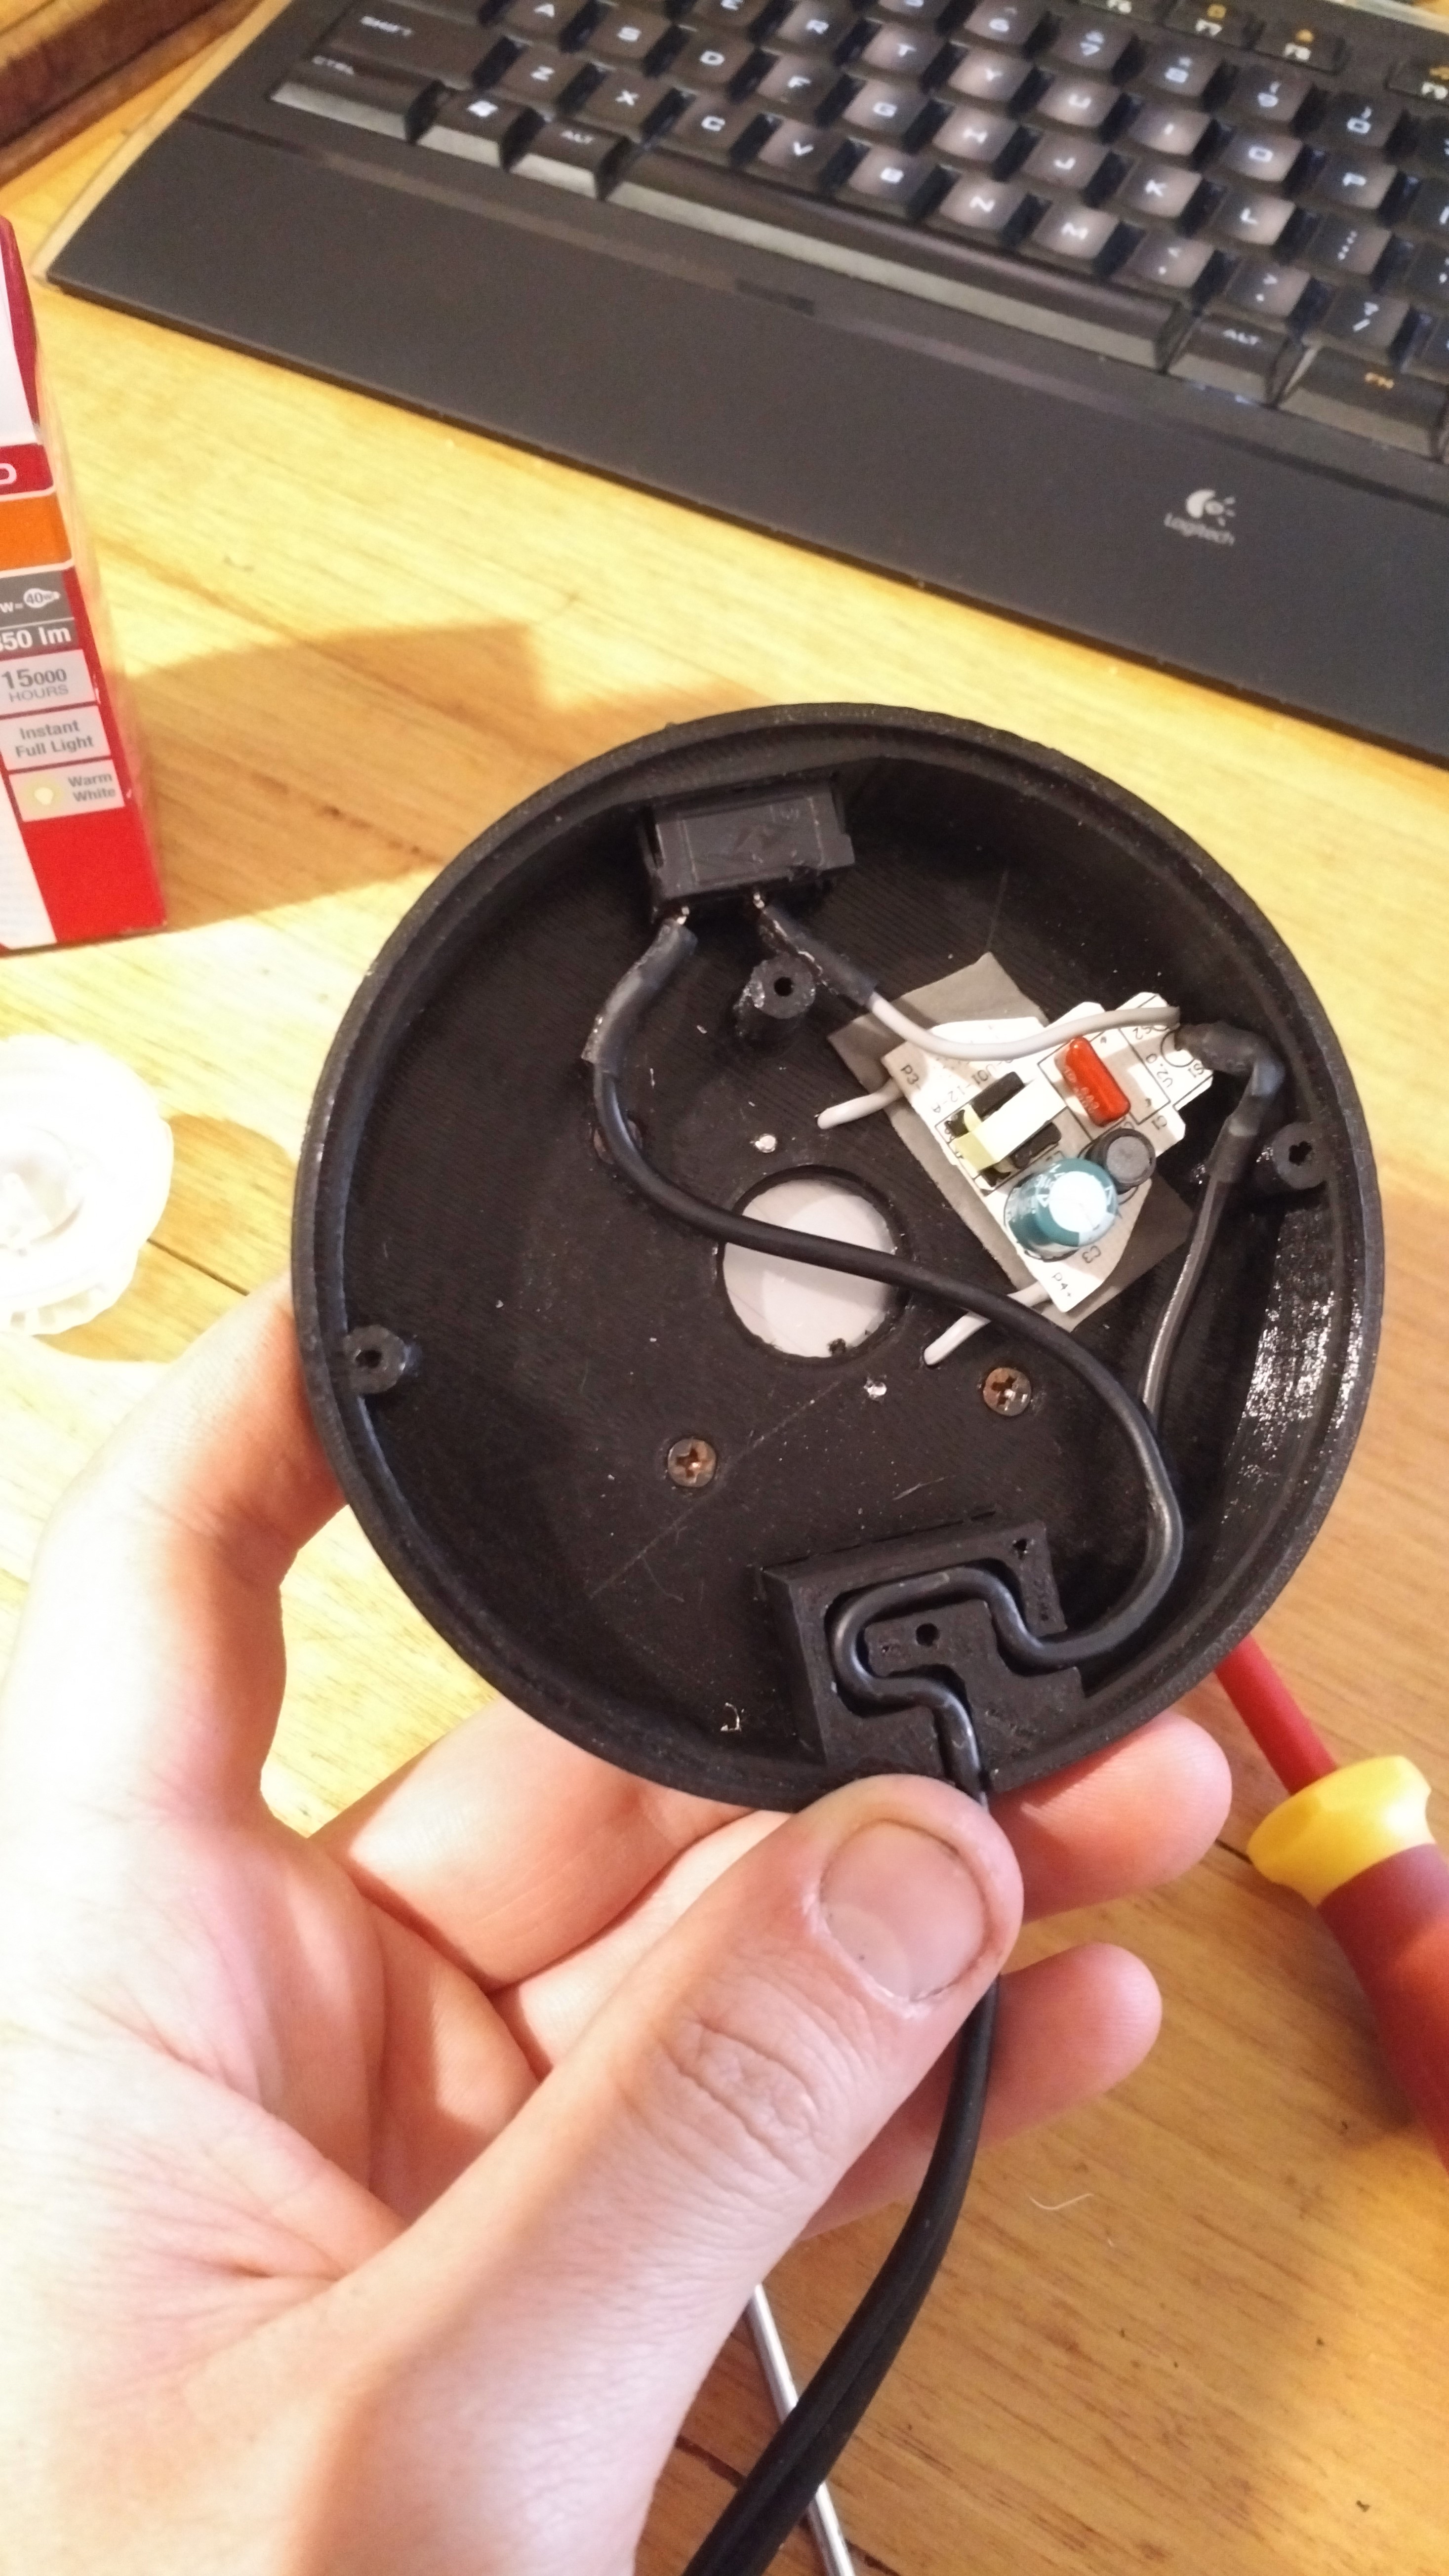
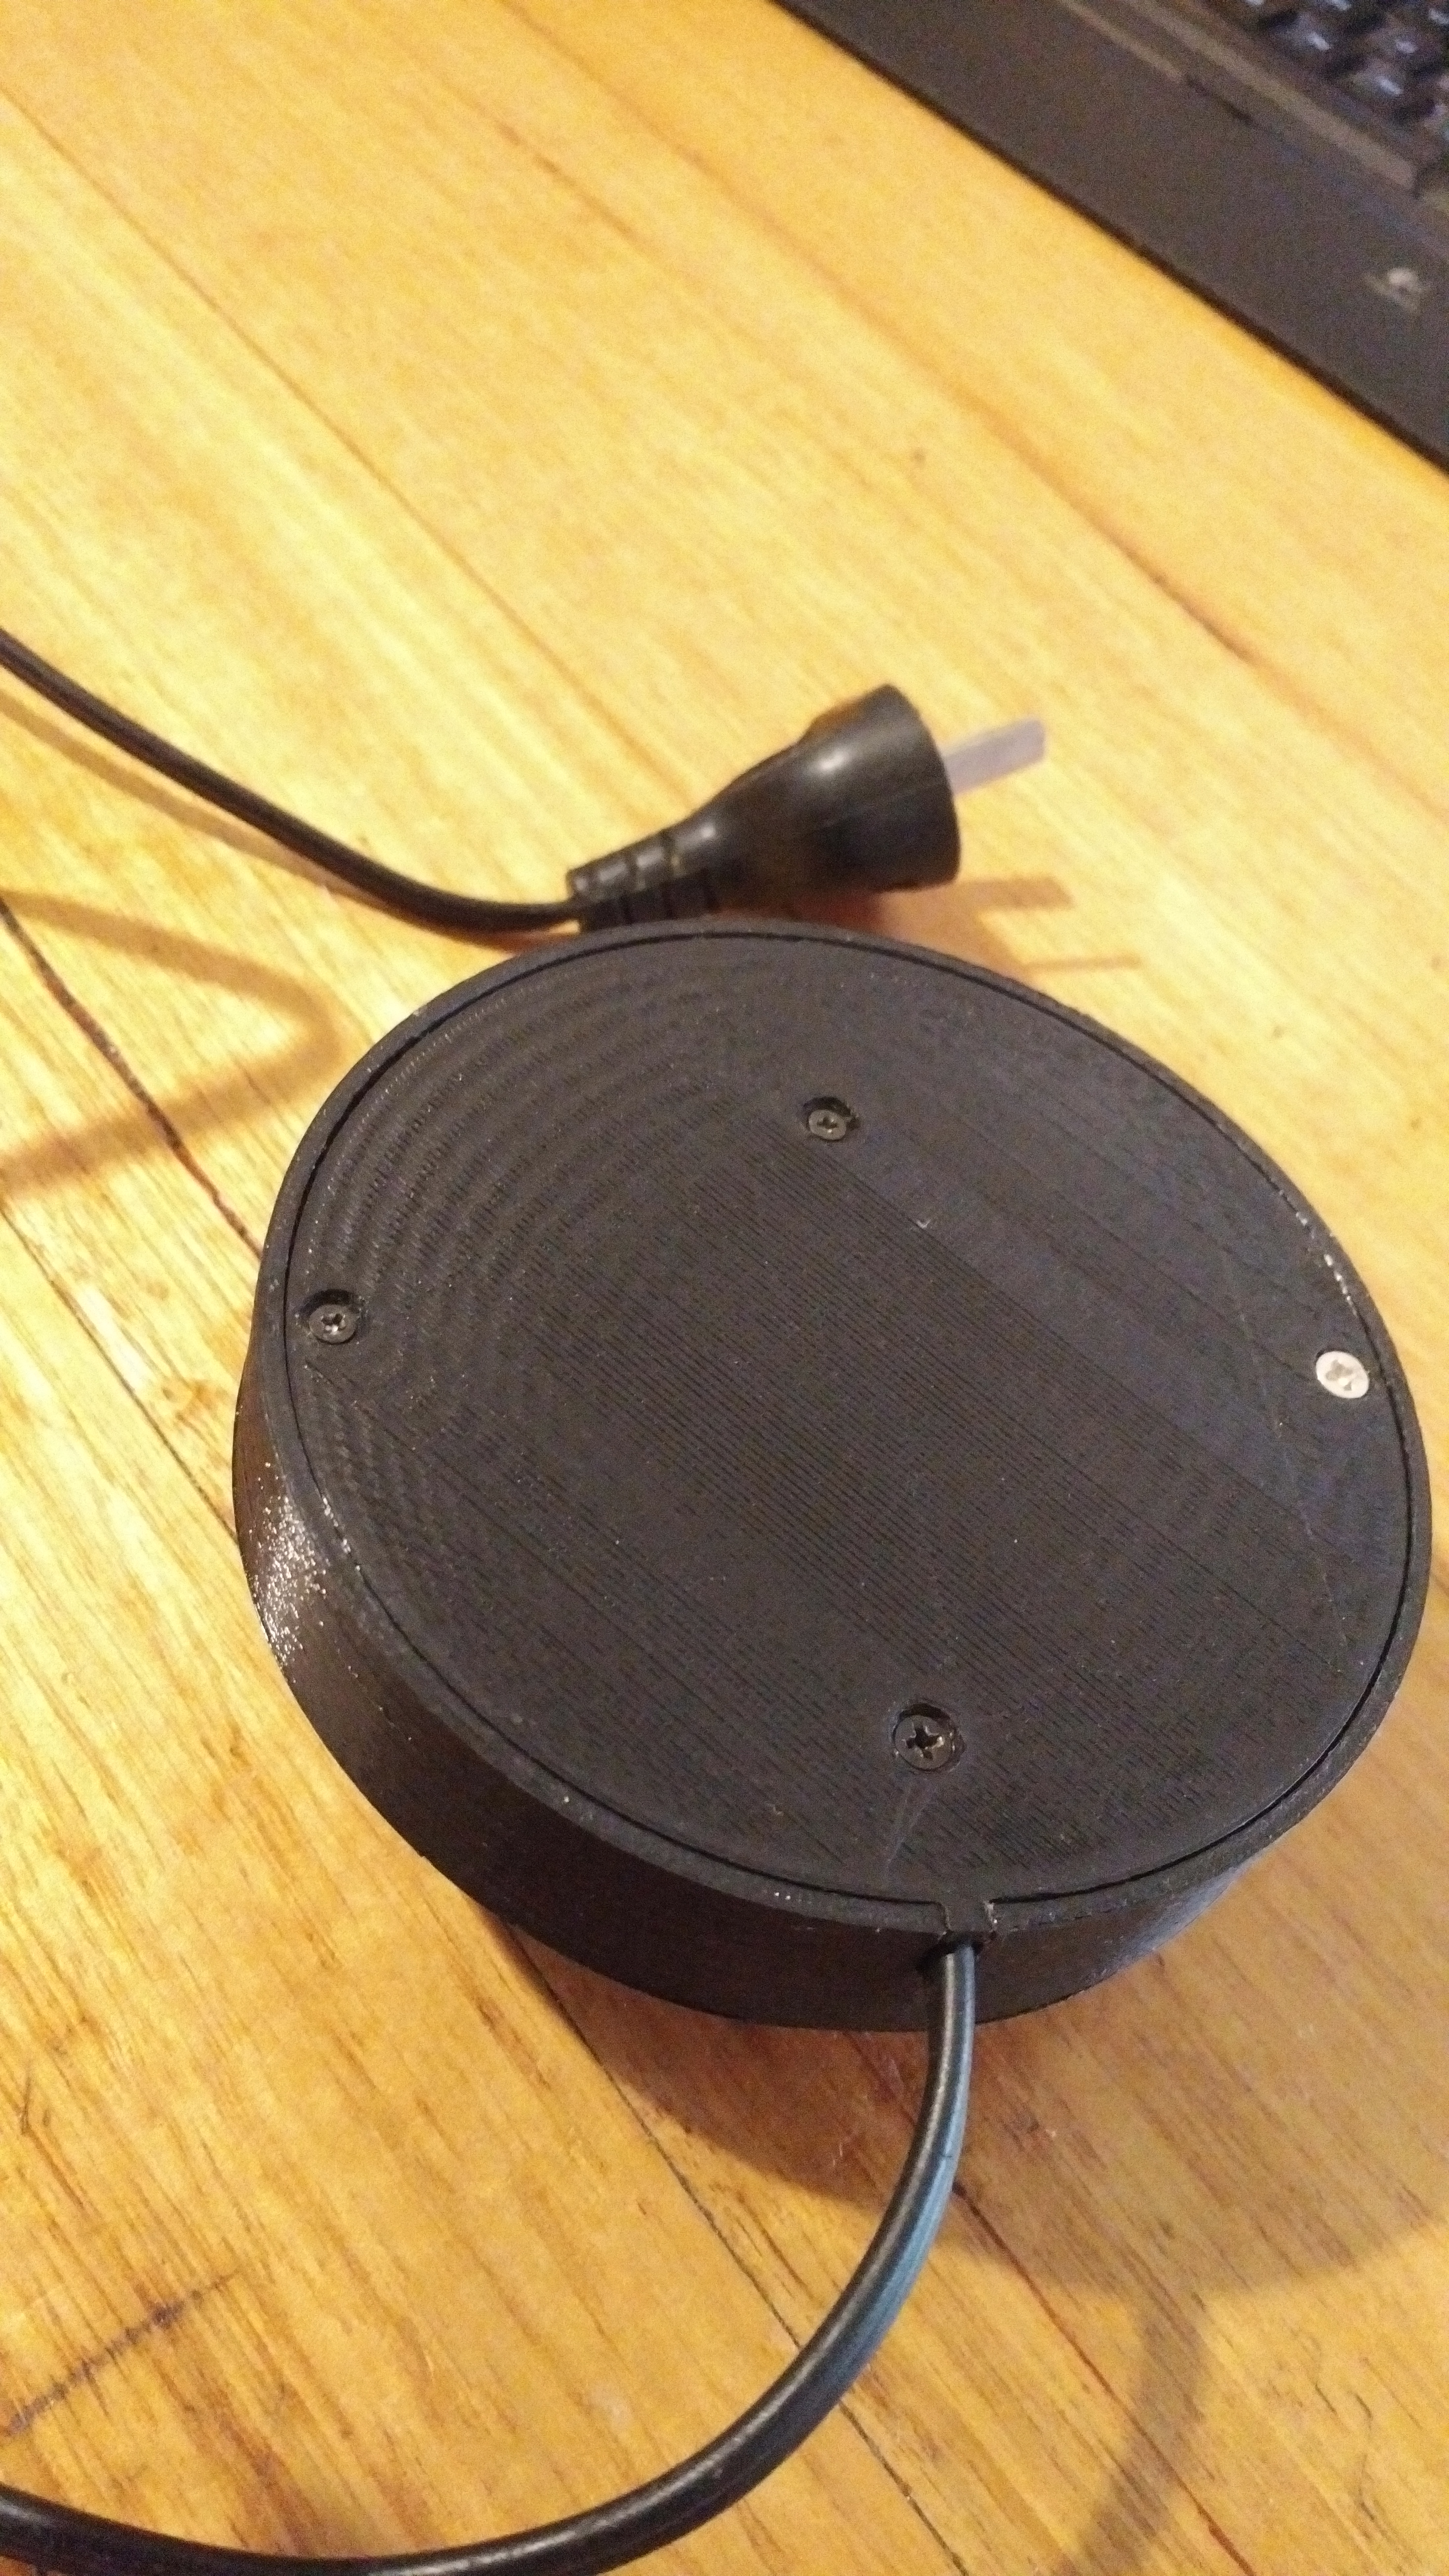
Attach the power supply board in place using some double sided foam tape, then screw the base plate on.
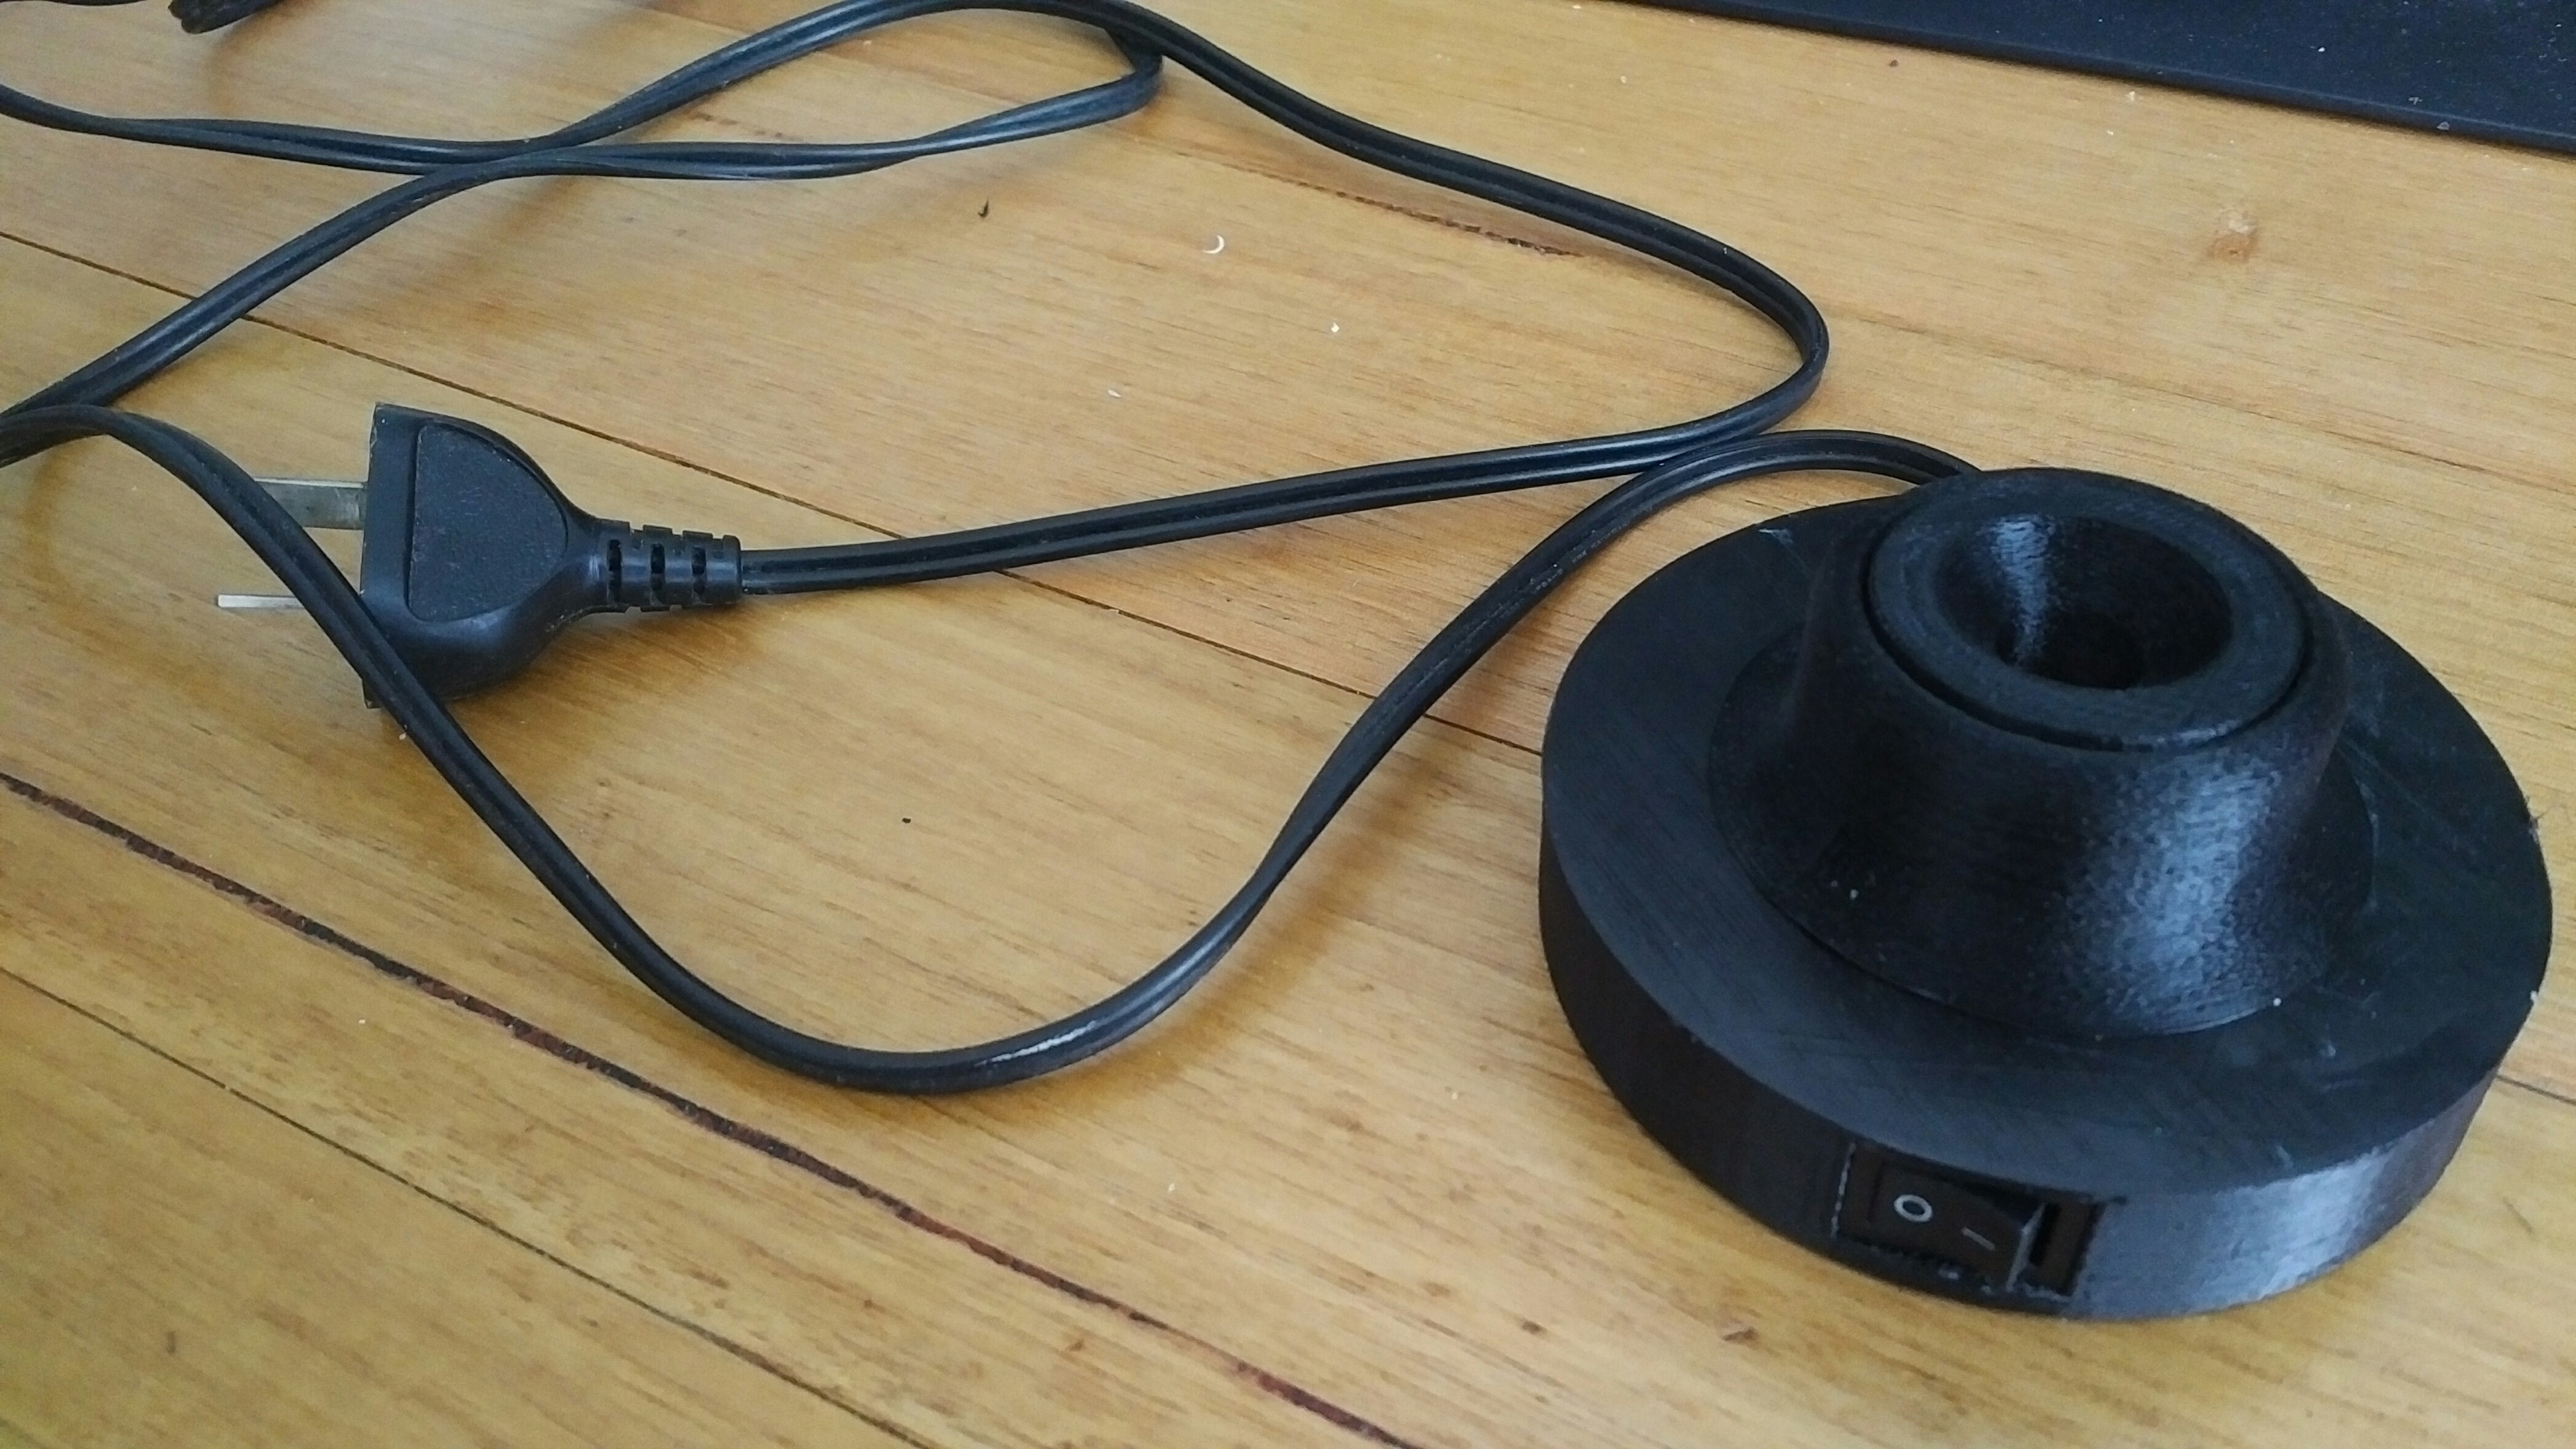
Now all you need to do is select the correct sized lamp insert for your eggs and give it a go!
I’ve made a few different sized inserts, but you can also make up some of your own as they are removable and just slot in place.
As always the STL files