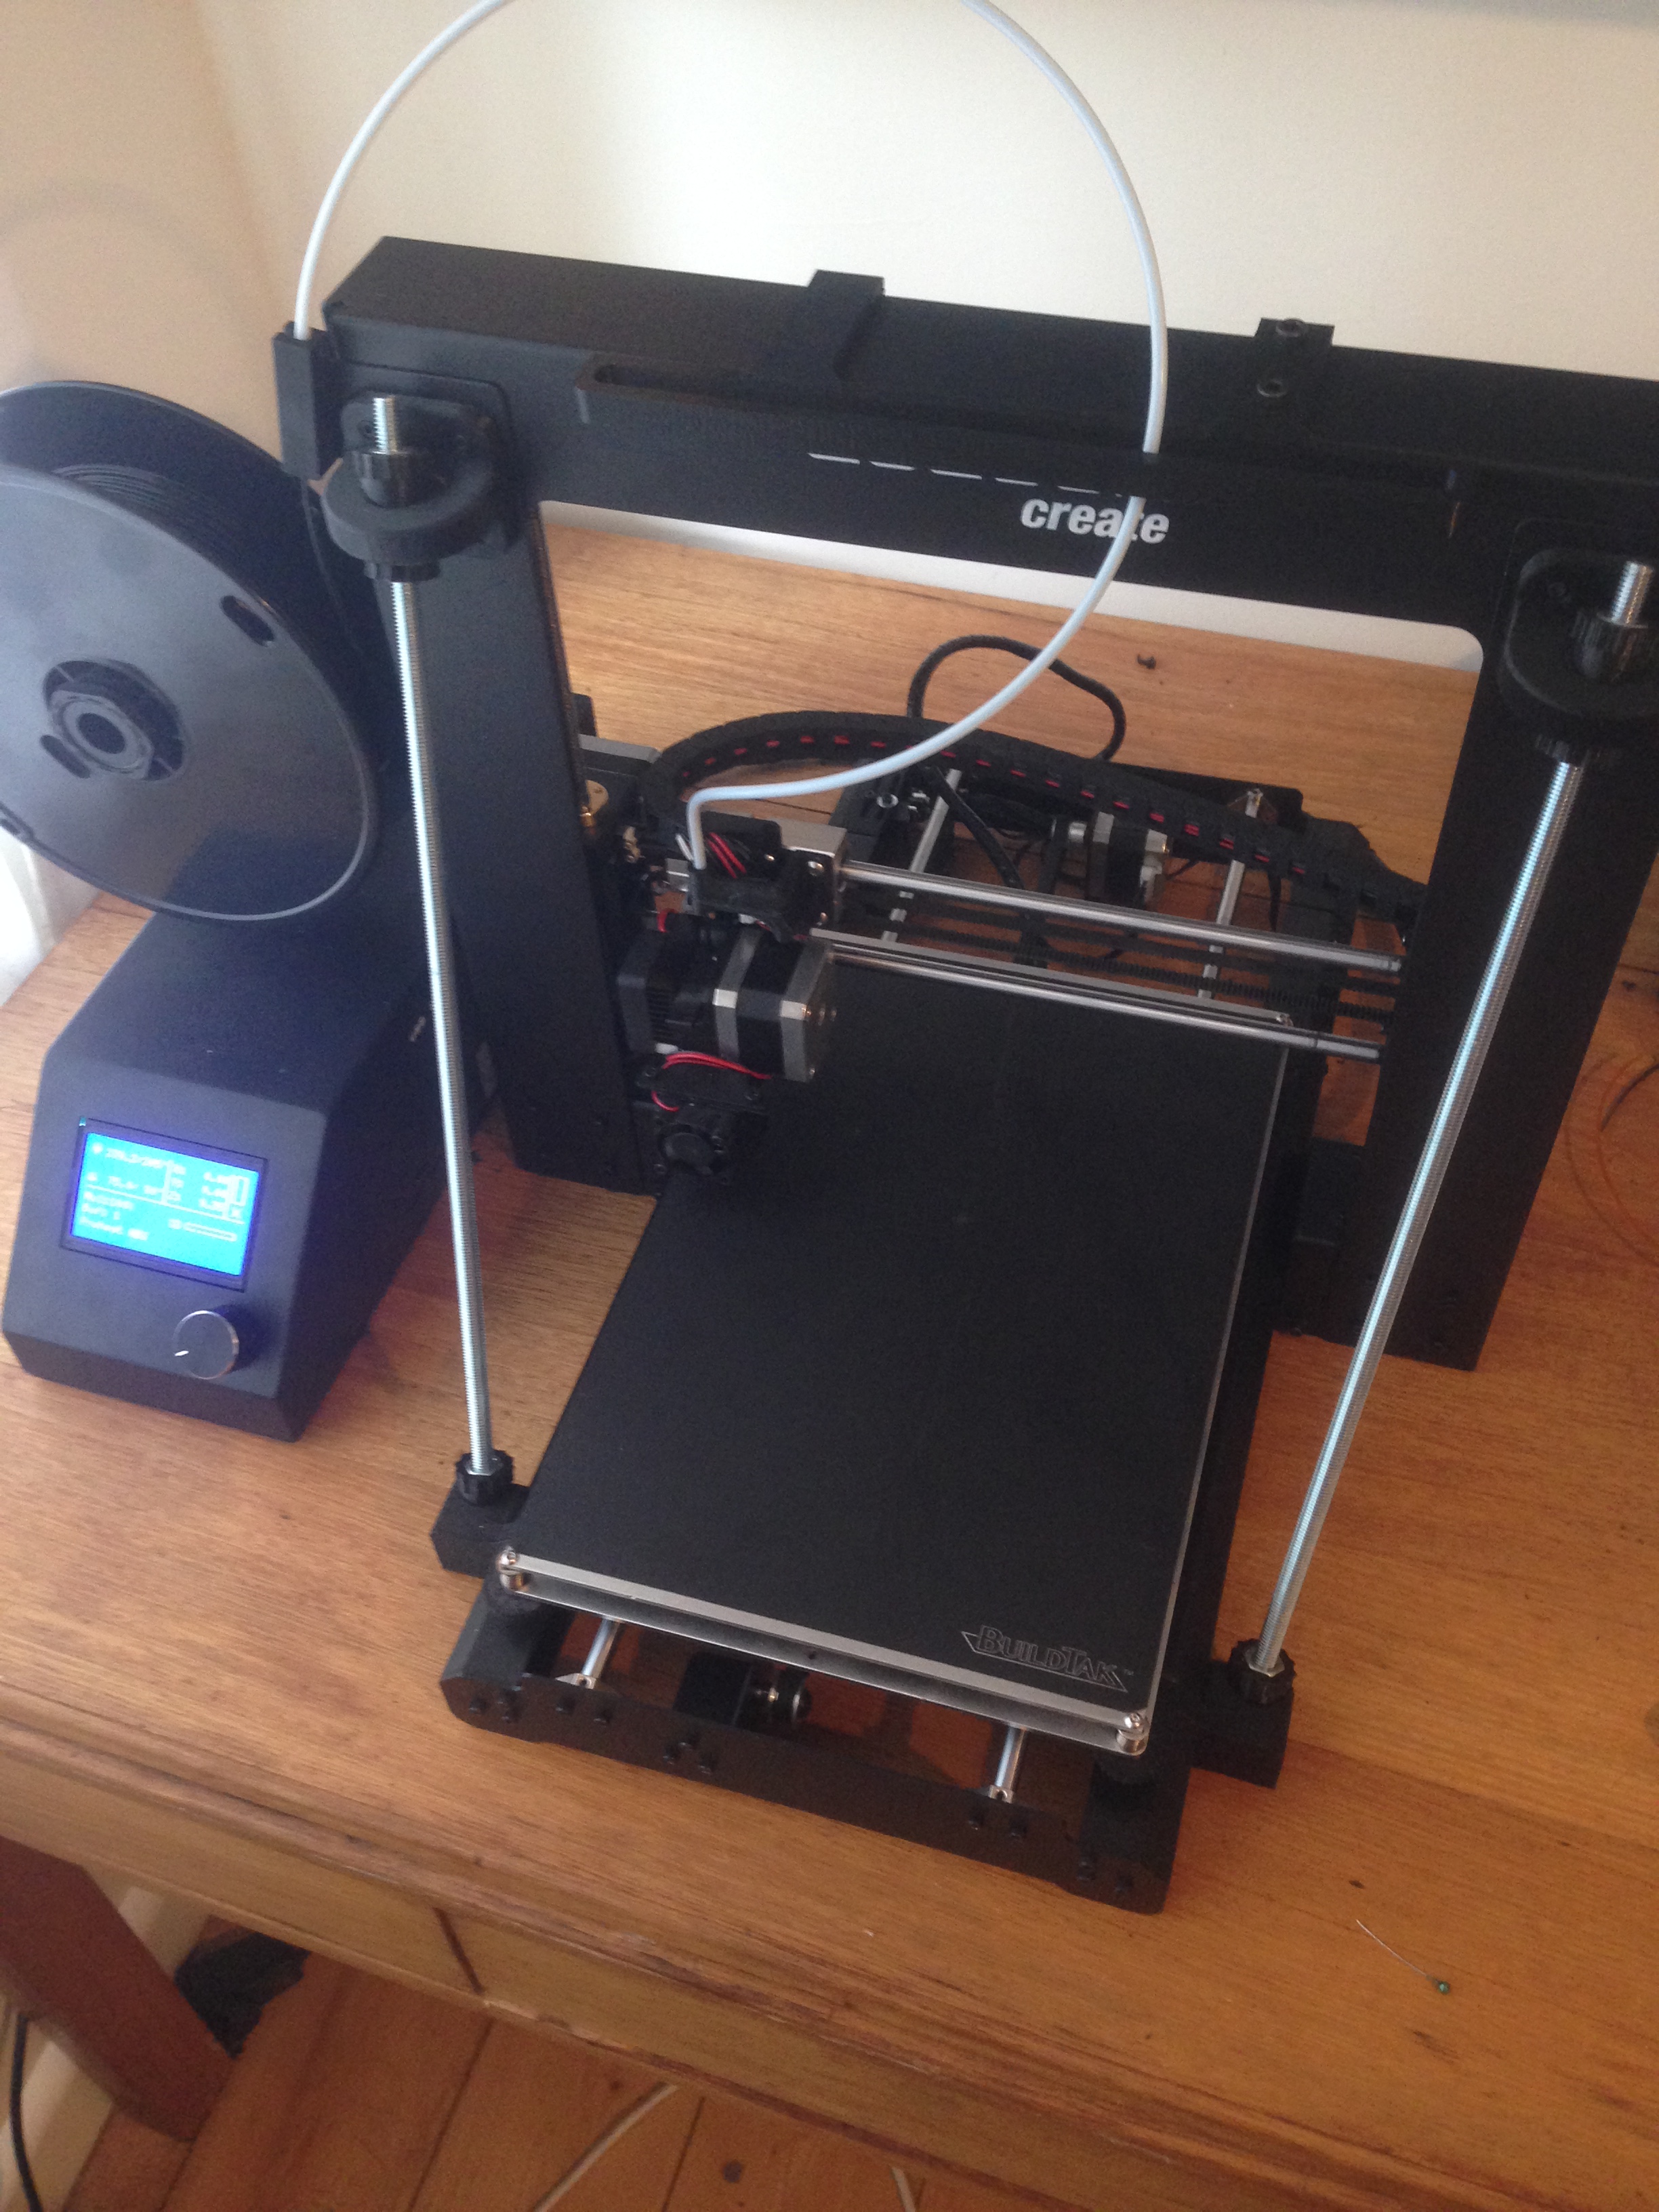
So i went shopping in ALDI a little while ago and ended up coming home with a 3D printer and a bunch of other impulse items. The Cocoon Create 3D printer is actually just a re-badged Wanhao Duplicator i3 which is a very popular entry level printer with a huge online community. However after using it for a little while I quickly realised that I’d quite like to print parts that were longer than 20cm, so I decided to make a very simple and cheap modification which would allow for a 200x300mm heated bed to work on a Wanhao i3 Duplicator. I also posted this tutorial on thingiverse.com which you can access here http://www.thingiverse.com/thing:1495689
You will need the following parts for it:
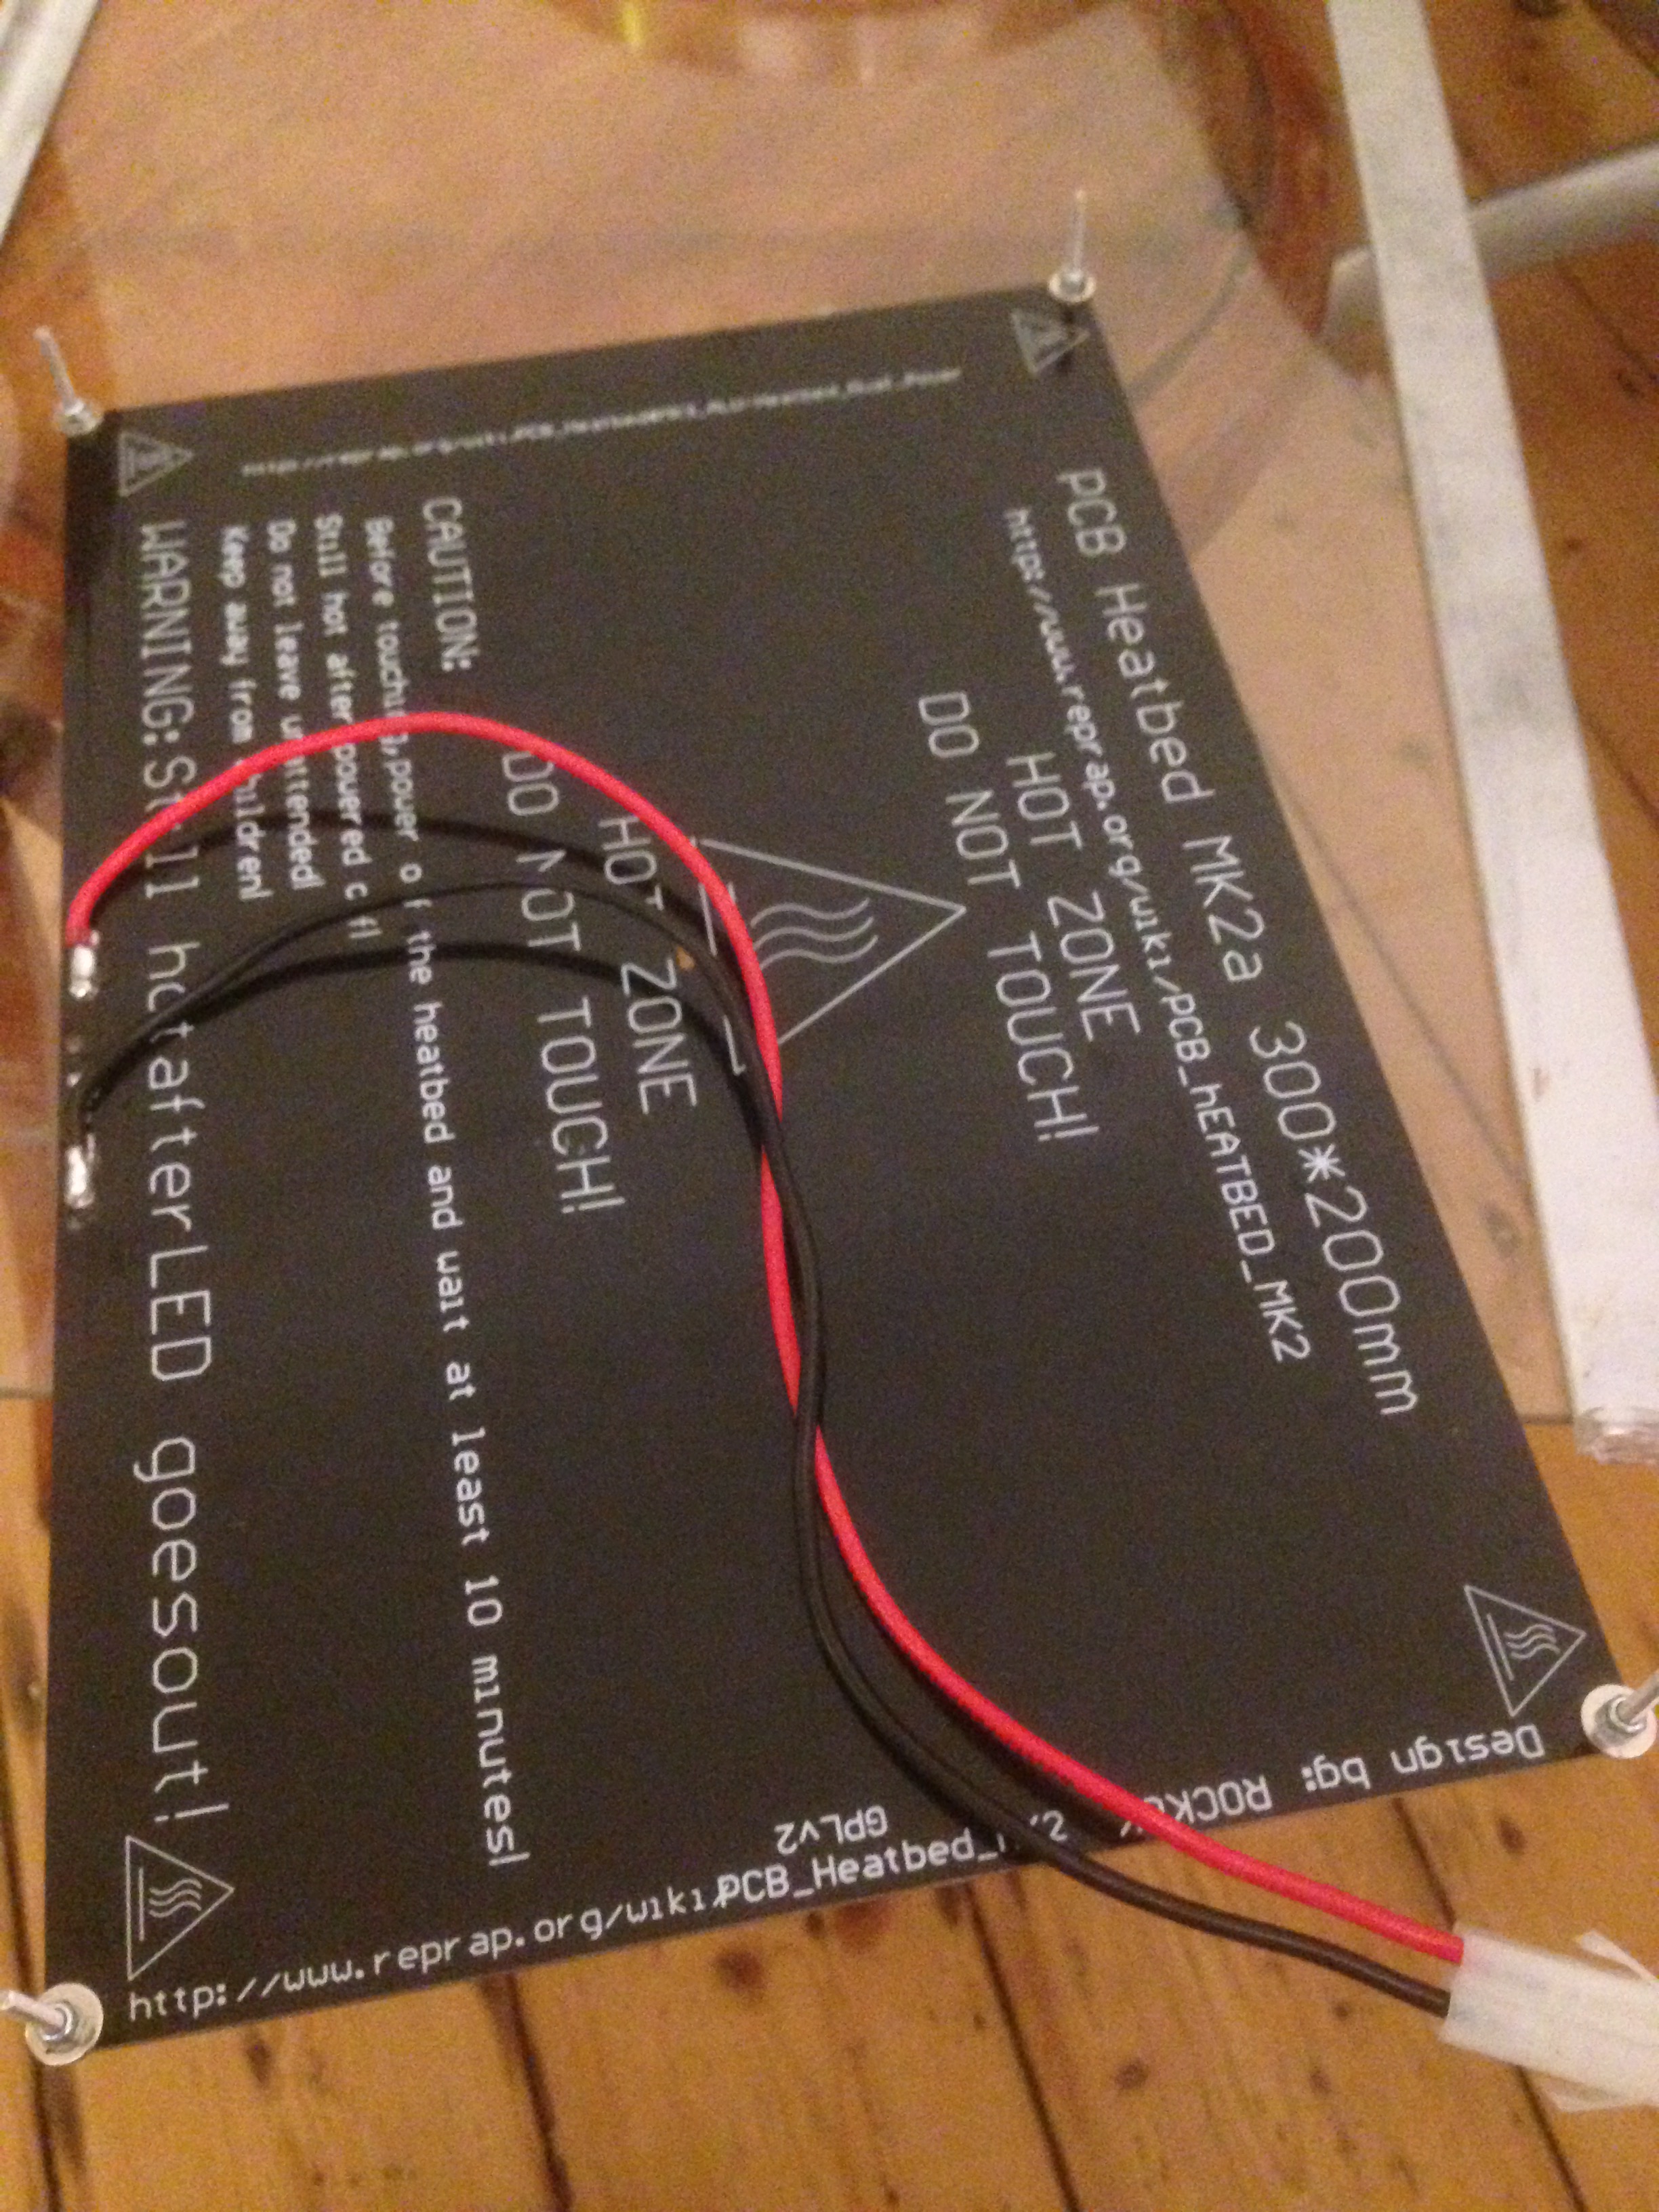
MK2A 300x200x3.0mm PCB Aluminum Heatbed
If you search for this term on aliexpress you will find it (MK2A 3002003.0mm RepRap RAMPS 1.4 PCB Aluminum Heatbed heated bed MK3 For 3D Printer / MK2B 300x200x3.0mm)
http://www.aliexpress.com/item/MK2A-300-200-3-0mm-RepRap-RAMPS-1-4-PCB-Aluminum-Heatbed-heated-bed-MK3-For/32581755544.html
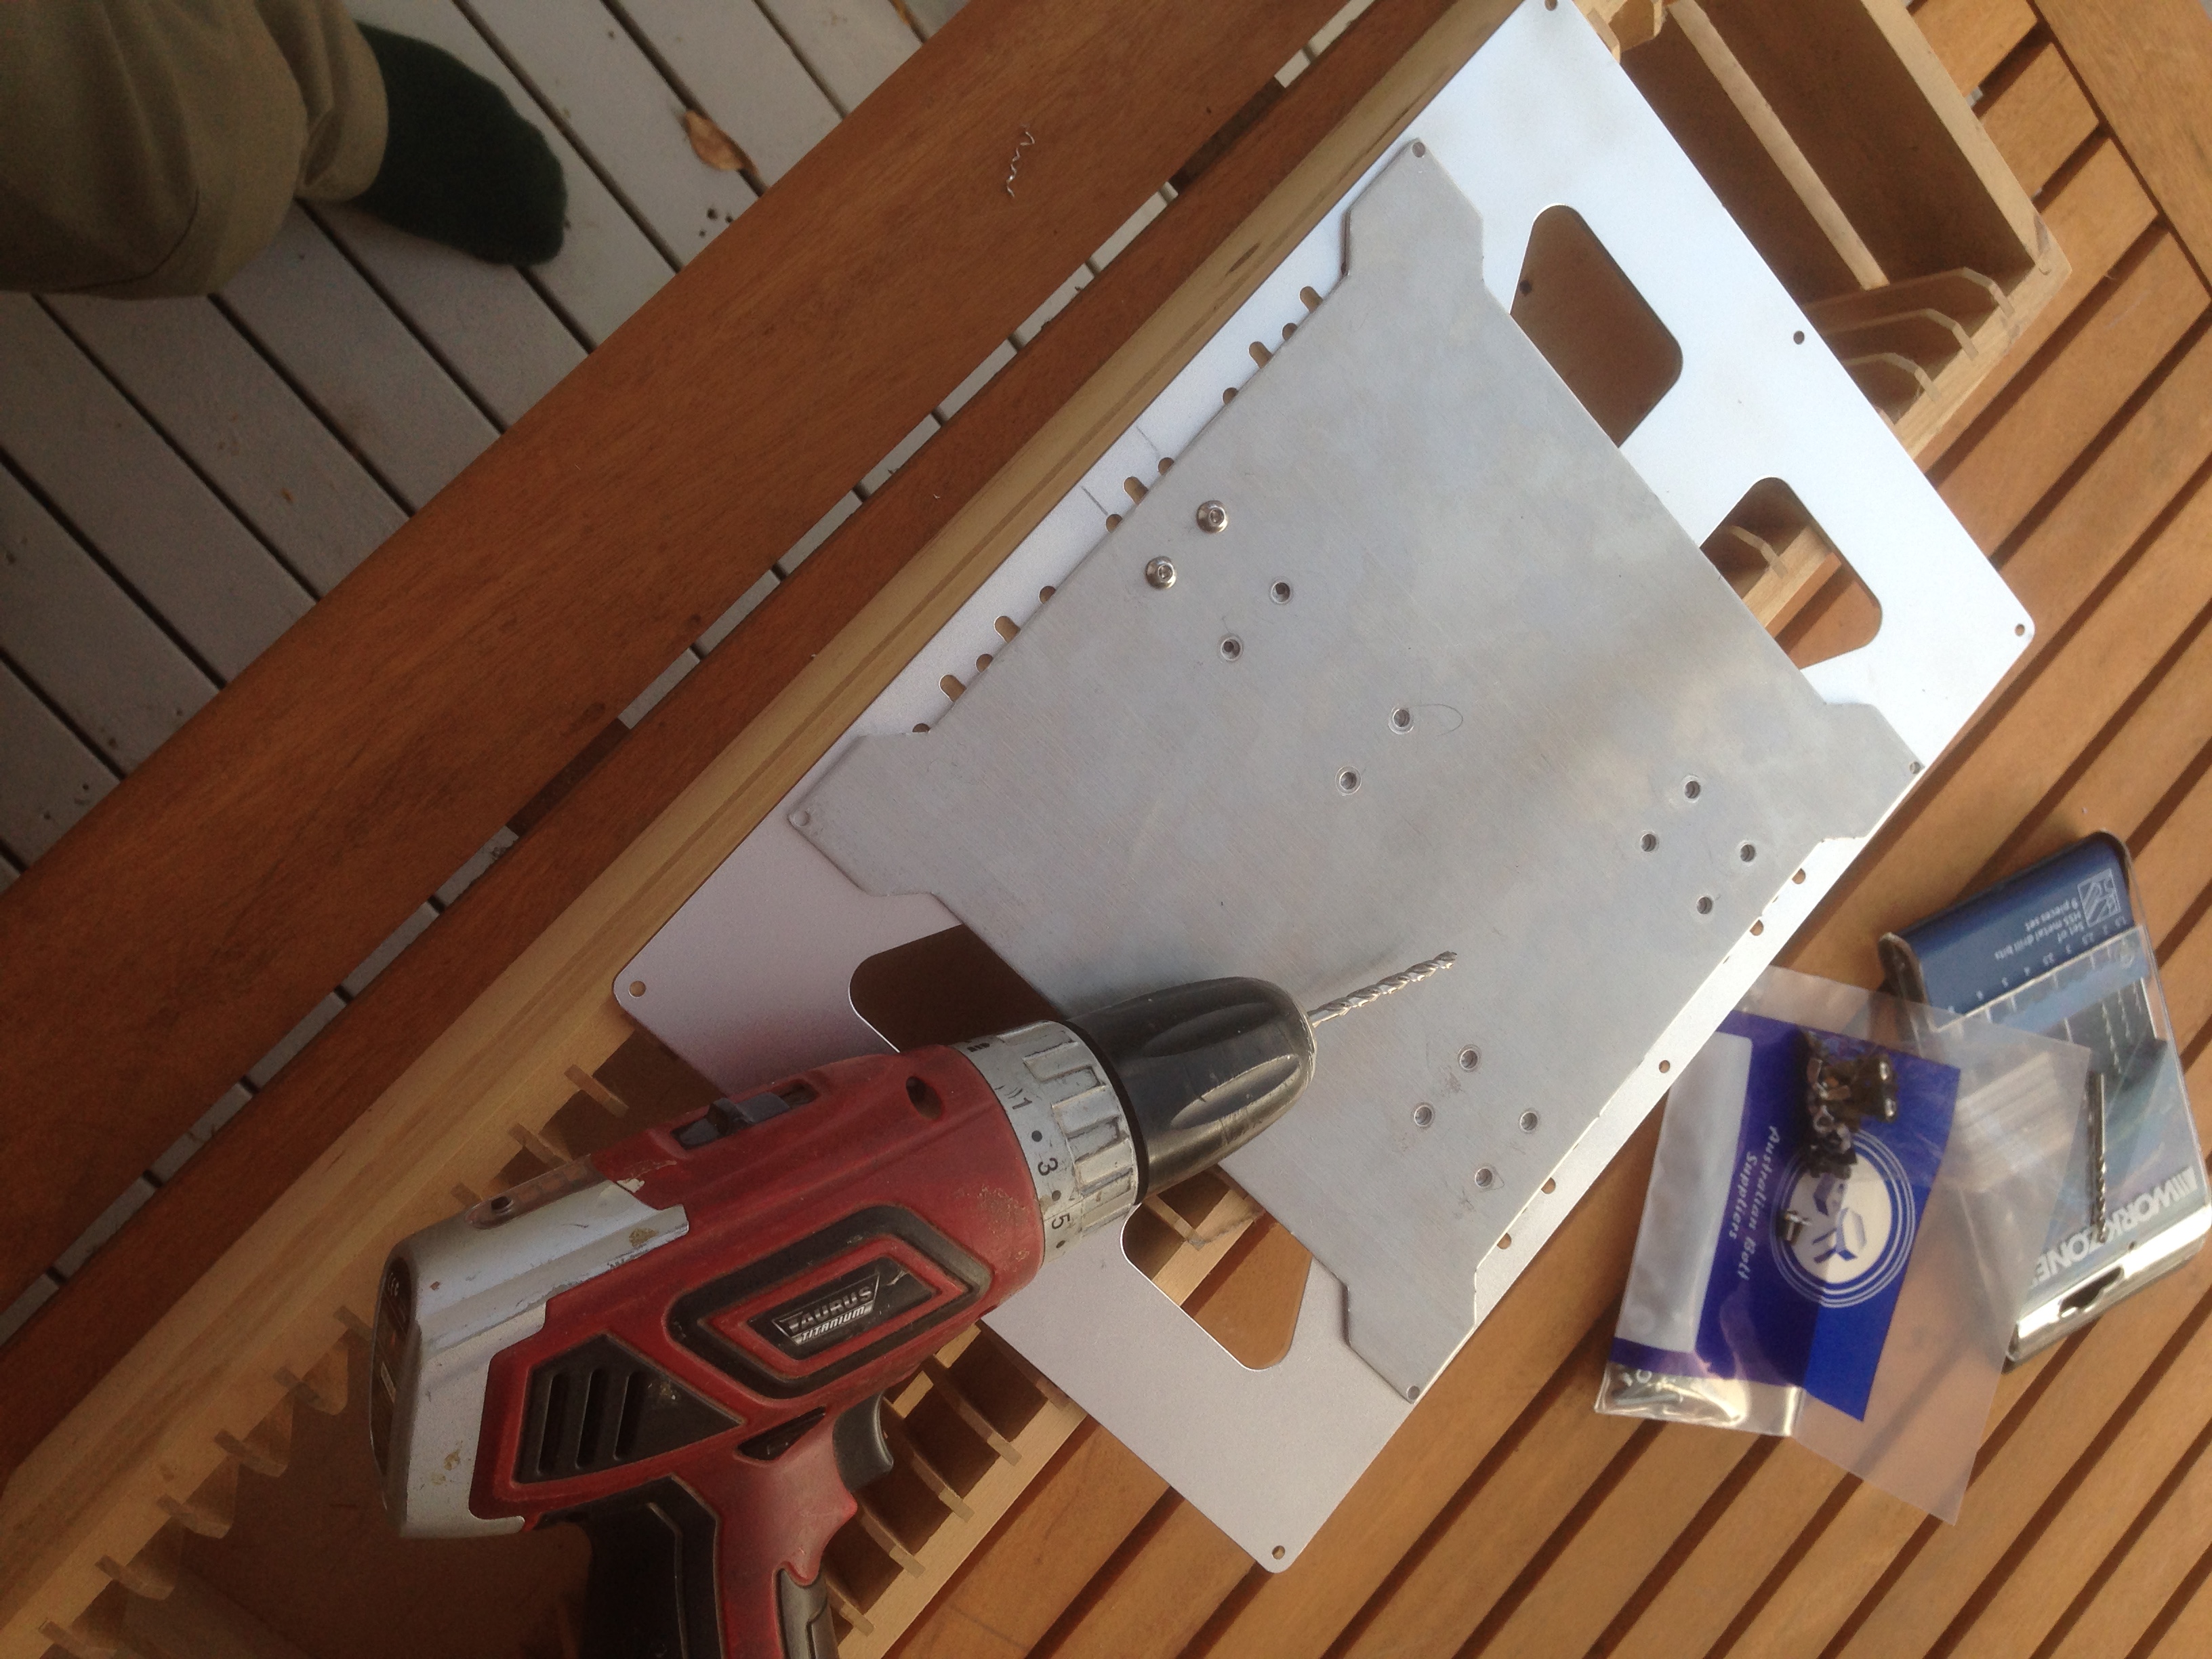
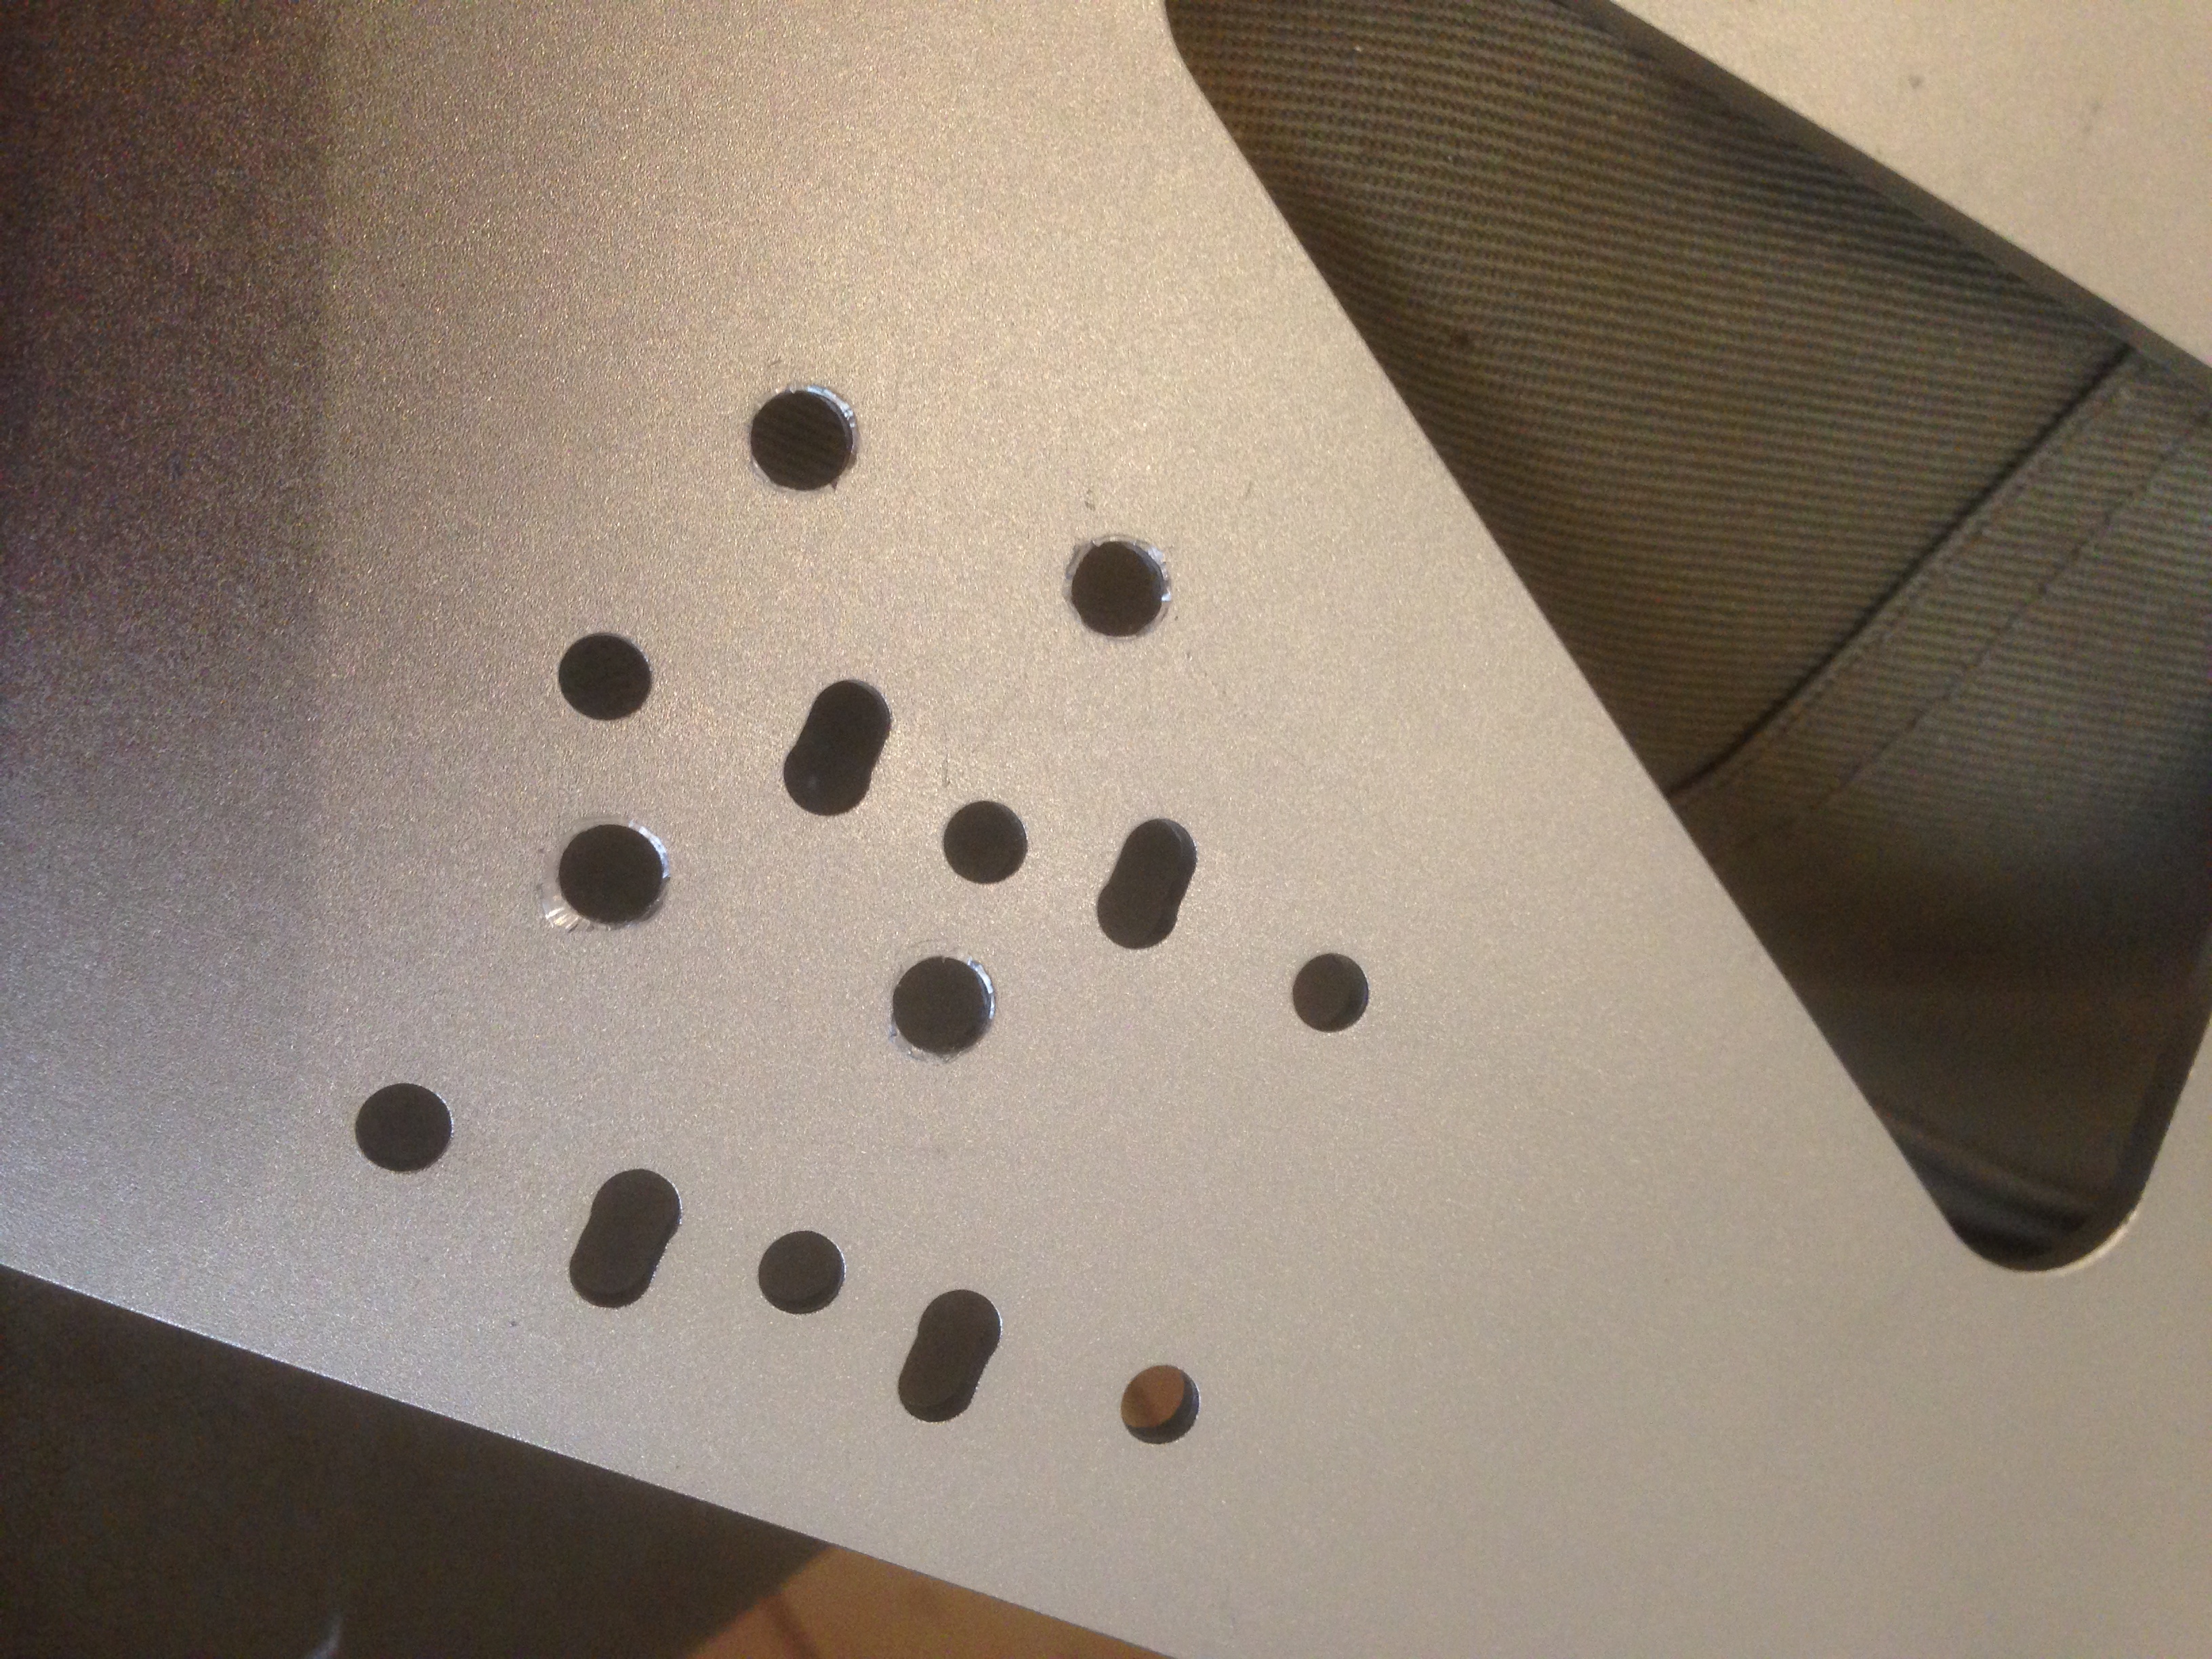
Aluminum Y Carriage Plate XL 300x200mm
If you search for this term on aliexpress you will find it (Large Size Aluminum Y Carriage Plate XL 300x200mm Prusa i3 RepRap 3D Printer Upgrade)
http://www.aliexpress.com/item/Large-Size-Aluminum-Y-Carriage-Plate-XL-300x200mm-Prusa-i3-RepRap-3D-Printer-Upgrade/32608147676.html
8mm x 500mm Linear Shaft
If you search for this term on aliexpress you will find it (HOT OD 8mm x 500mm Cylinder Liner Rail Linear Shaft Optical Axis chrome For 3D Printer Accessory)
http://www.aliexpress.com/item/HOT-OD-8mm-x-500mm-Cylinder-Liner-Rail-Linear-Shaft-Optical-Axis-chrome-For-3D-Printer/32559827529.html
GT2-6mm open timing belt
If you search for this term on aliexpress you will find it
(3d printer parts Hot sale 2meter GT2-6mm open timing belt width 6mm GT2 belt 2GT)
http://www.aliexpress.com/item/3d-printer-parts-Hot-sale-2meter-GT2-6mm-open-timing-belt-width-6mm-GT2-belt-2GT/32259050610.html
Which should all come in under $100AUD or about $75USD
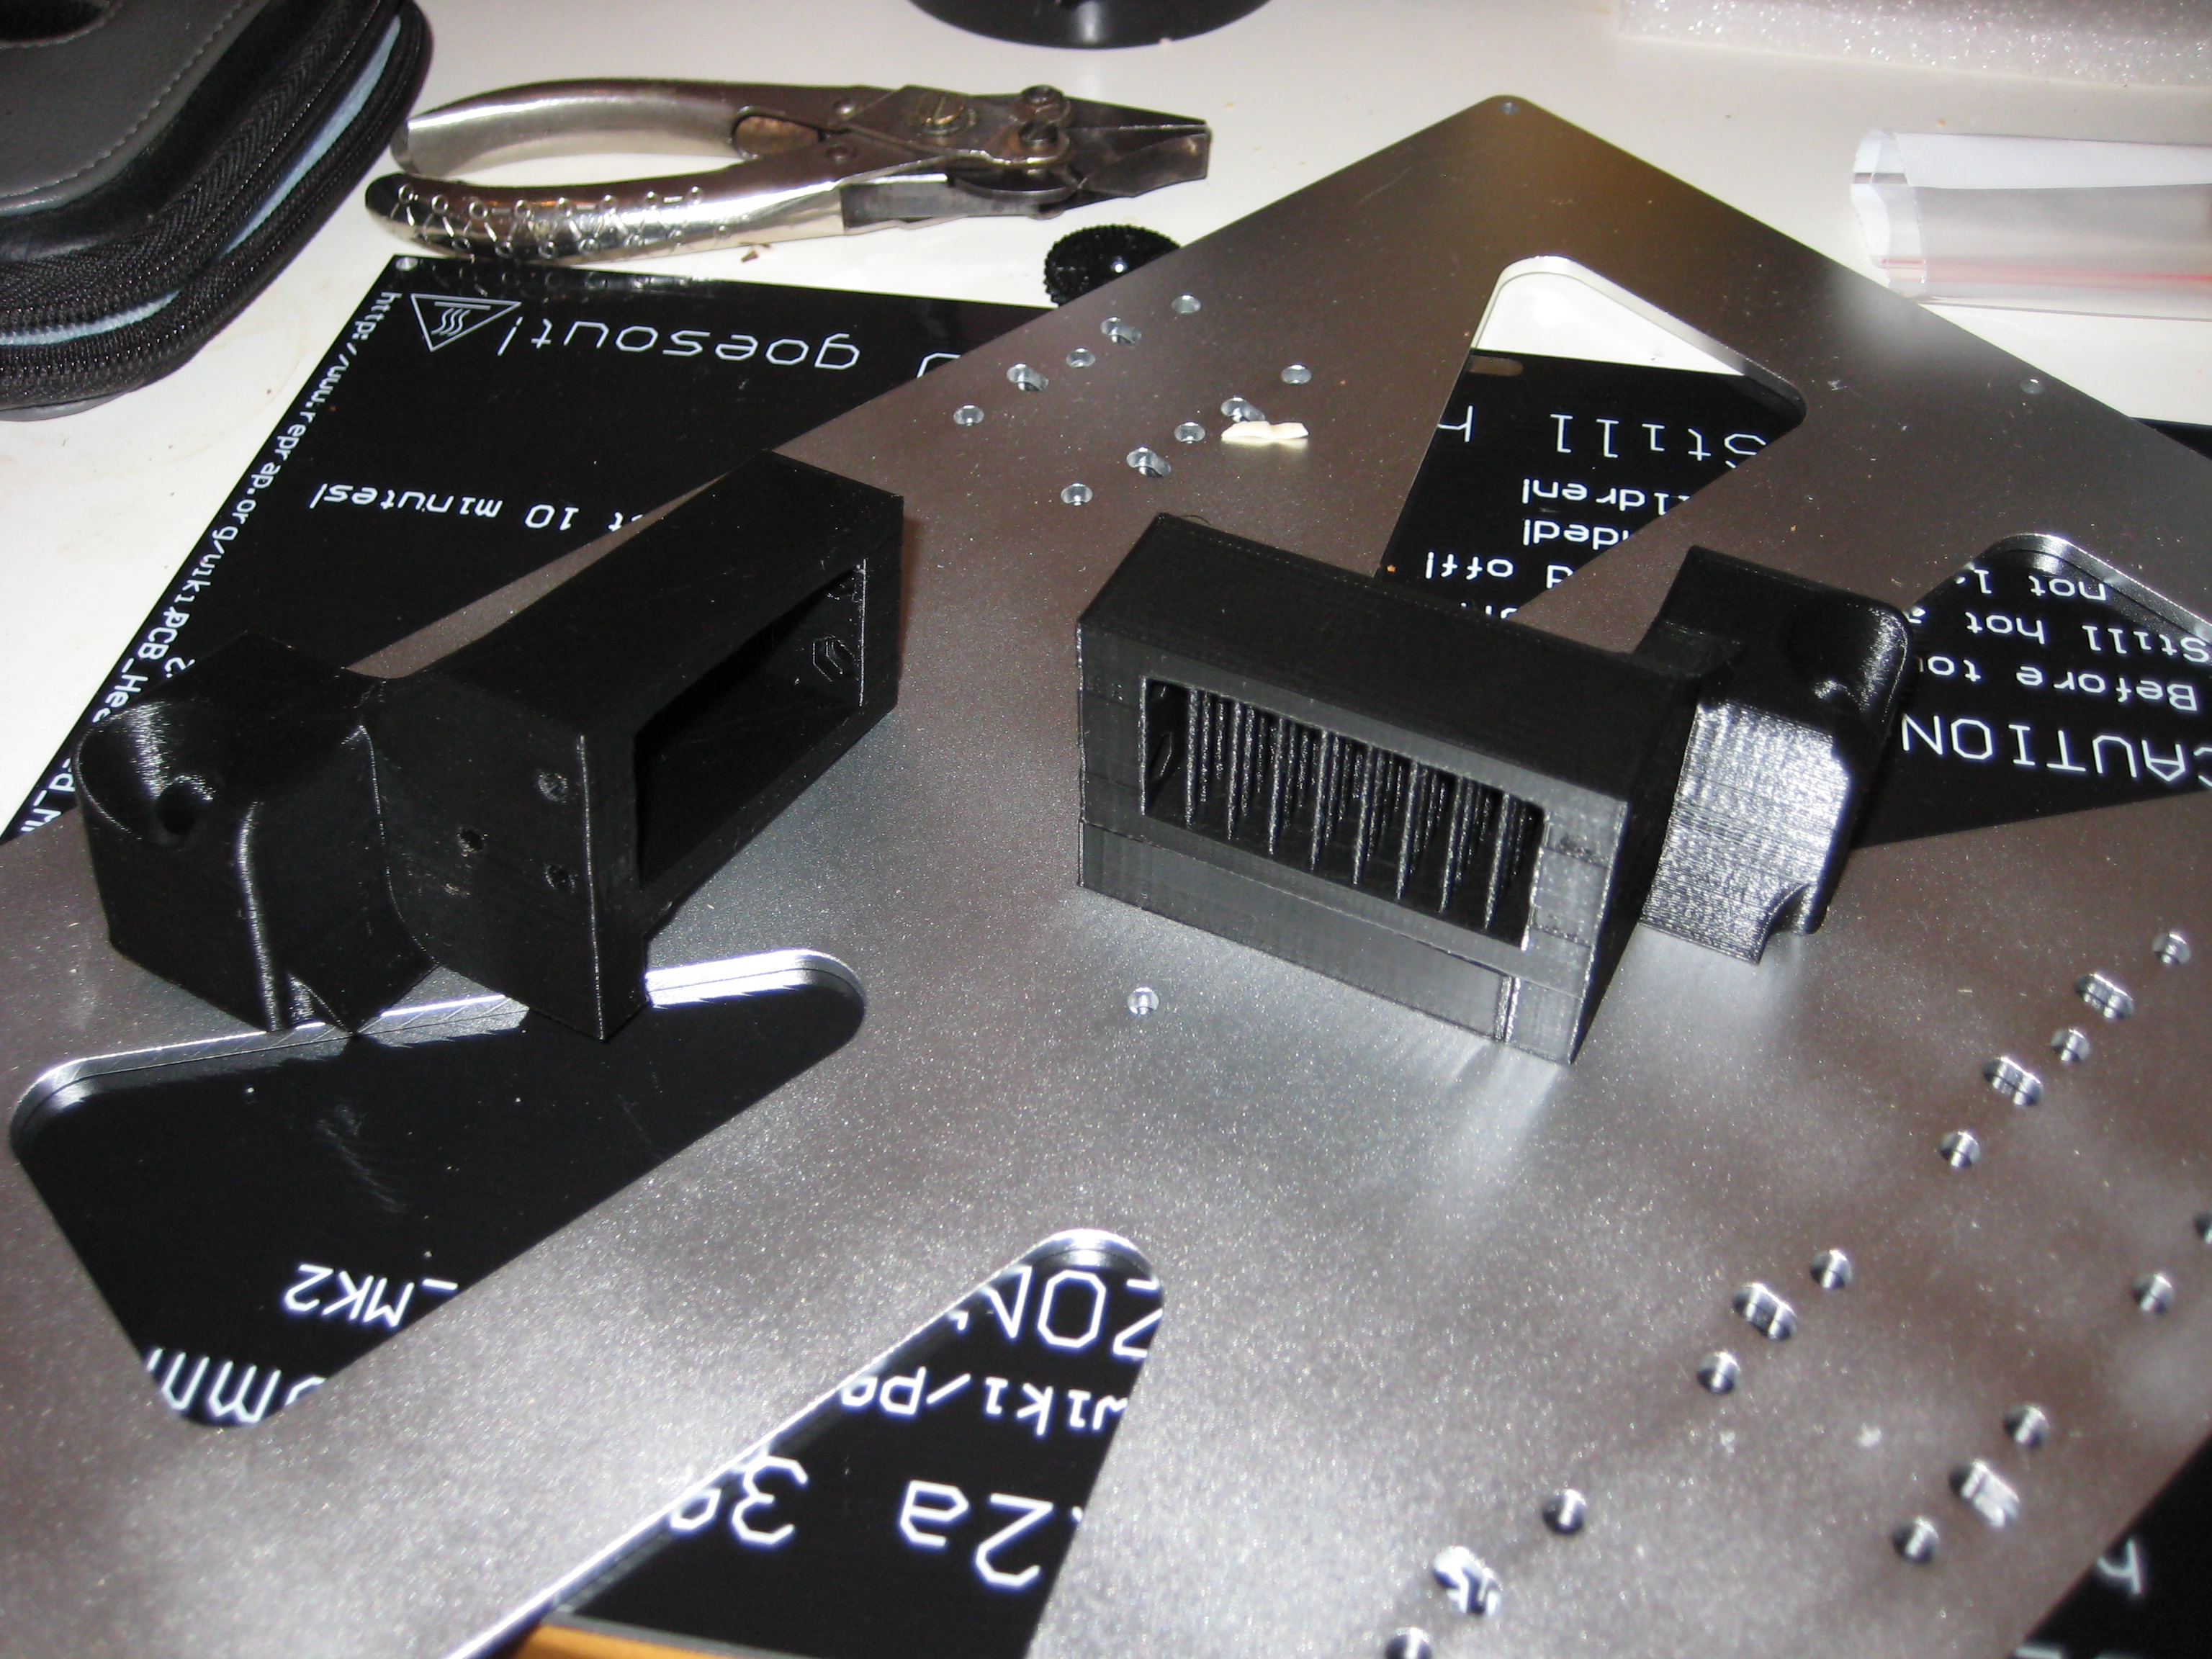
You will want to print two front extensions, one being the mirror image of your first print. Then you will want to print a mirrored image of the plain extension back and a normal version of the extension back with limit switch. Don’t forget to orient/rotate these parts in your slicer, the STL files are straight out of cad and are not on the most efficient plane. You will also notice some supports designed into the front extensions, they remove easily and make all the difference!
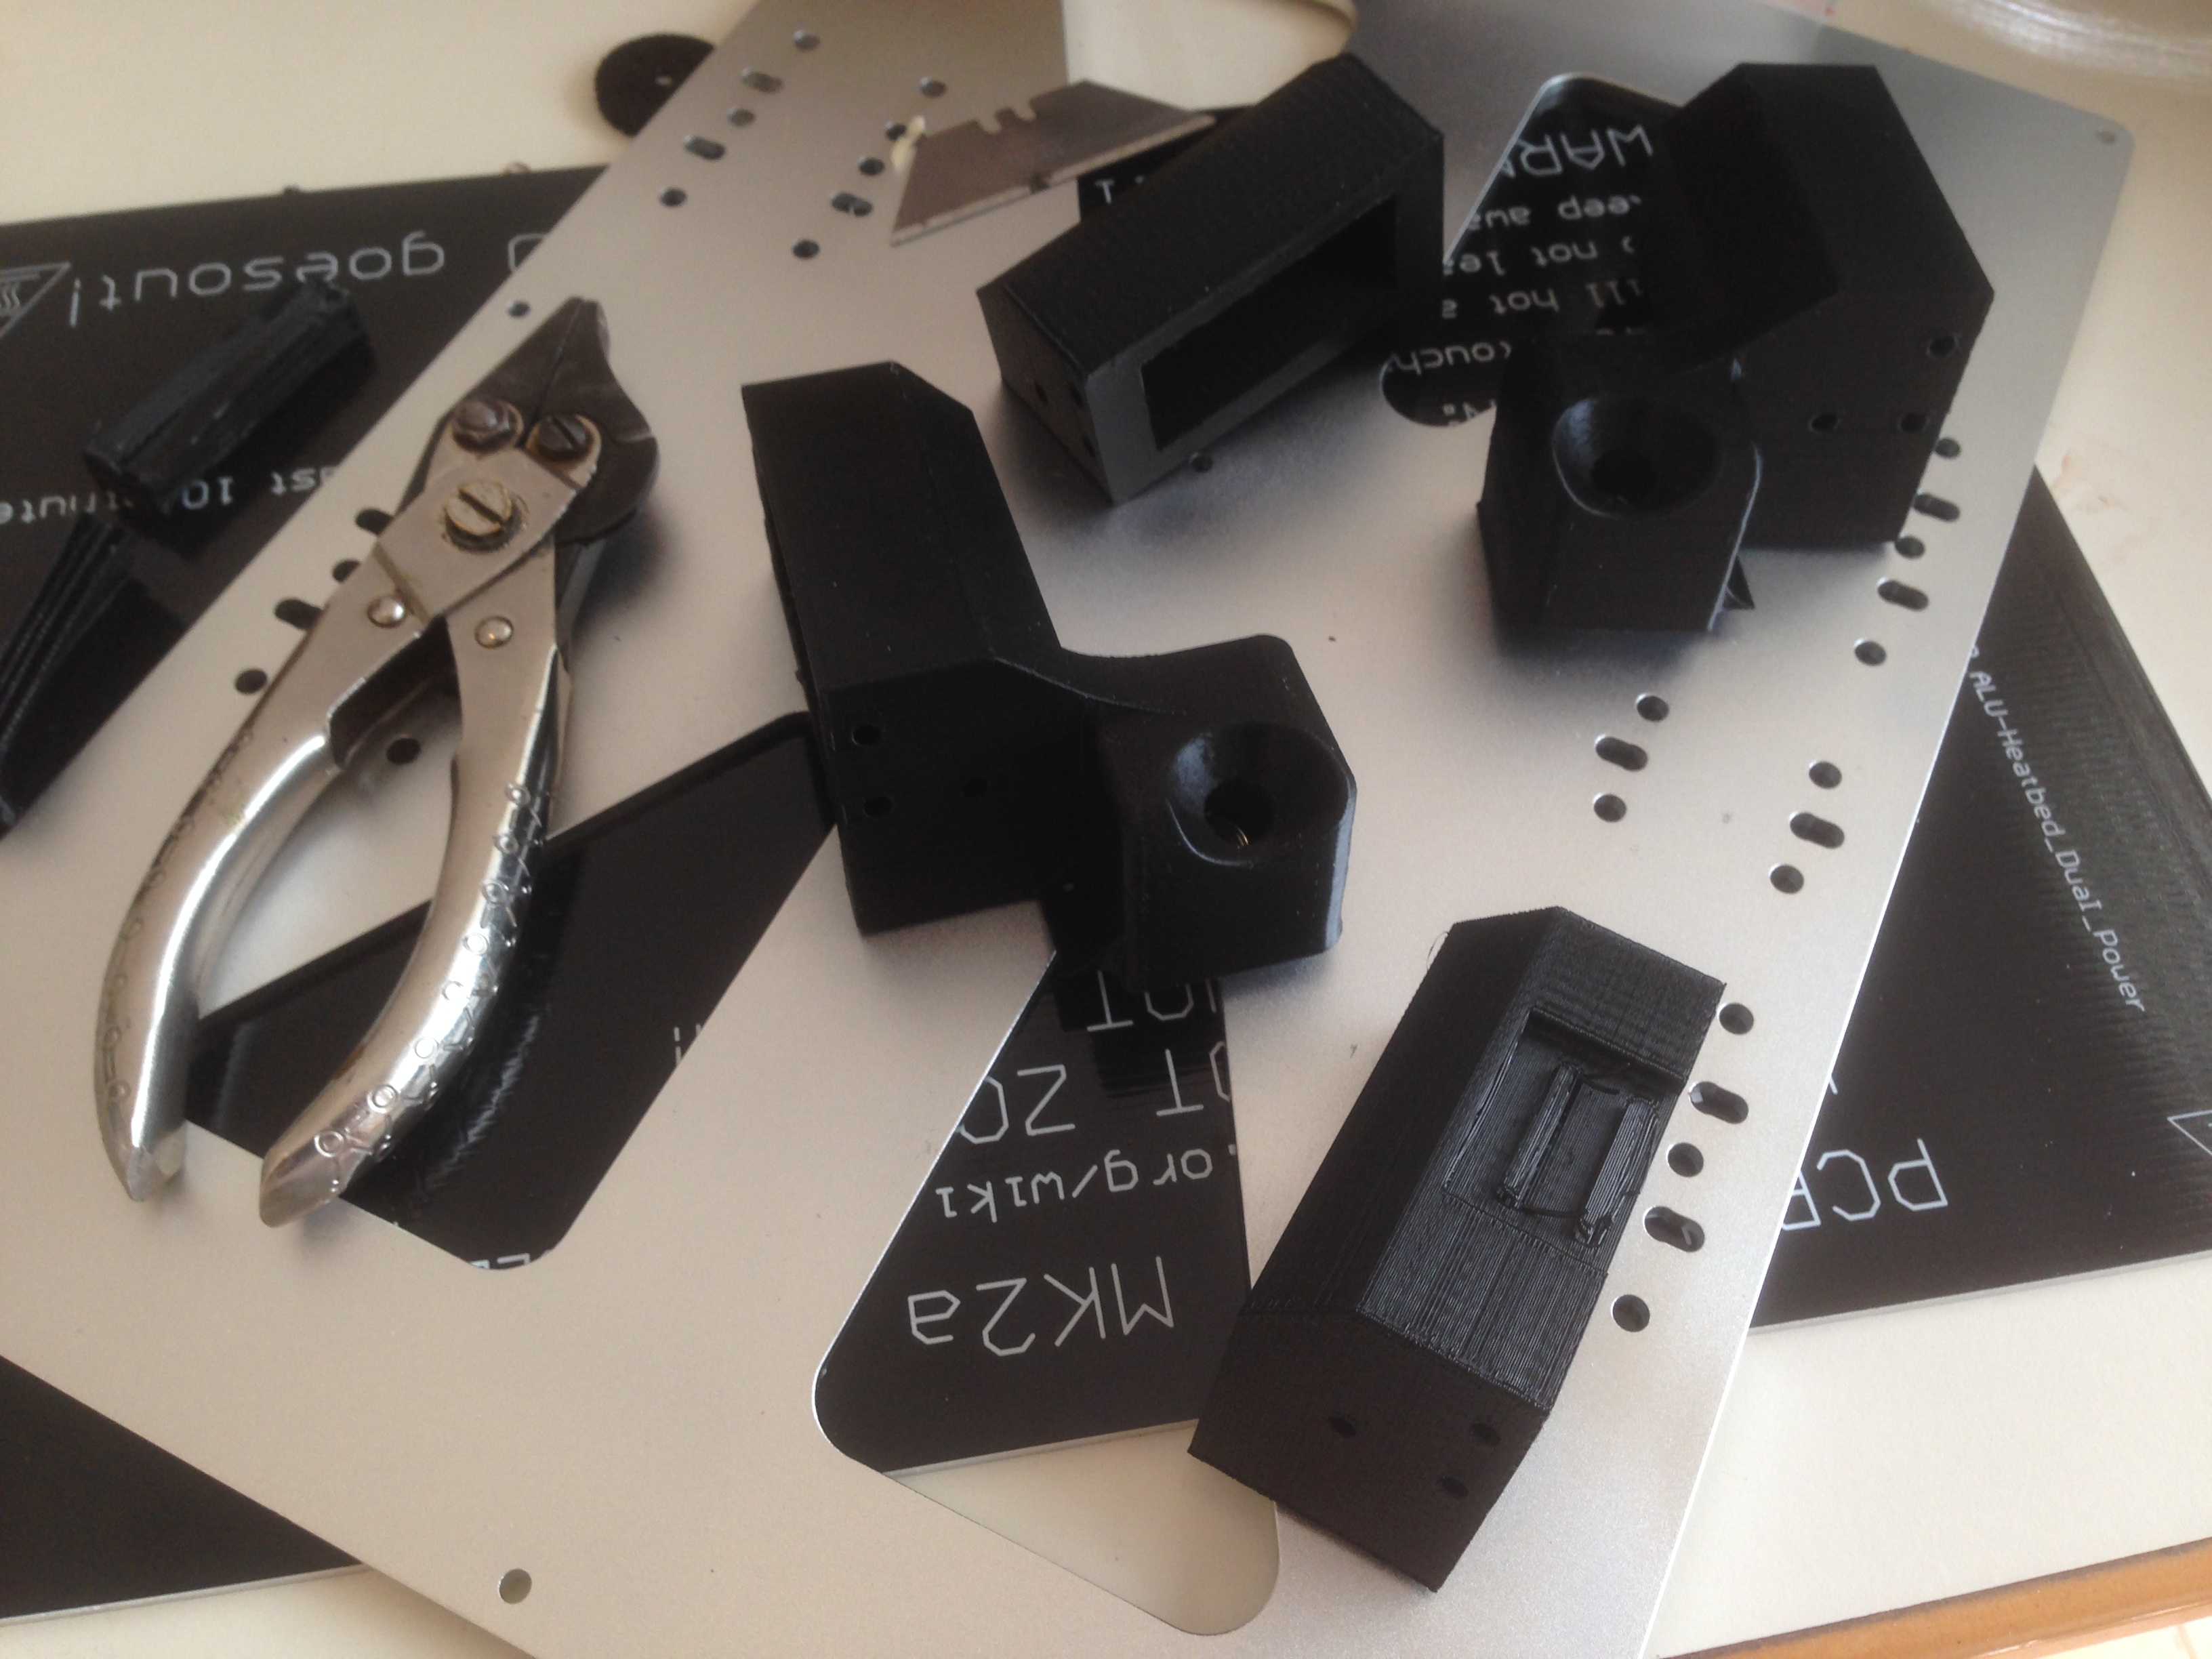
After everything is printed it’s very straightforward, you will need about 26 M3x12mm or 15mm button head screws, 12 M3 nuts, some cable ties, a soldering iron, a molex connector or something similar, some heavy gauge wire and some kapton tape.
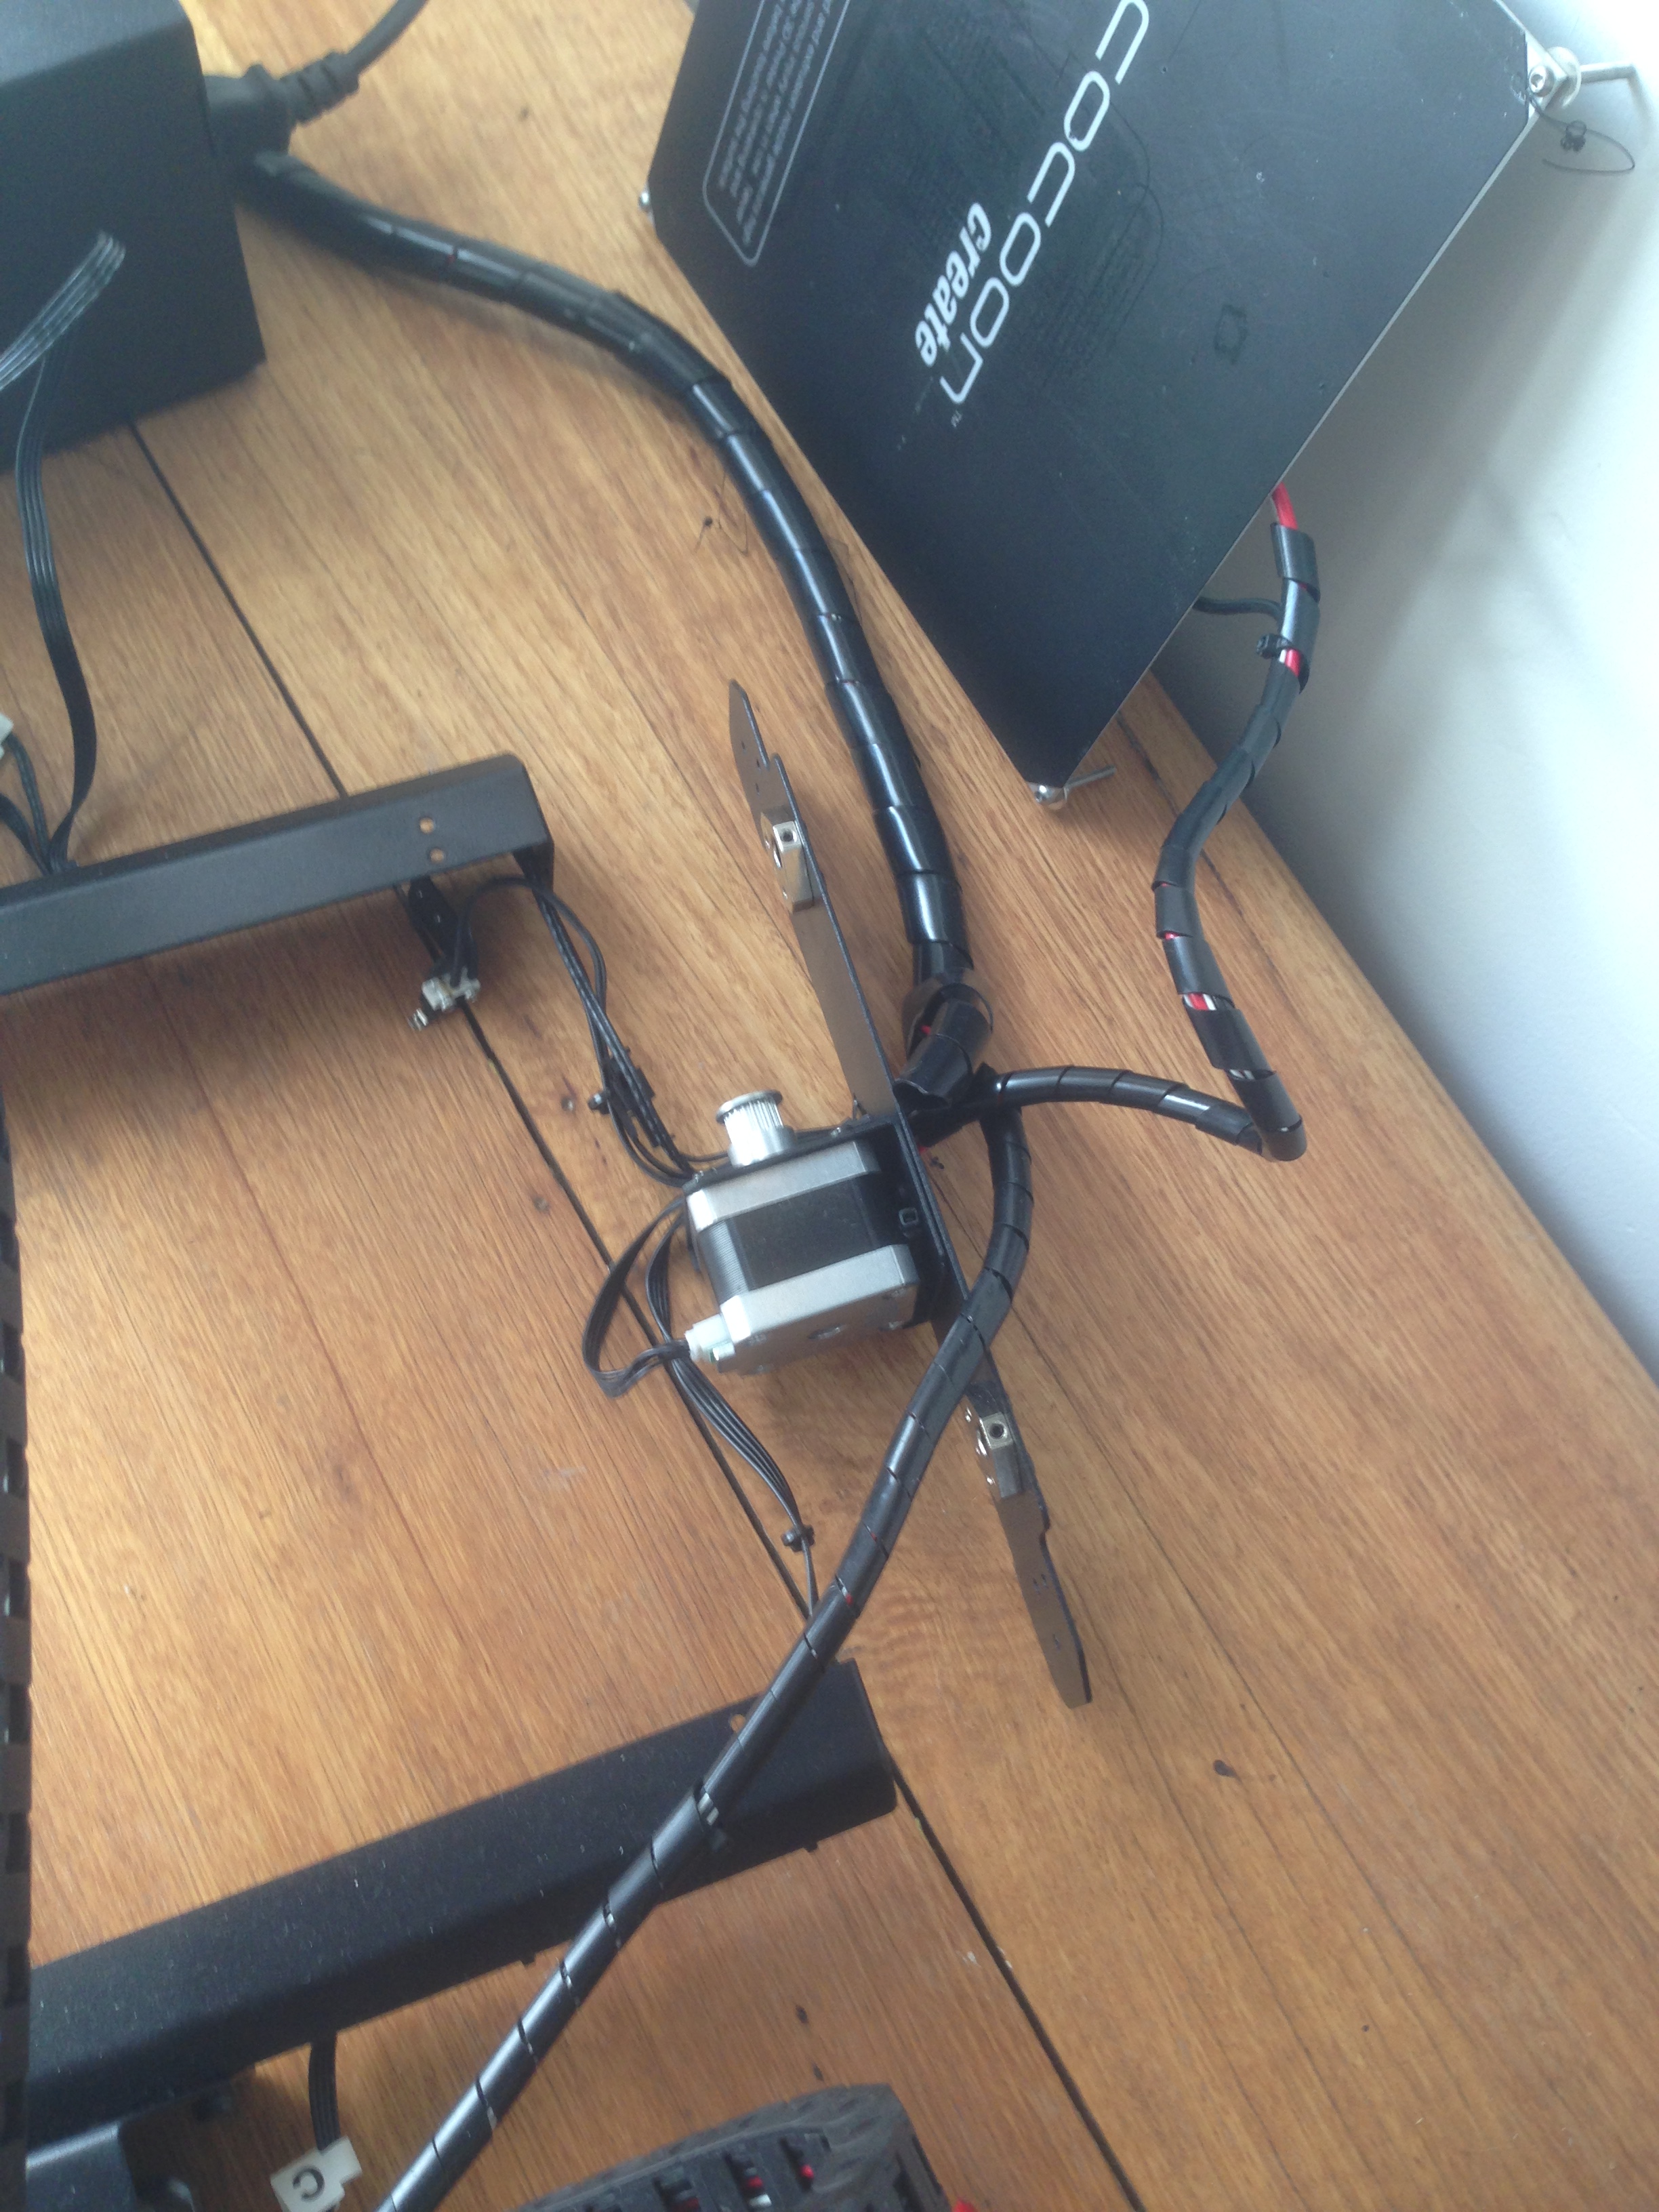
Start by removing the heated bed from the Y carriage and putting it to one side. Then loosen the build plate drive belt, and remove the front and rear panels from printer, removing the bearing rods as you go. Remove the bearing blocks from your Y carriage, then place it on top of your new extended Y carriage as a template for drilling your new bearing block holes. I used a 5mm drill so as to allow for adjustment, it just made things a touch more forgiving. Then mount your bearing blocks loosely… we’ll tighten these latter.
Bolt my extension pieces to the ends of each of the rails, a standard alan key will reach through the front hole and tighten the rear button head screws, then pop the nuts in from behind and tighten the front and rear metal plates back on. Pop your new and extended bearing shafts through your Y carriage bearing blocks, into their holders and bolt them to the front and rear metal plates. (if your shafts are a touch too long just grind them down on a bench grinder till they fit snugly)
Then make up a new drive belt for your Y carriage using the old cable tie method and feed it over your stepper pulley and idler wheel. At this point I’d see if everything moves freely, if so I’d get my Y carriage nice and straight, then tighten the bearing block screws up firmly.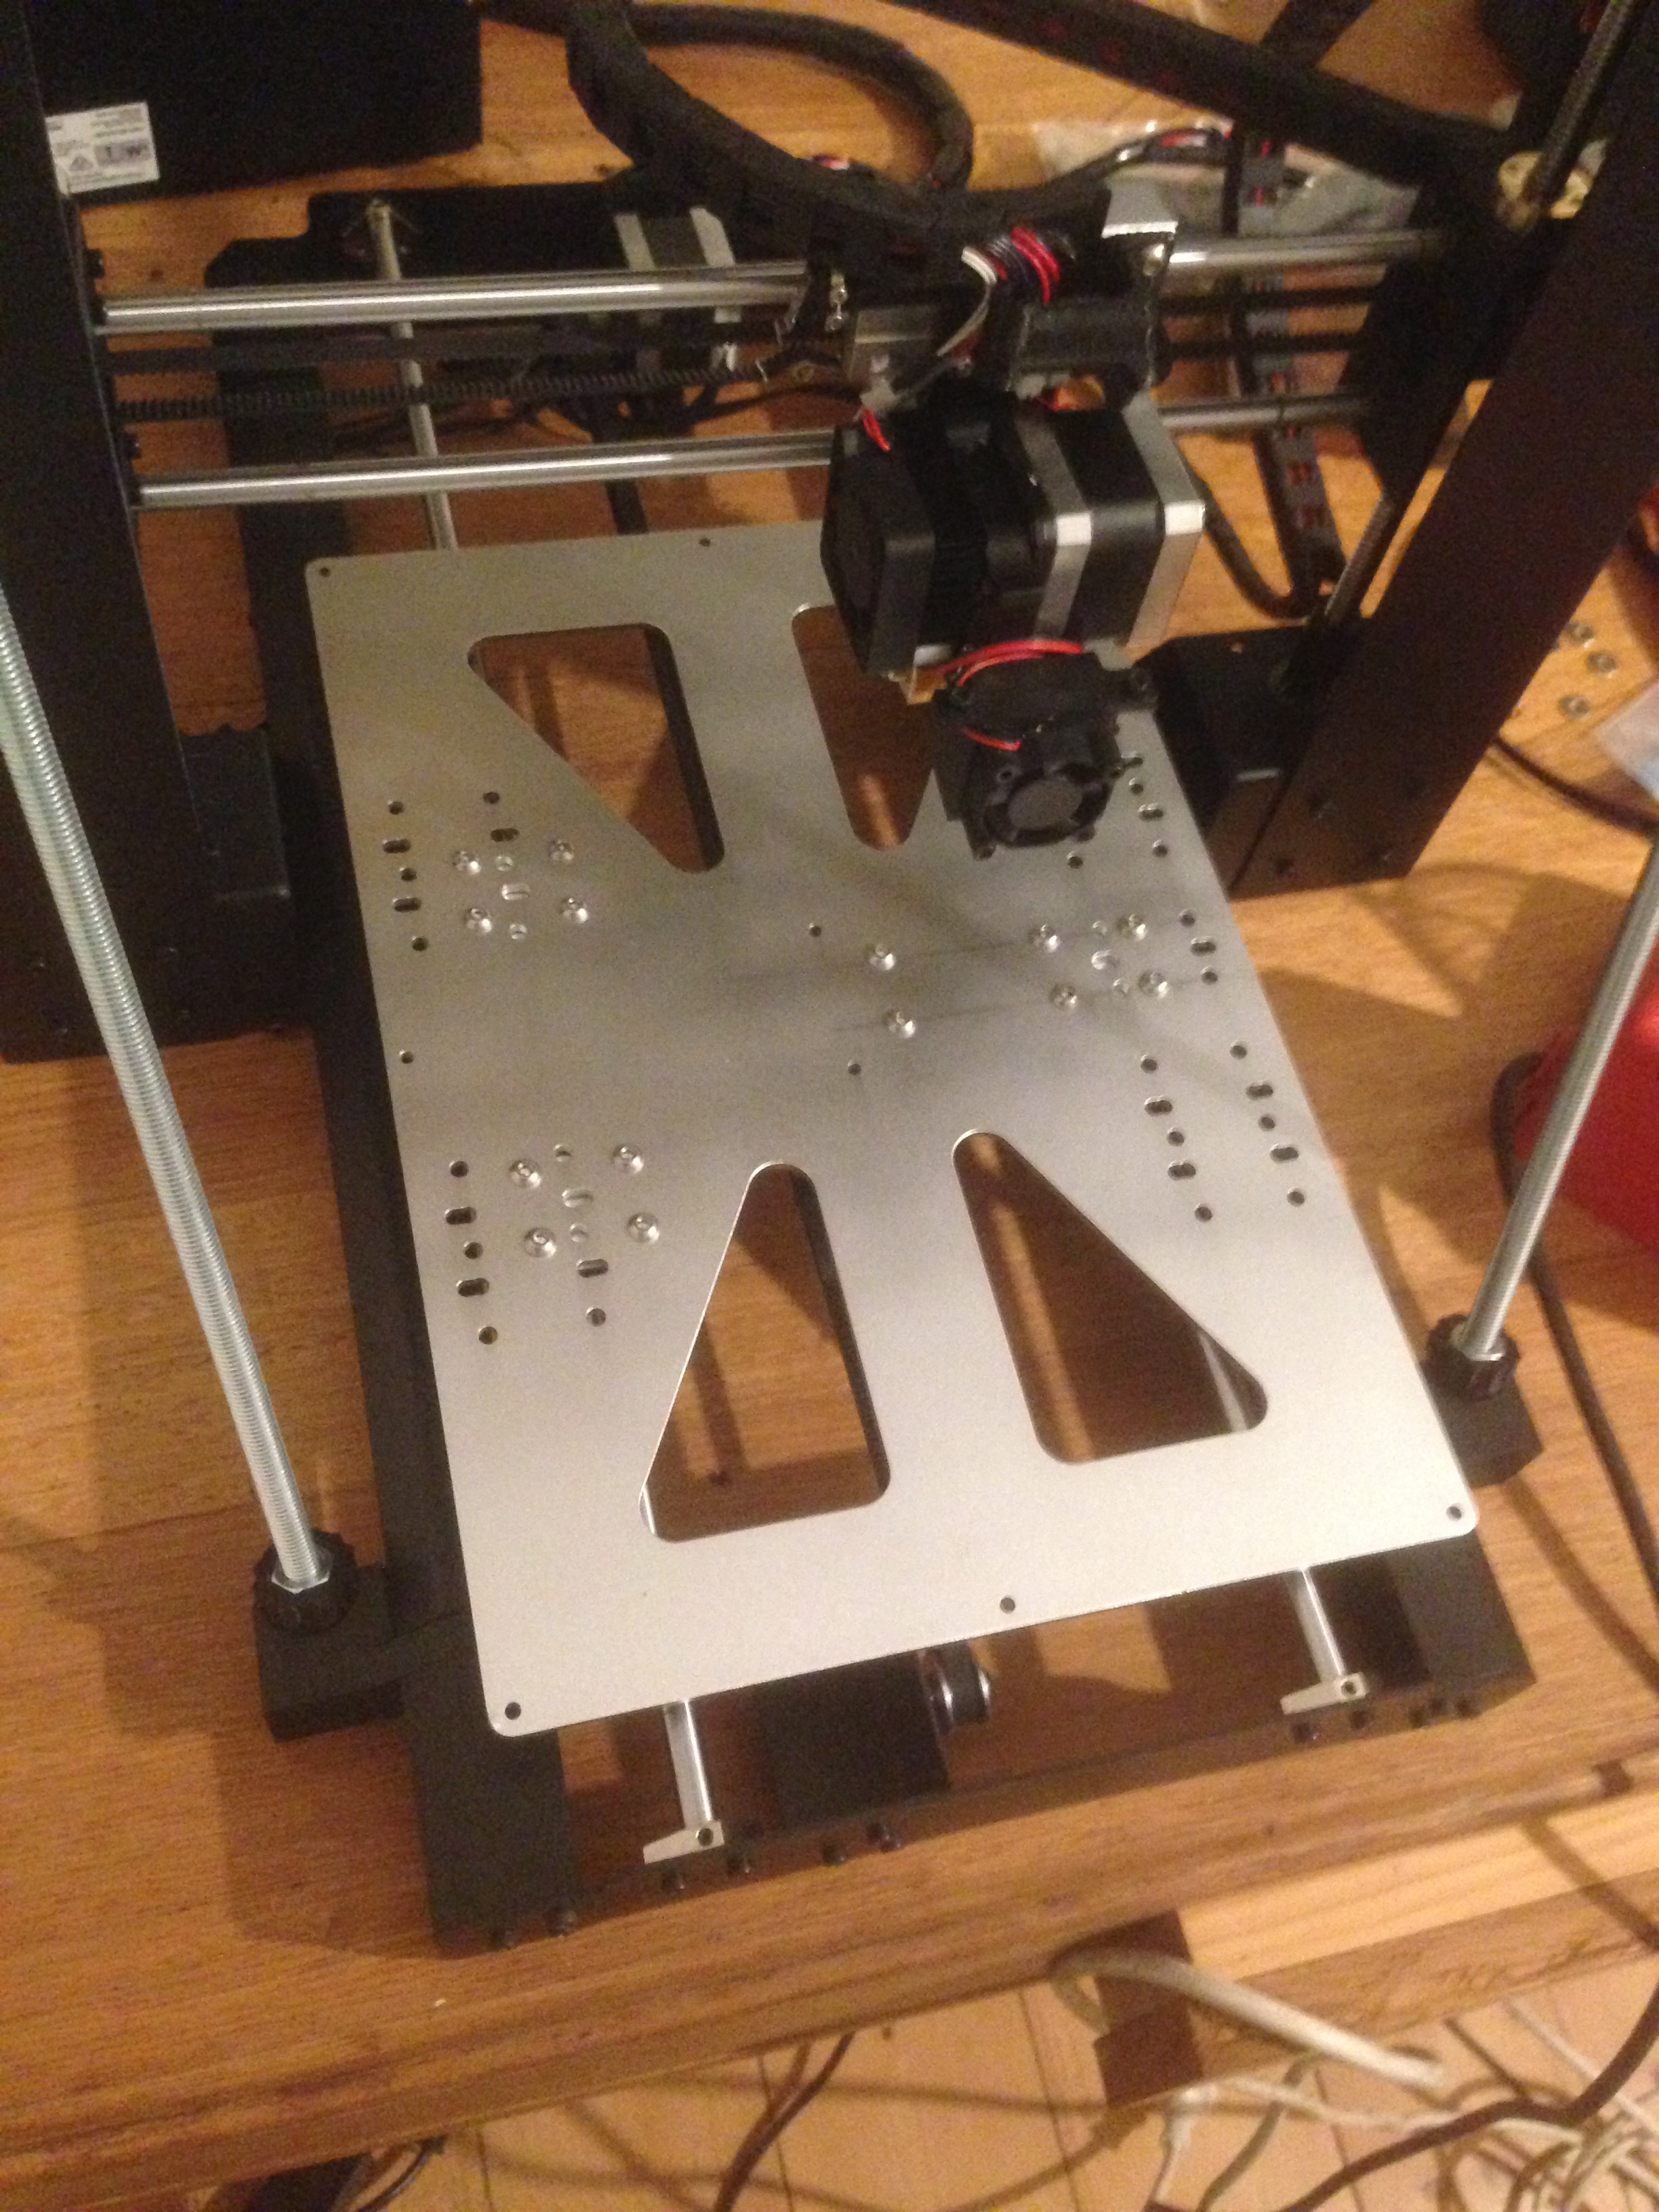
Next you want to remove the temp sensor, corner mounting bolts and power wires from your original heat bed. Once removed solder the heated bed power wires to an appropriate power connector. Check that your new heat bed is nice and flat, if it’s warped, bend it back into shape as best you can, then grind it flat using emery paper on a sheet of glass. Solder two heavy gauge wires to the base of your new heat bed, and connect them to the matching connector that you used from your control box. Tape the temperature sensor back to the underside using kapton tape and secure the connector and cable to the Y carriage using either a cable tie or more tape. (just be sure the cable tie clears the rear end plate)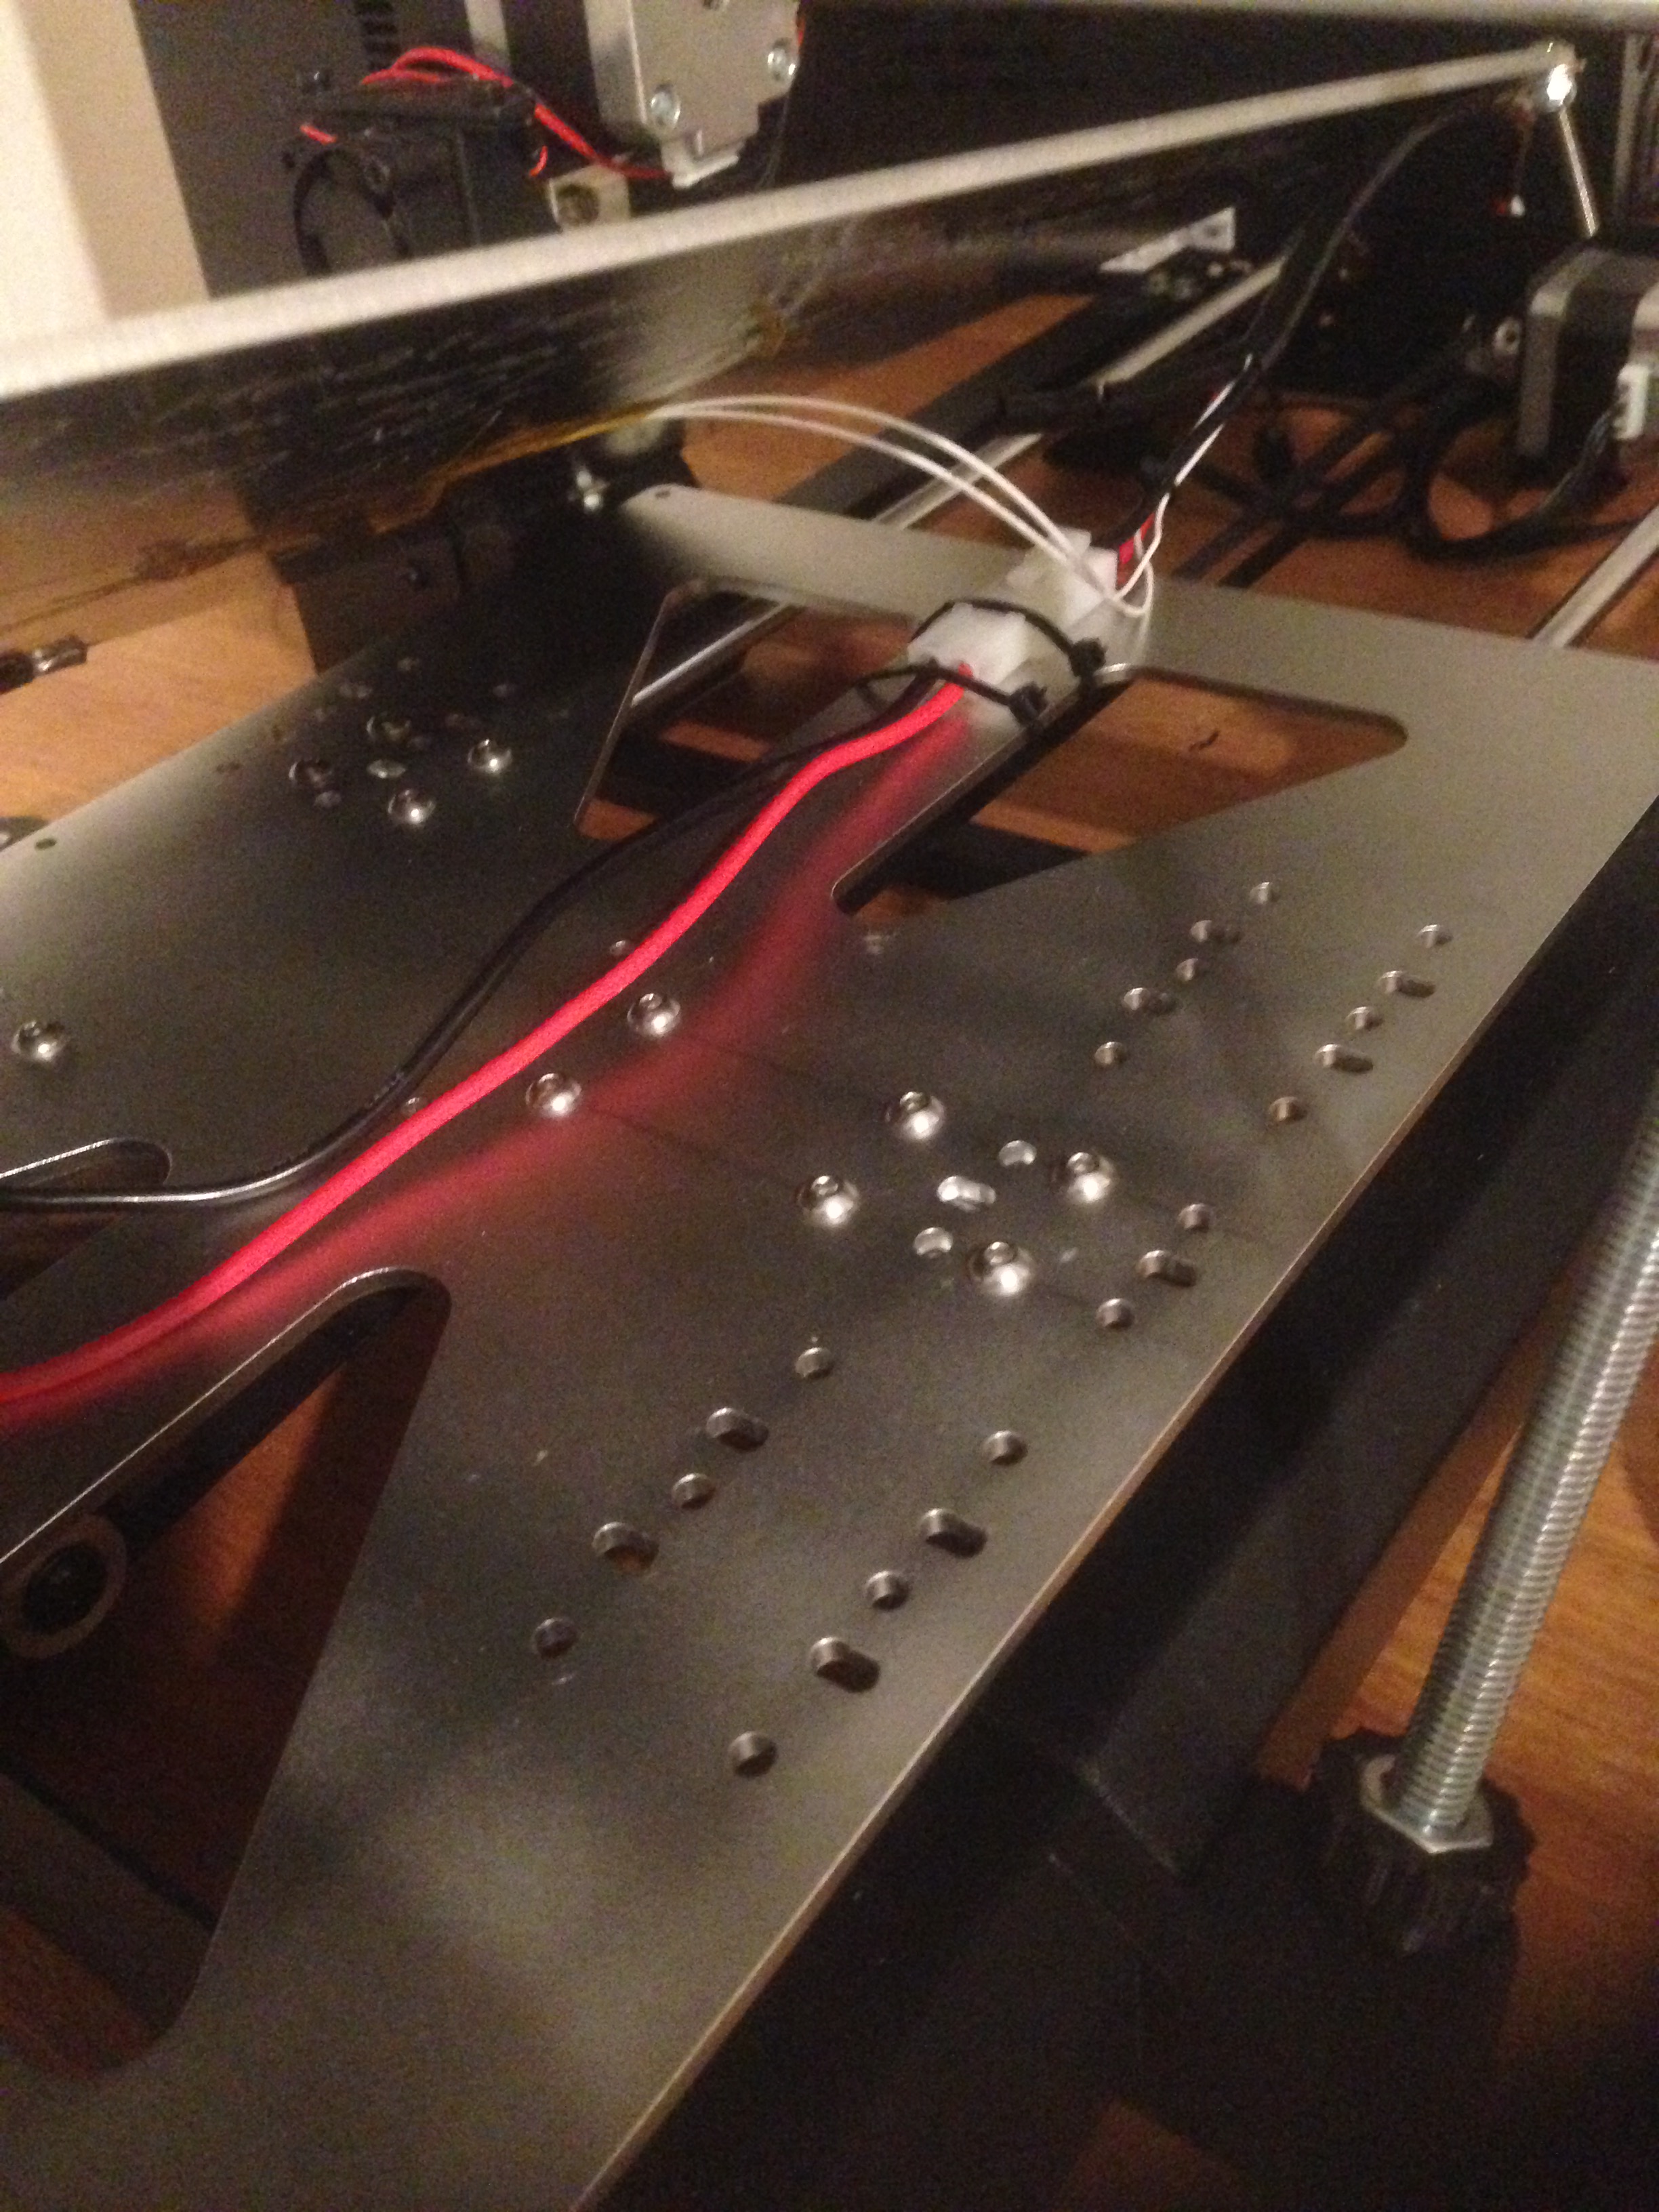 Now put the corner mounting screws, washers and springs back and mount your heated bed to the Y carriage. I added a little bit of buildtak under between the build plate and the washer so as to prevent the washer wearing through the insulation and shorting out the heater trace.
You can fiddle around doing all the z axis bracing later, and there are countless tutorials on how to do that.
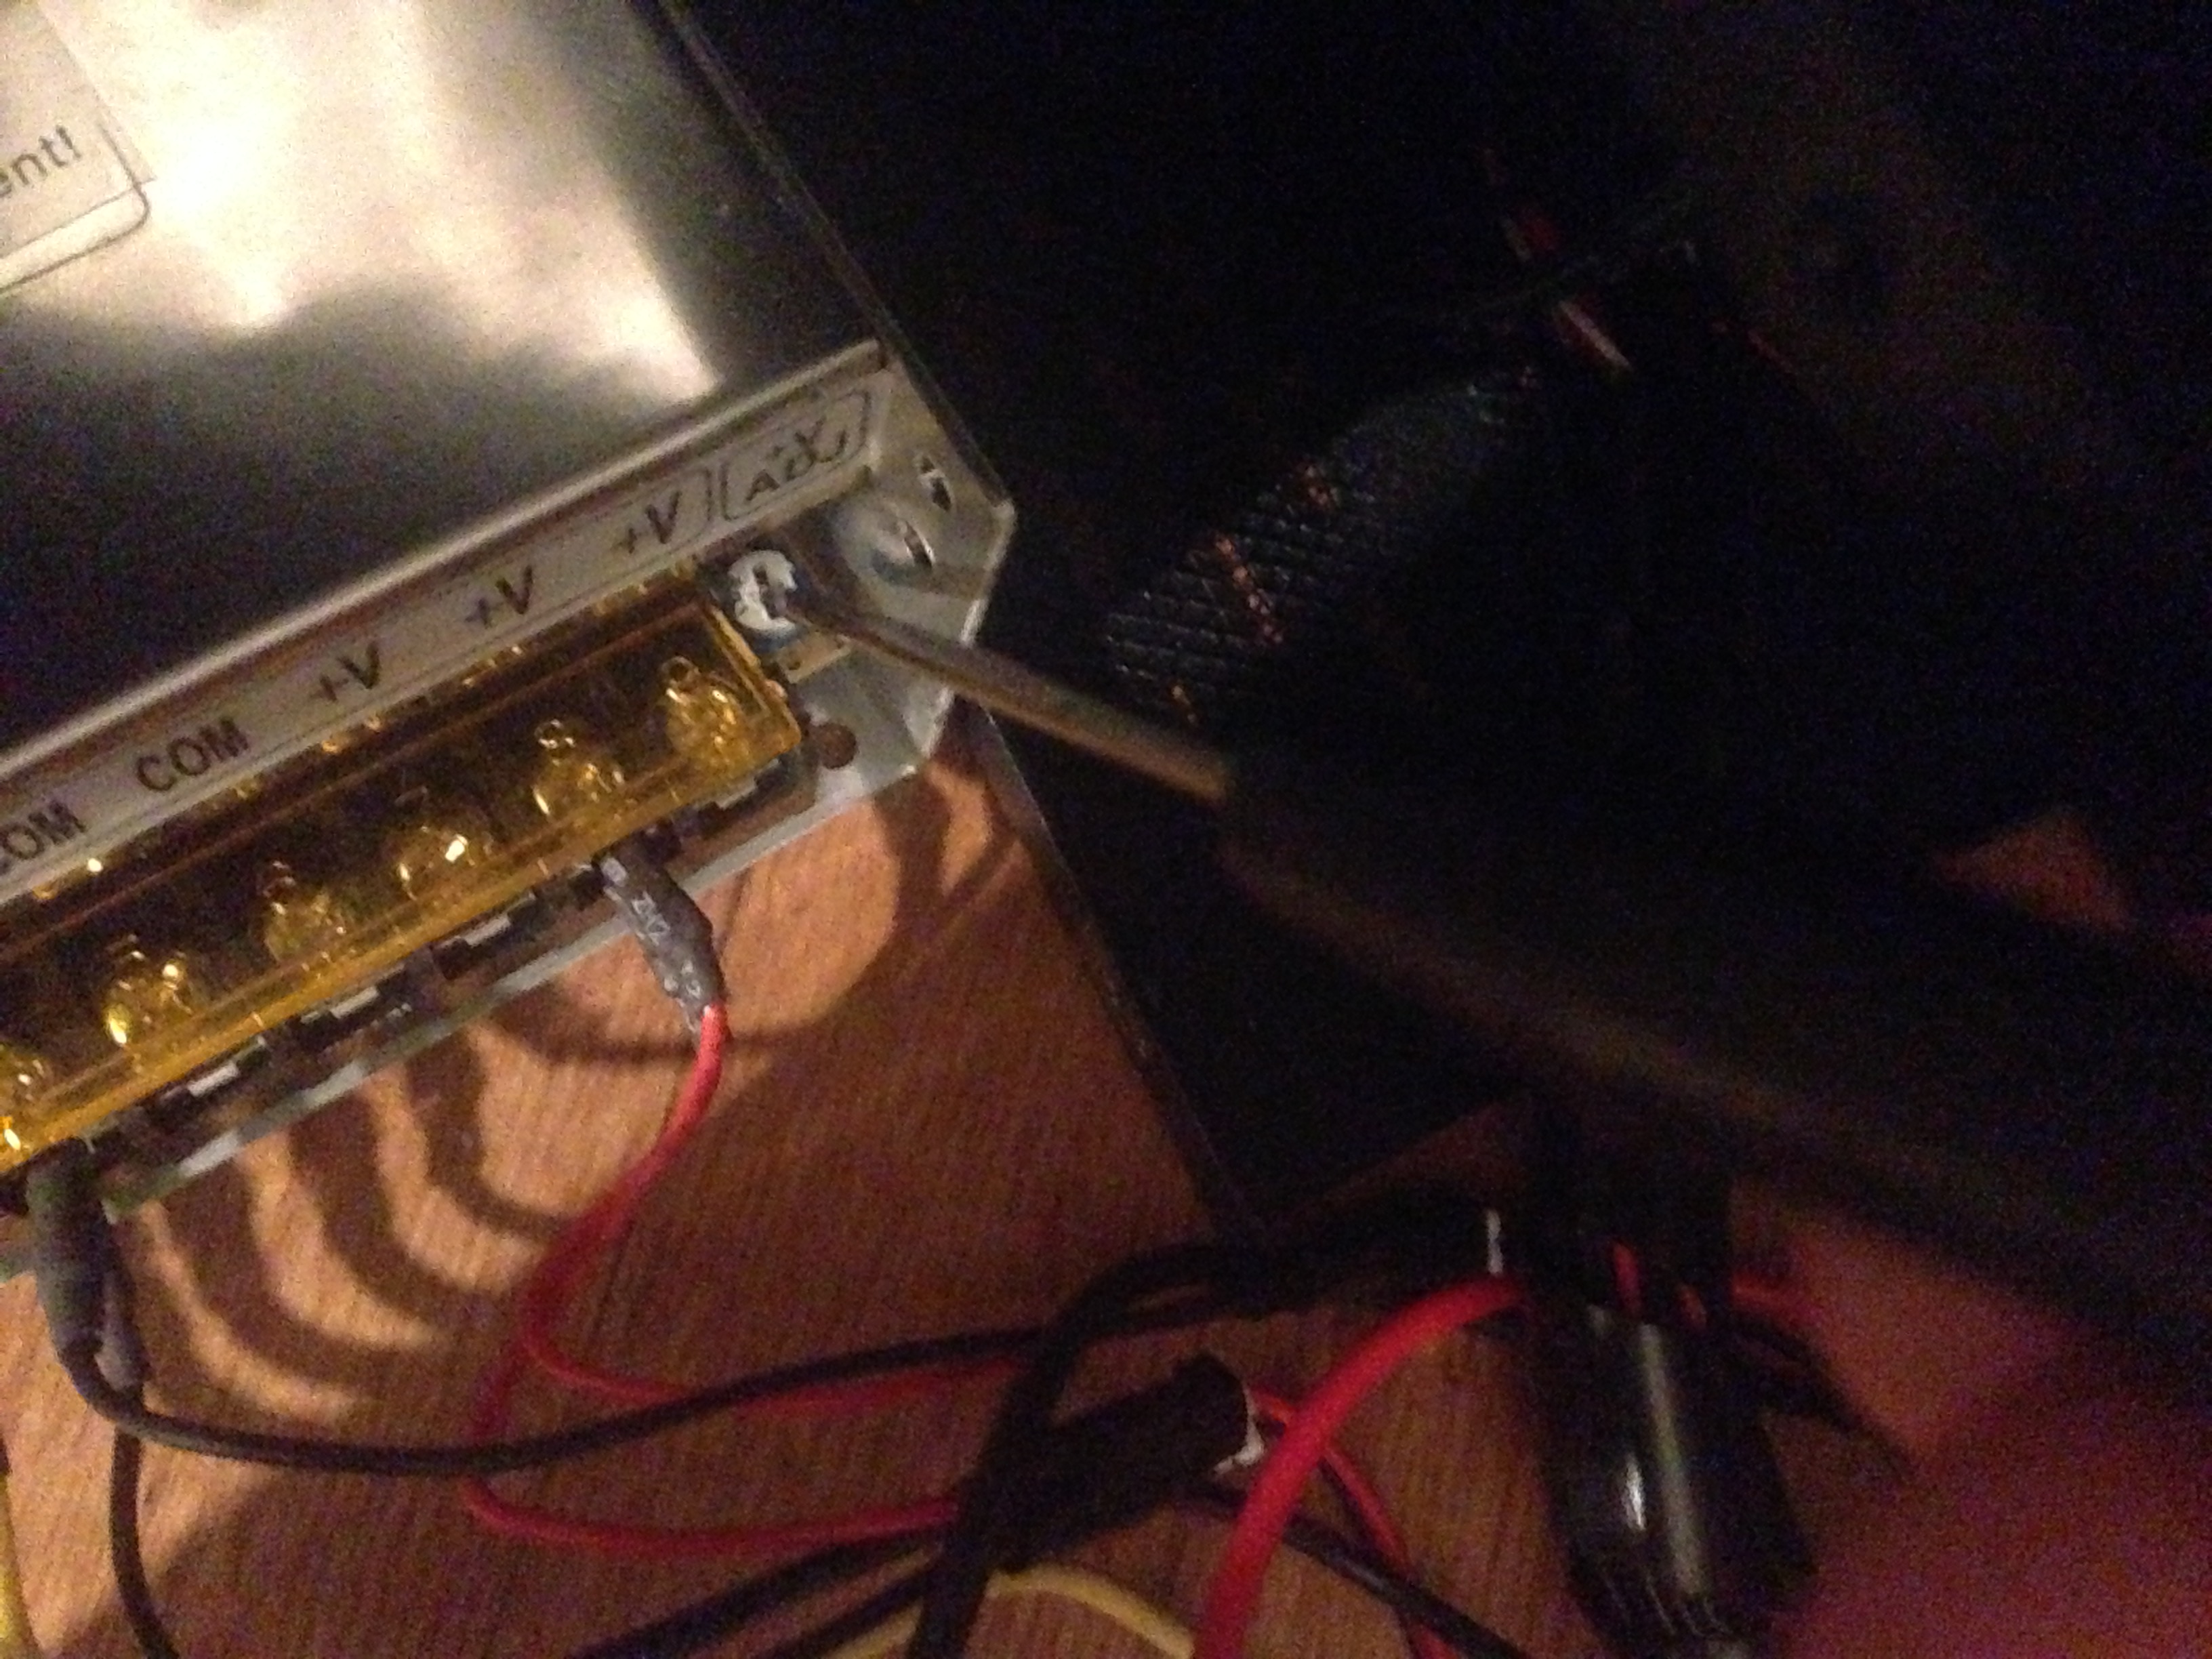
The next problem is that the heated bed won’t get to 90 degrees C without modding the drive voltage. Luckily this is simple and takes about 5 minutes, just take the back off the control box, loosen the 4 large screws underneath it, and slide the power supply out. On the corner of the power supply beside the row of joiners is a trimpot, turning this all the way clockwise will bump the supply up to 14 volts which will do the trick perfectly.
To get the printer to recognize the extra 100mm of travel you’ll want to connect your printer via USB and use repetier. once connected you should be able to see your printers EEPROM settings and modify them, just change the Y axis travel from 200mm to 300mm and hit OK.
If you don’t already have it you can download it from here: http://www.repetier.com/
If you’re a perfectionist it’s time to cable tie all the wires out of harms way and rework the conduit around the looms, then take it for a test print and enjoy your extra length.