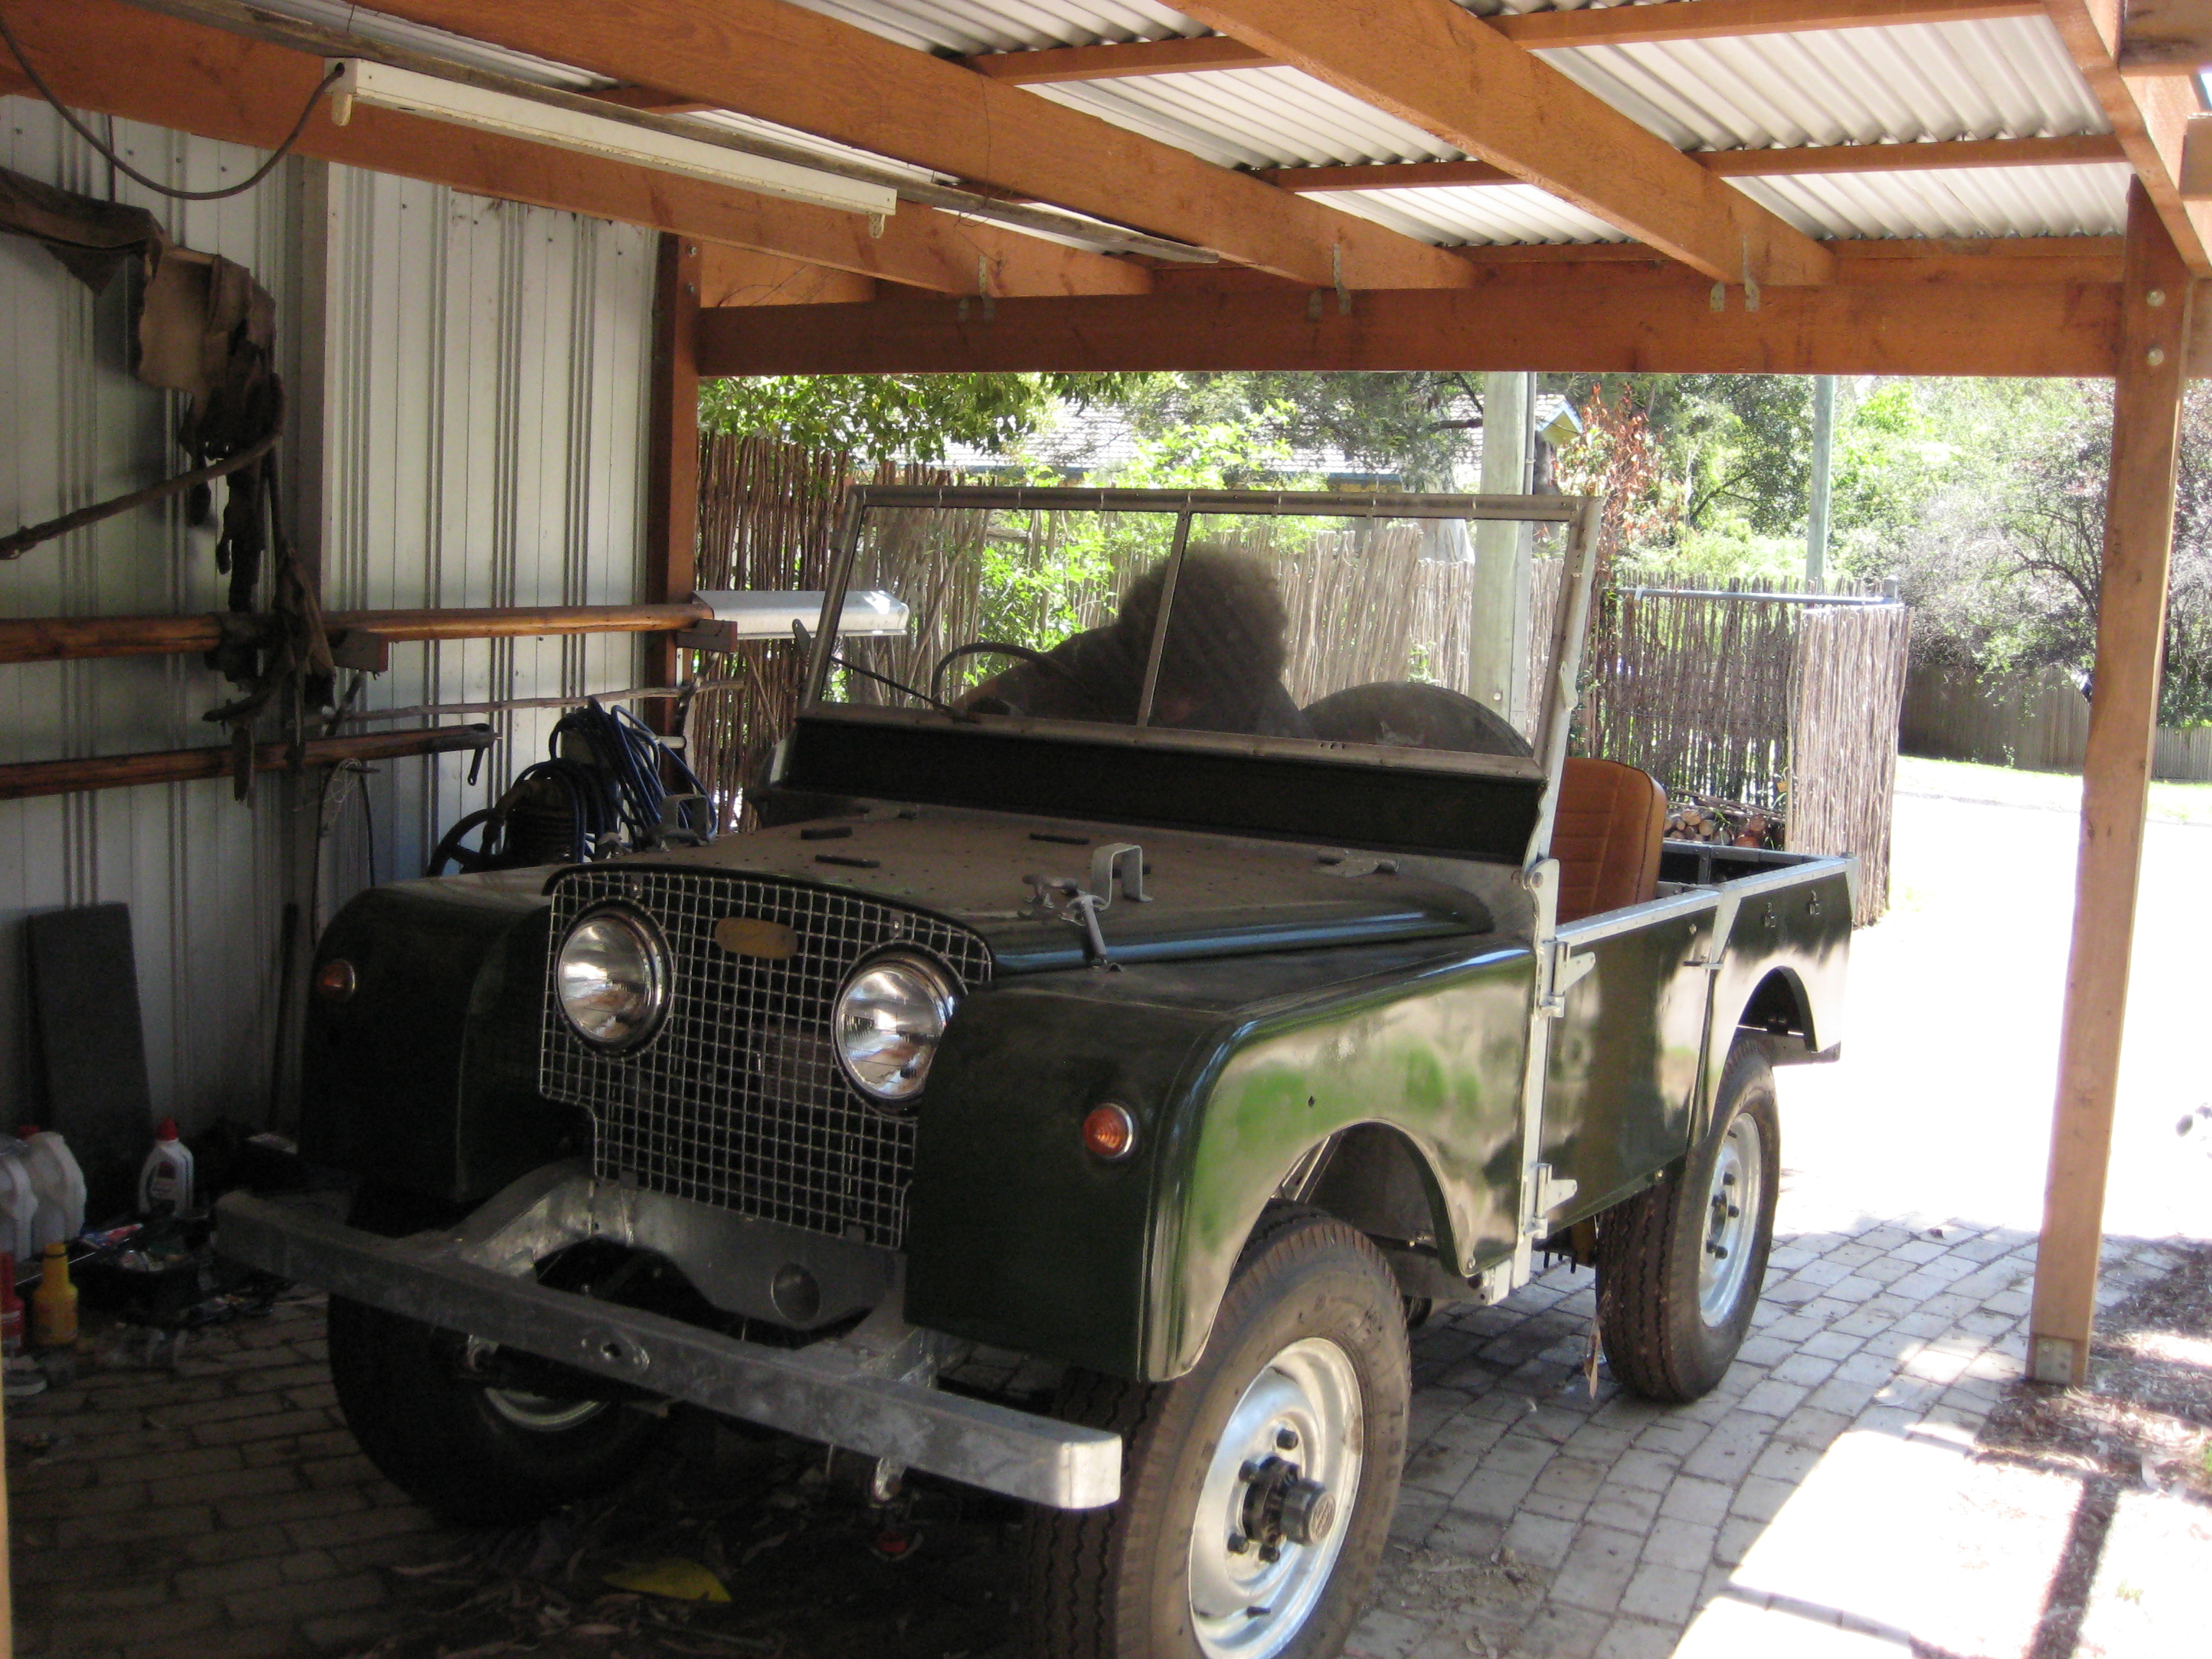
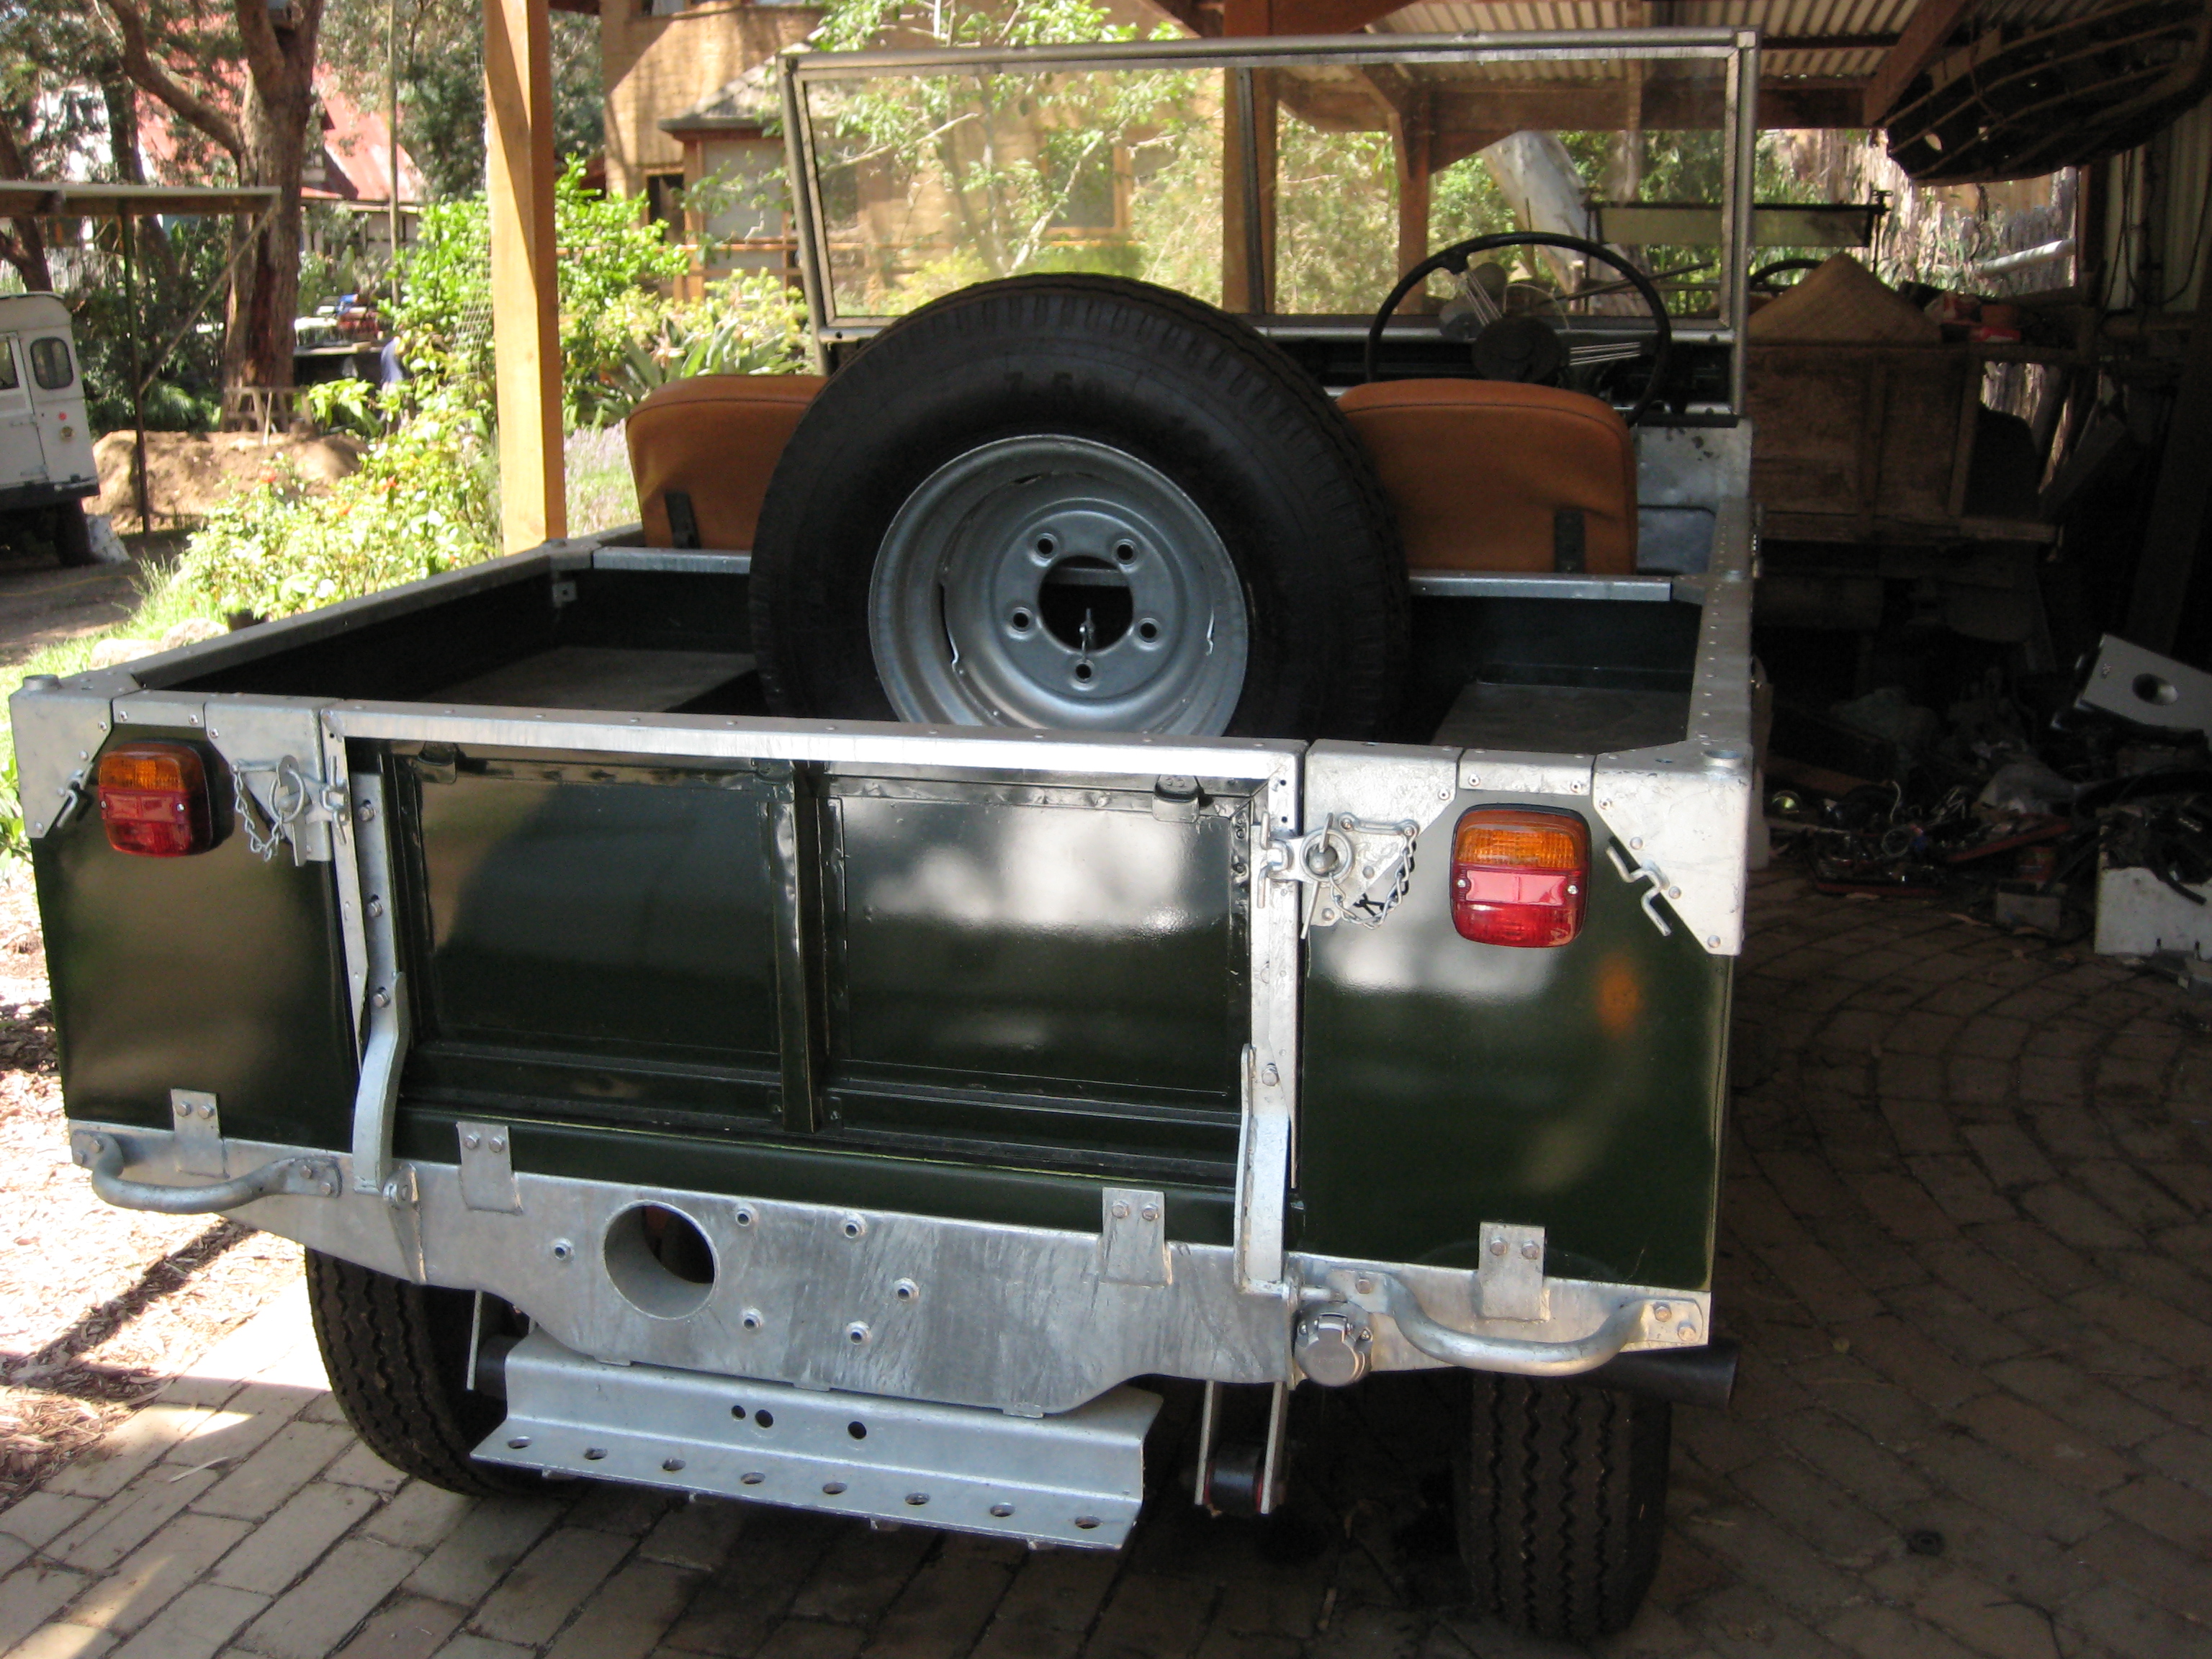
After getting the rolling chassis in order it was simply a matter of riveting all of the galvanized bright-work back onto the tubs, doors tailgates and bonnet using domed aircraft rivets. A set of new Lucas indicator lamps were added to the front mudguards where the original white parking lights once were. The reason for this is that the new parking lamps are located inside the H4 headlight conversions, freeing up the mudguards for indicators. I chose to do this as I wanted the car to be as clean and uncluttered as possible, so having extra indicator lenses and wires bolted to bumpers would have been a bother. For tail lights I simply used some cheap plastic trailer lights as a temporary solution, however their square simplicity and ease of replacement is growing on me.

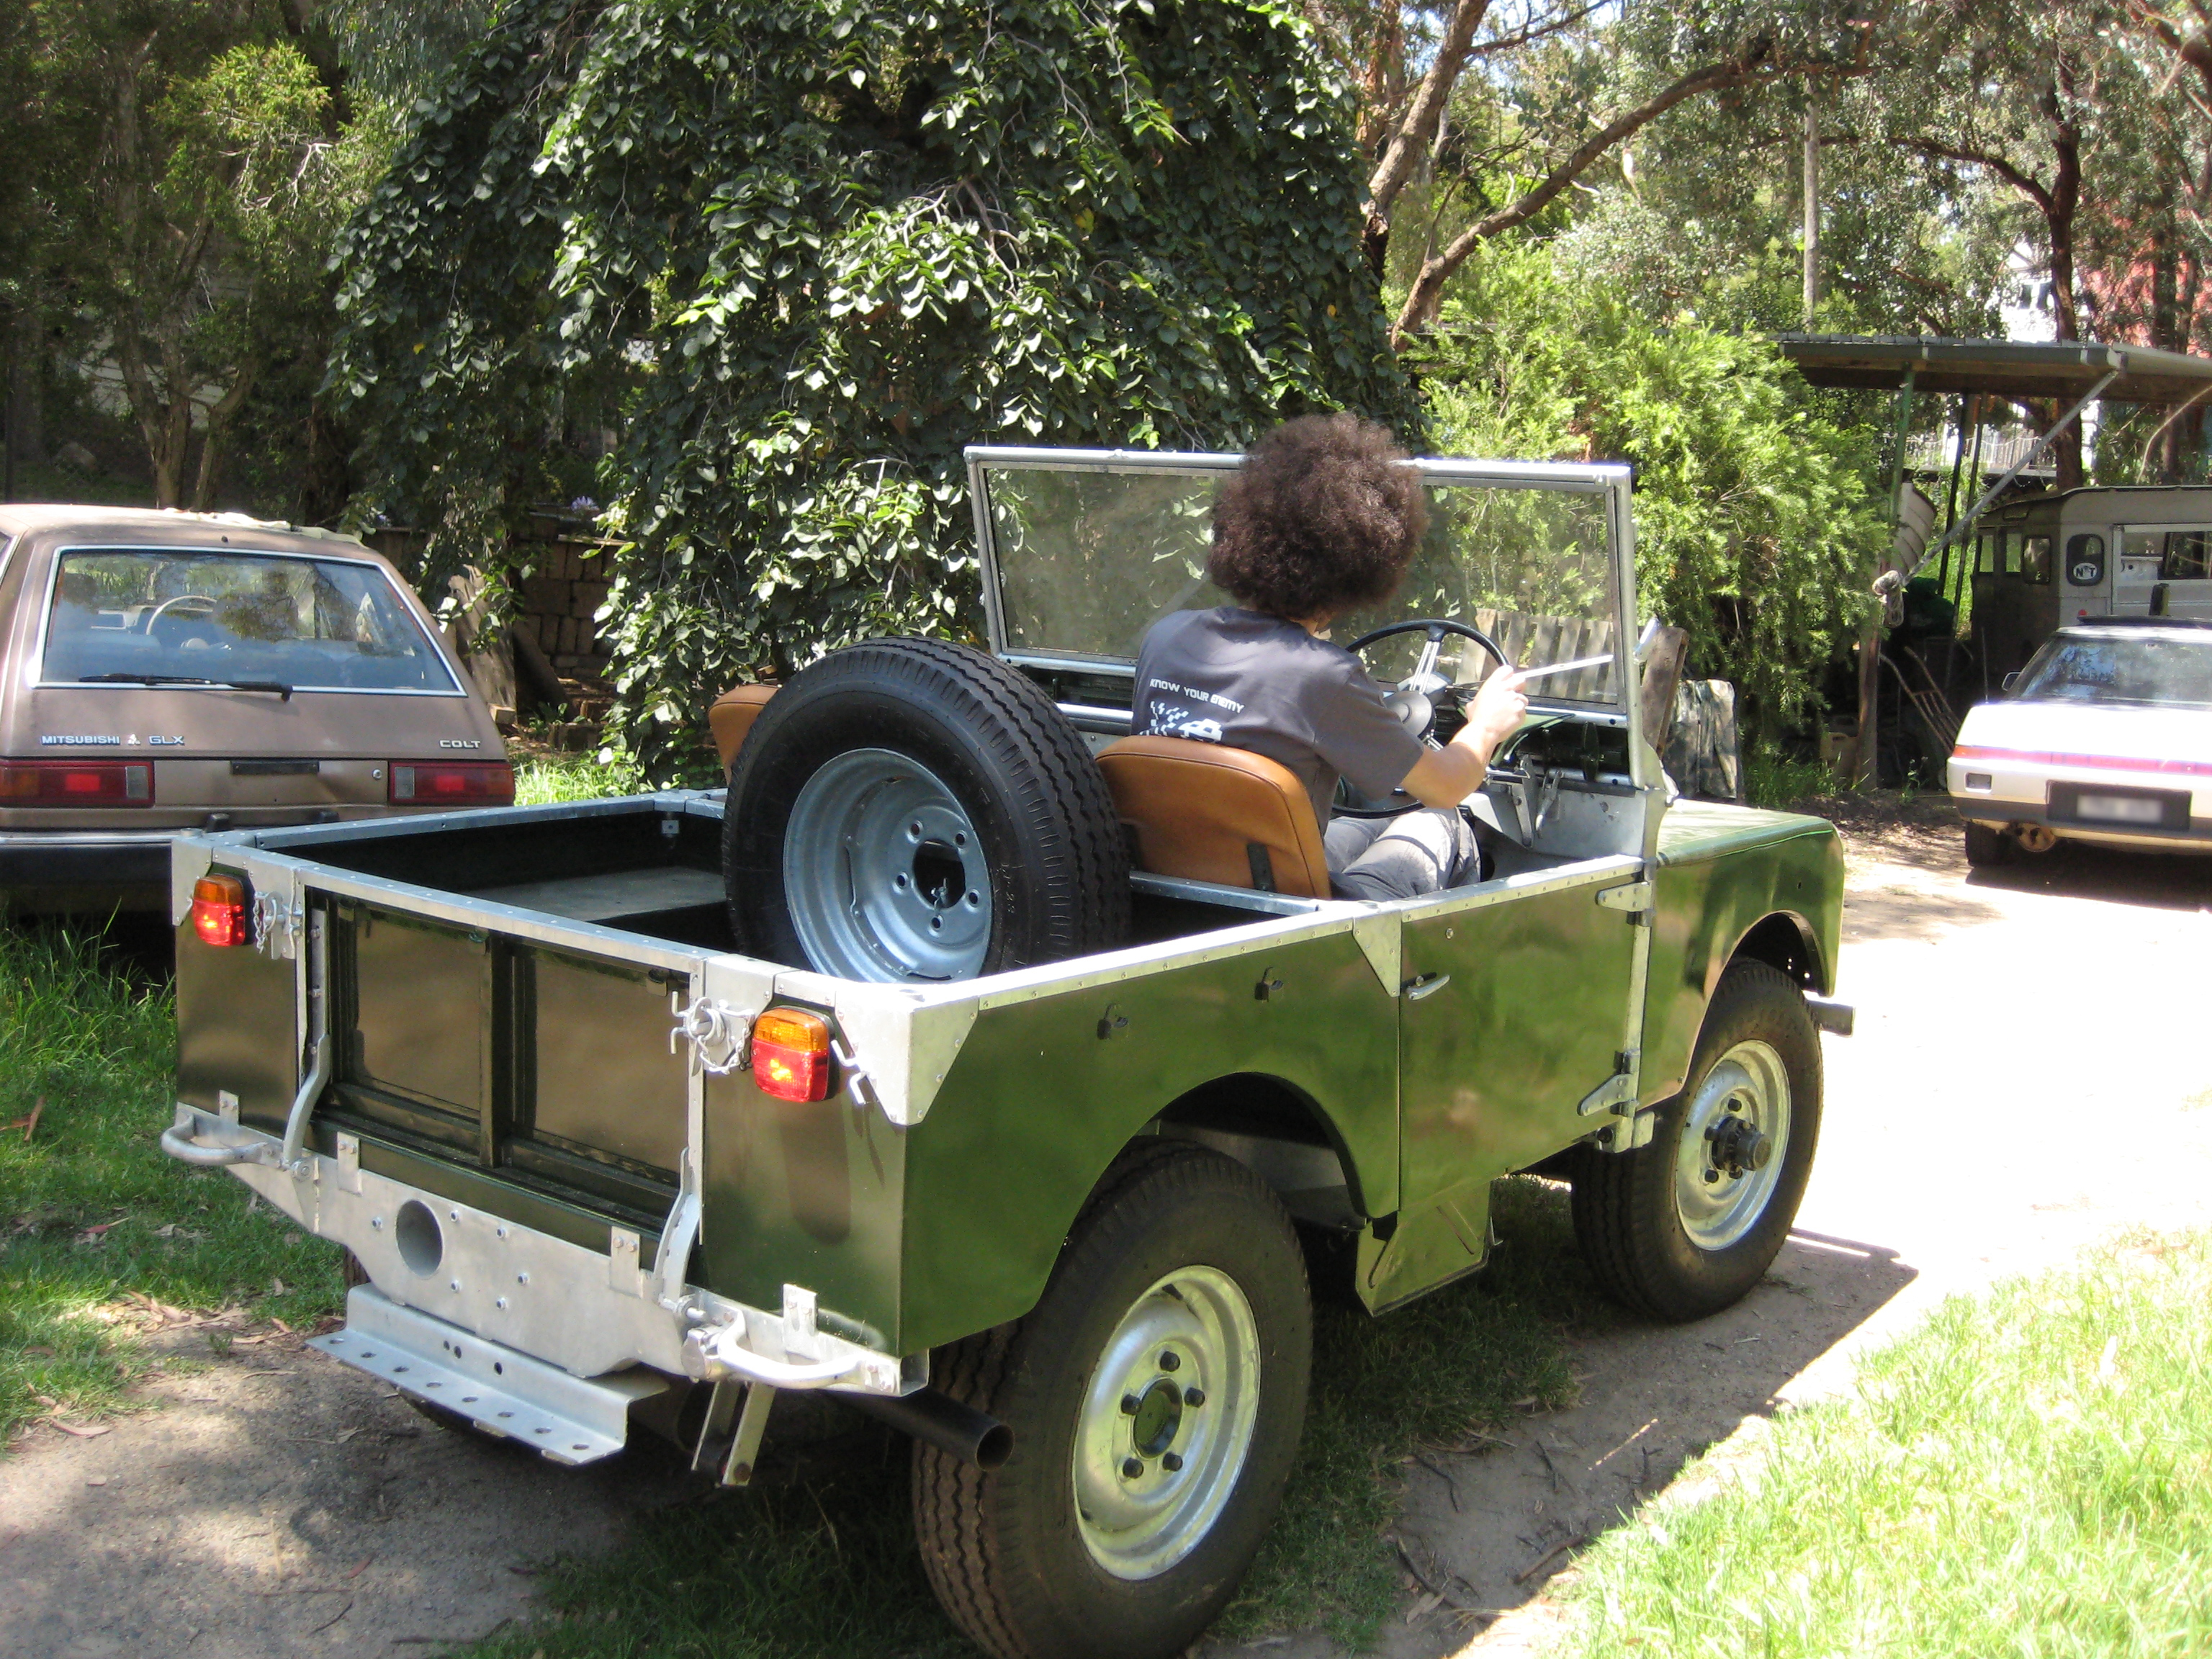
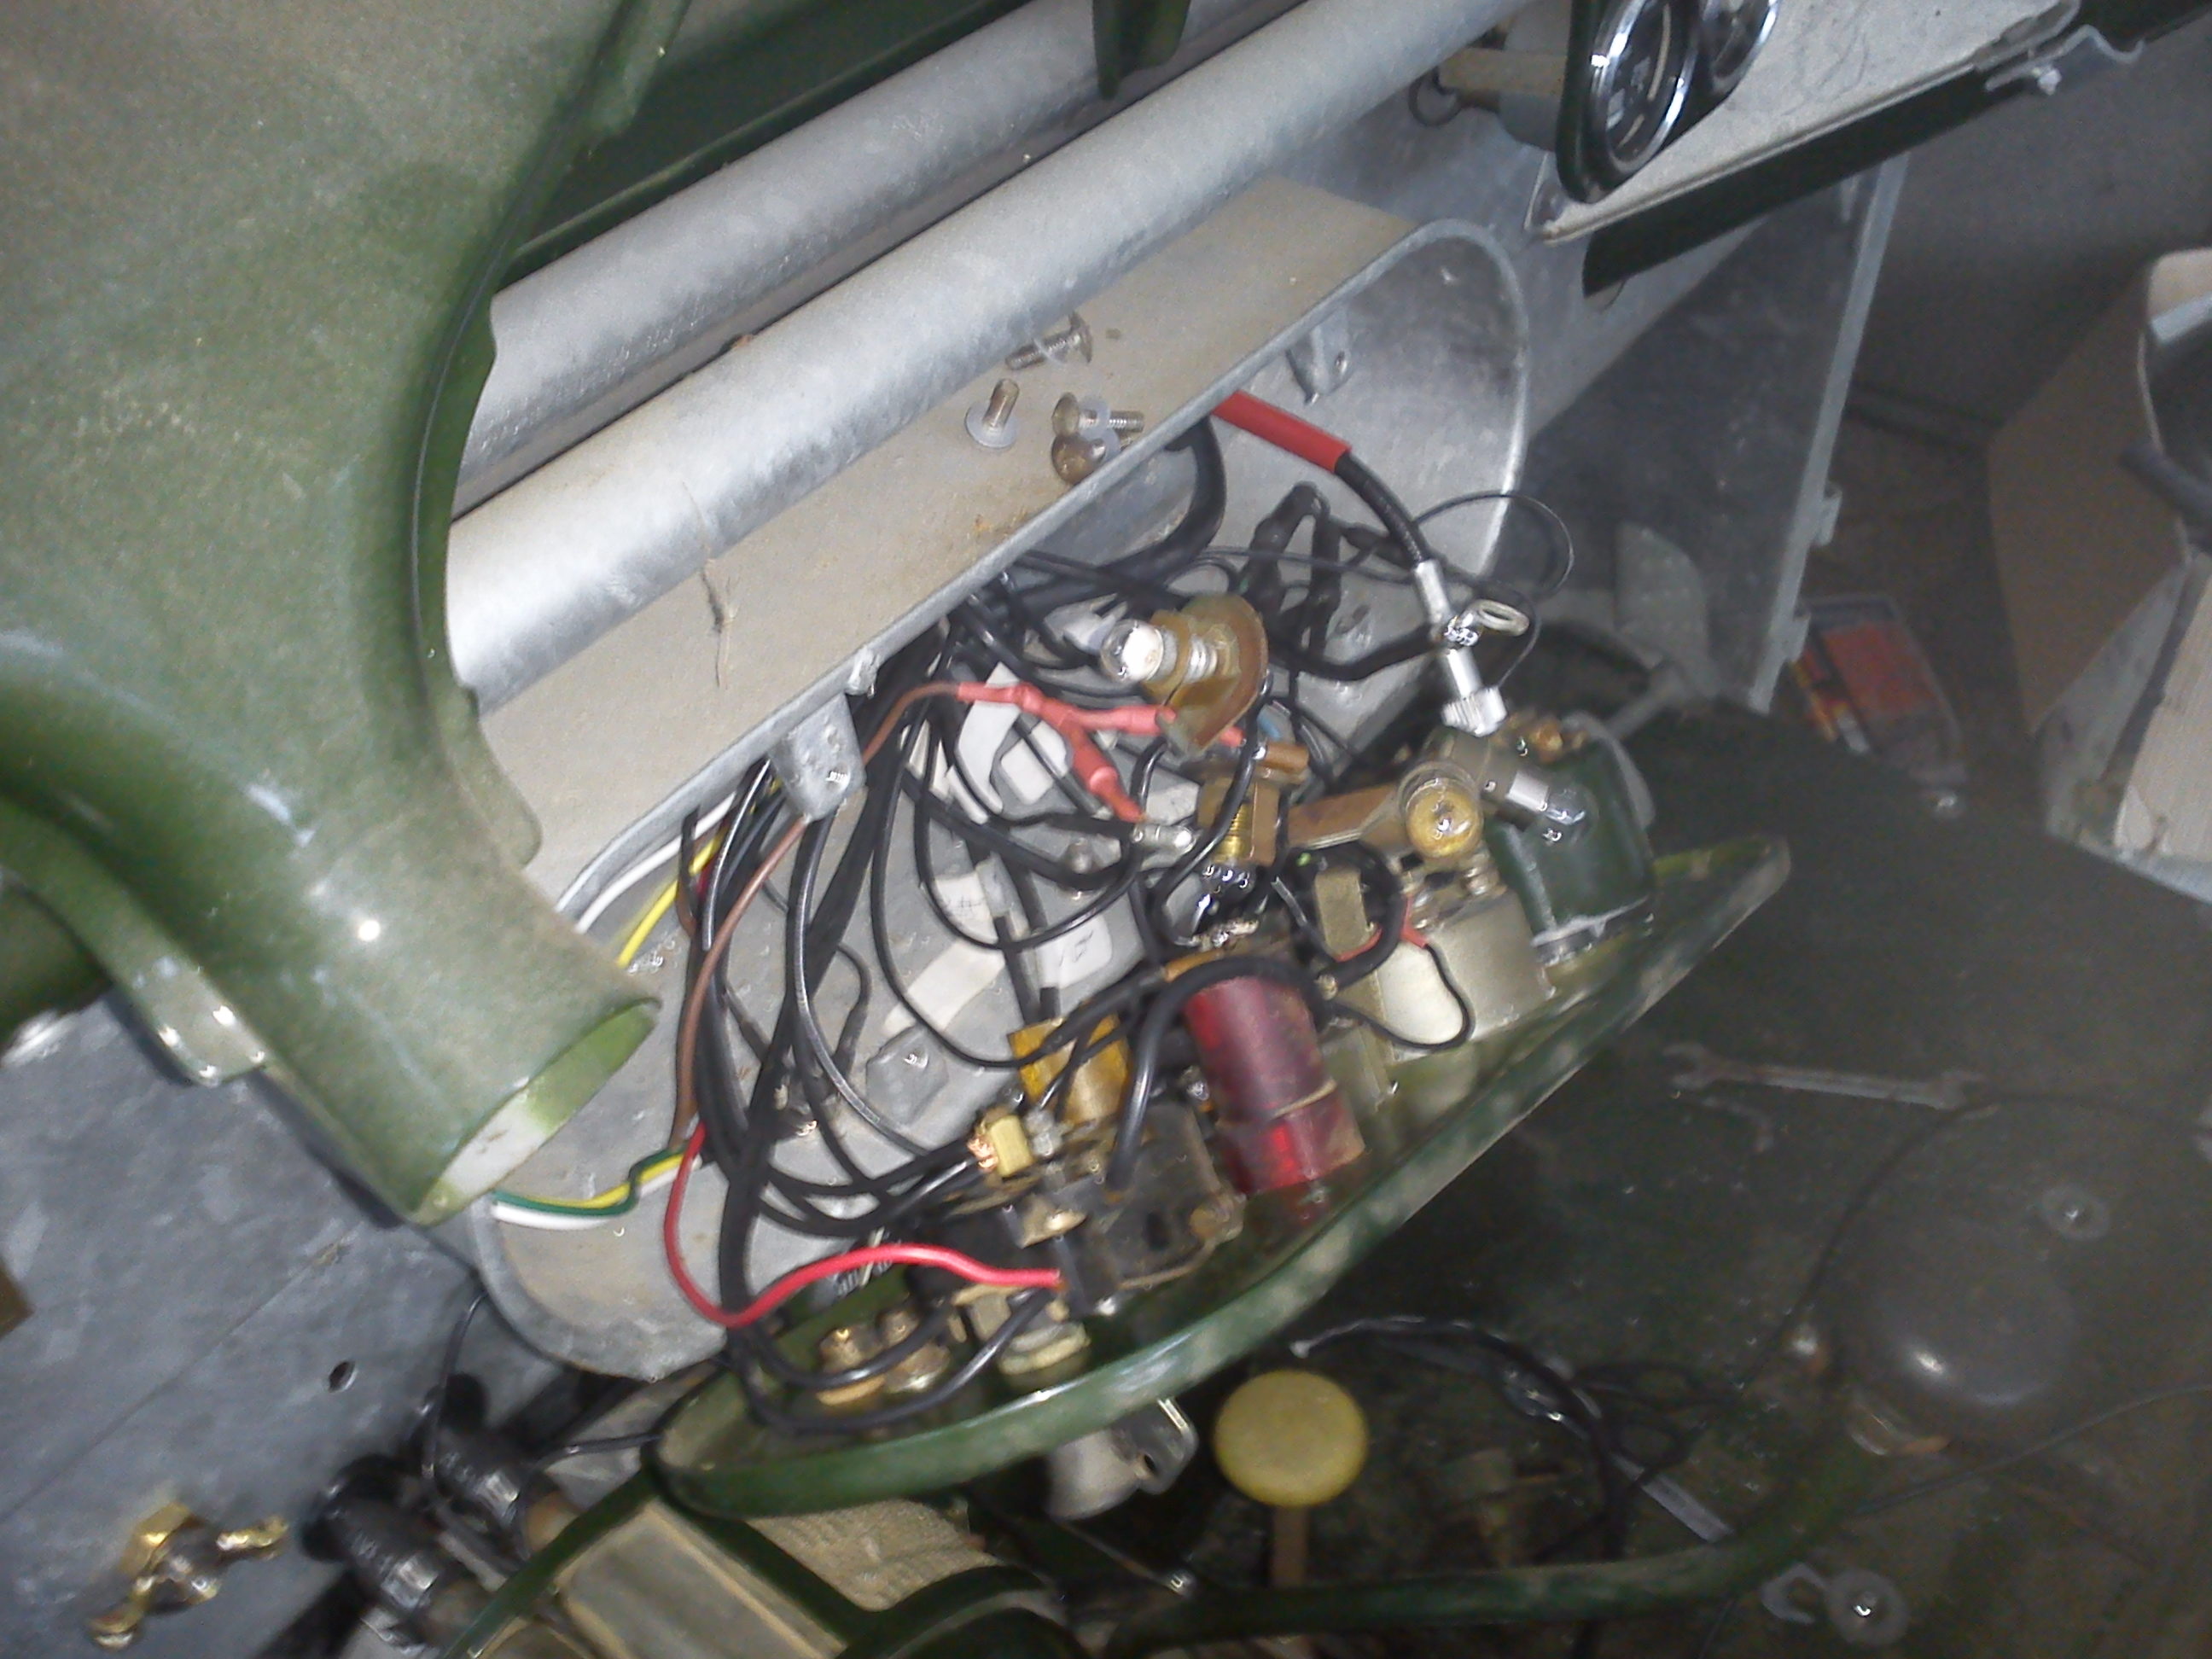
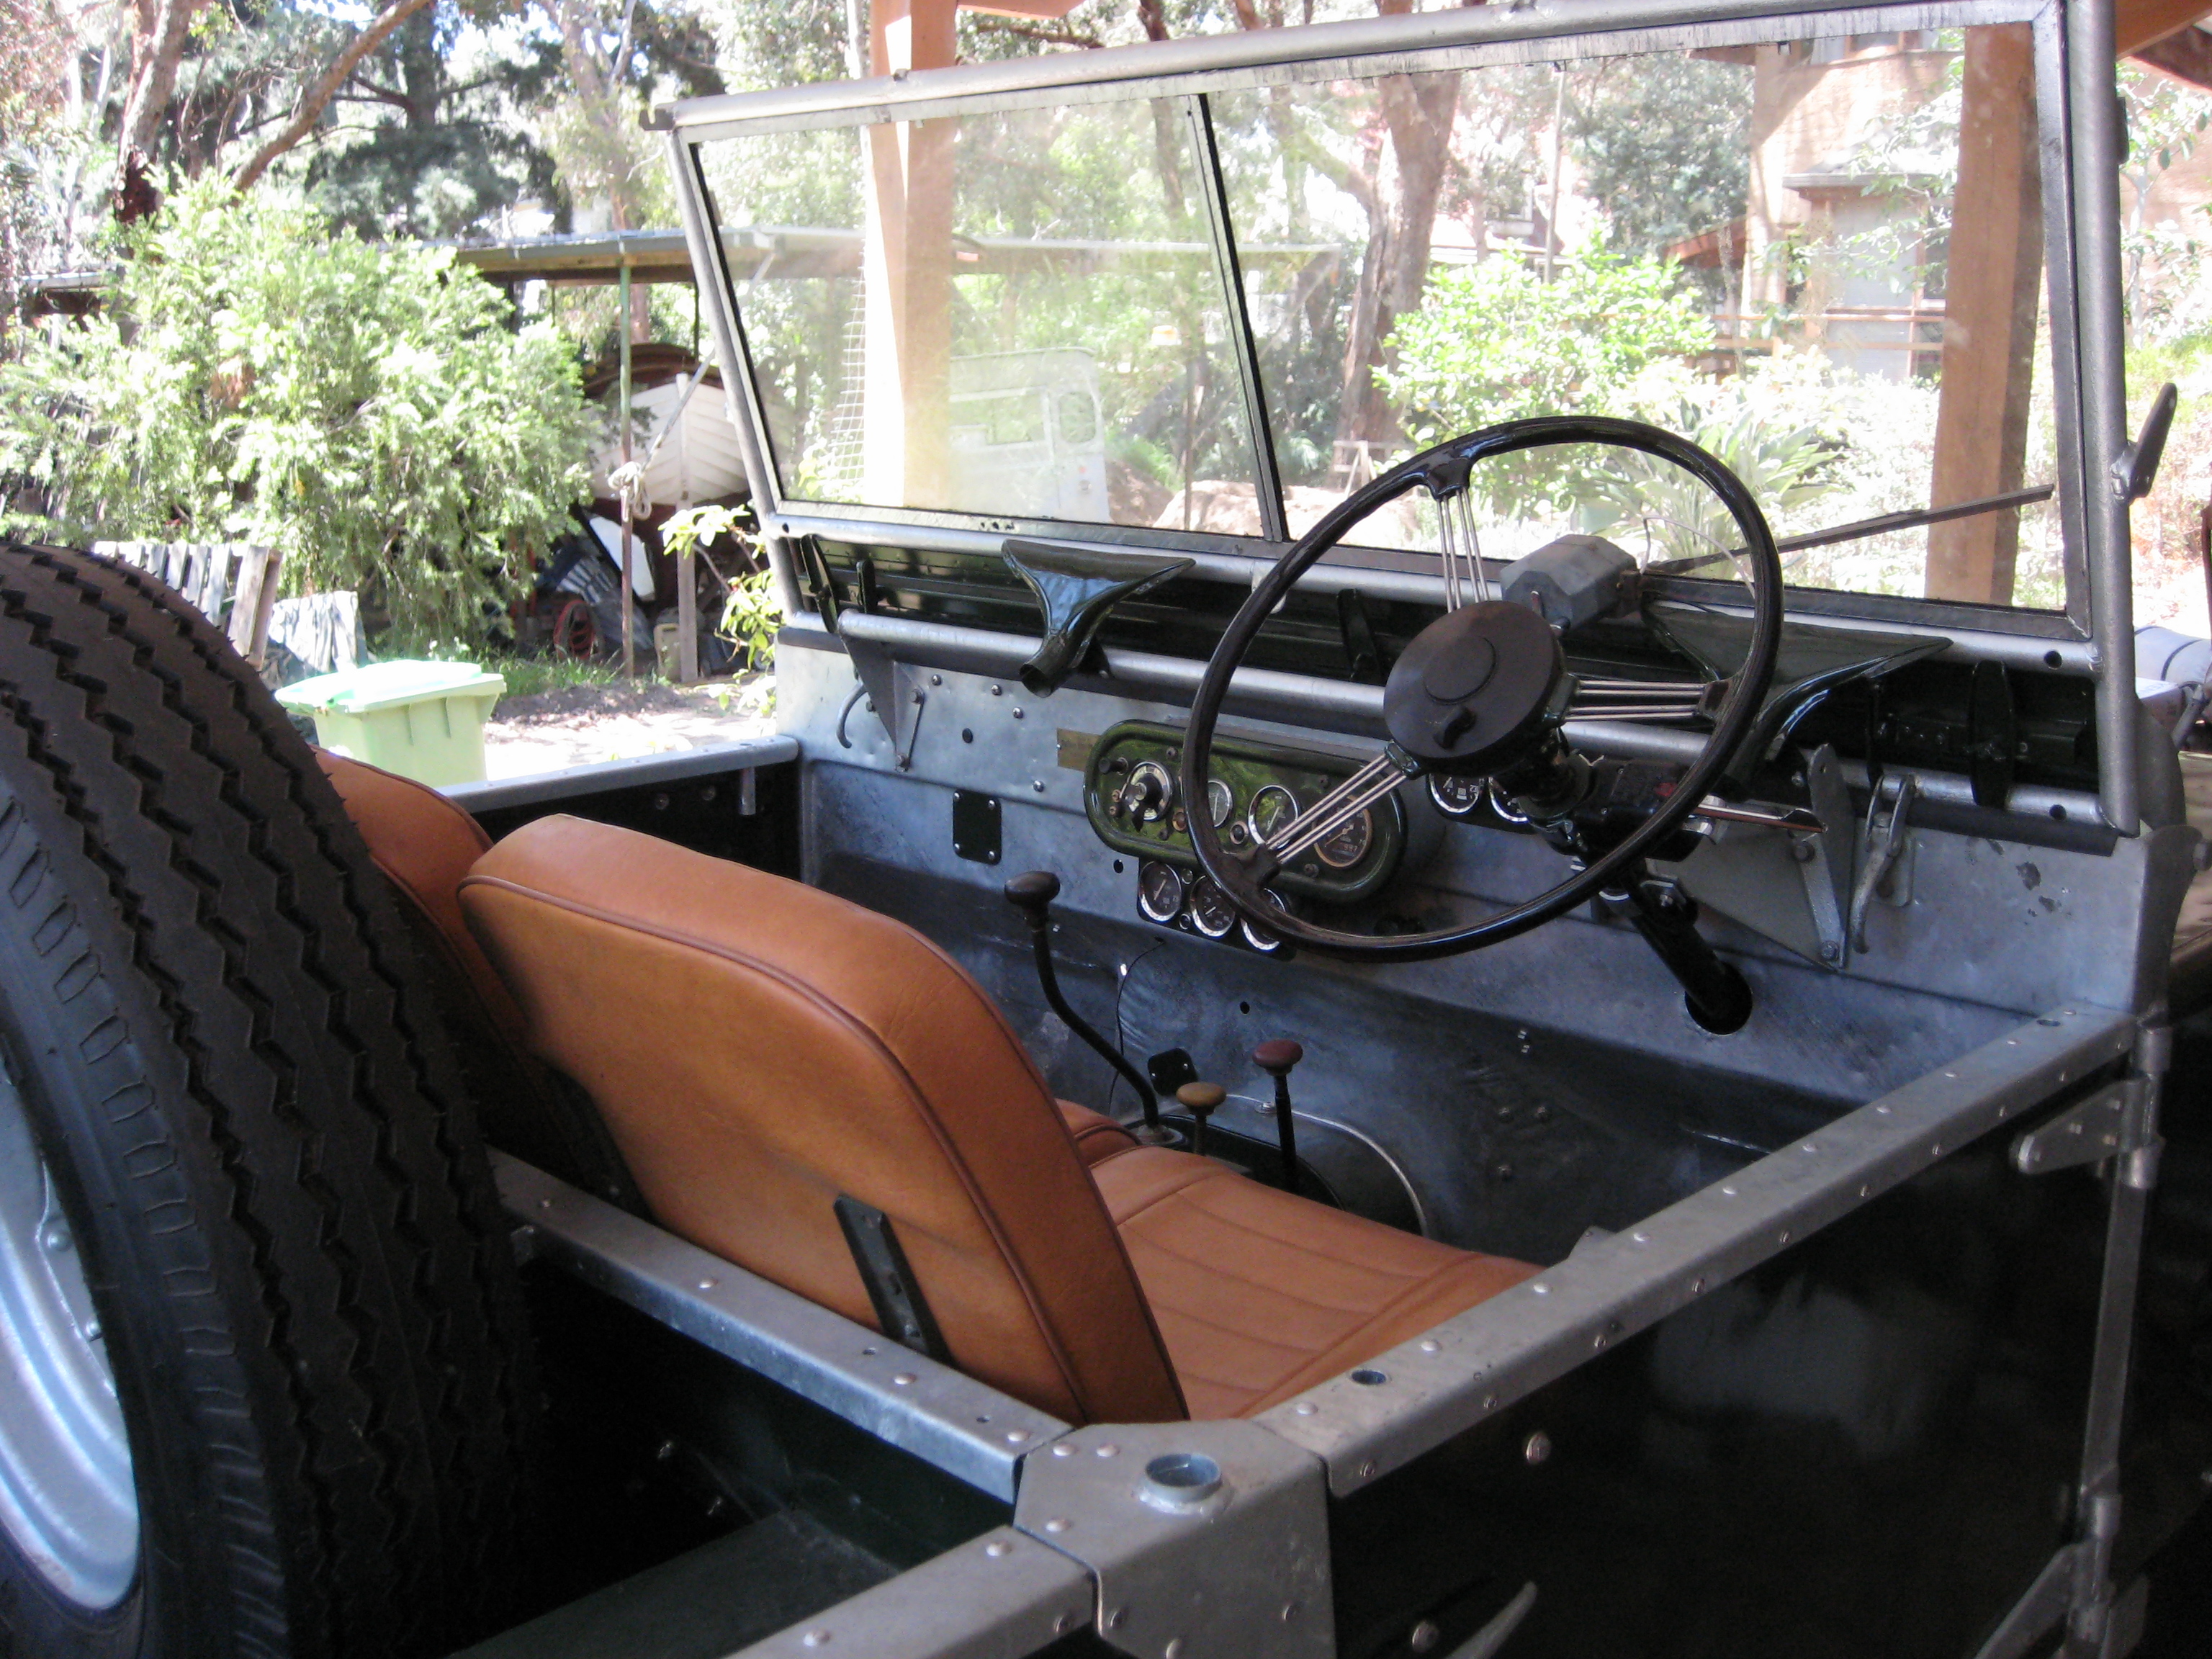
Inside the cabin I attached all of the transmission levers, wired up the original steering button, and added a floor dip switch. The floor dip switch overrides the one on the steering button and vice versa as sometimes you’re shifting gears and don’t have a hand free. All after market gauges except for the oil temperature are manual capillary tube types, one for engine temp, oil temp, oil pressure, turbo oil pressure, and turbo boost. The dashboard maintains all the standard land rover gauges.