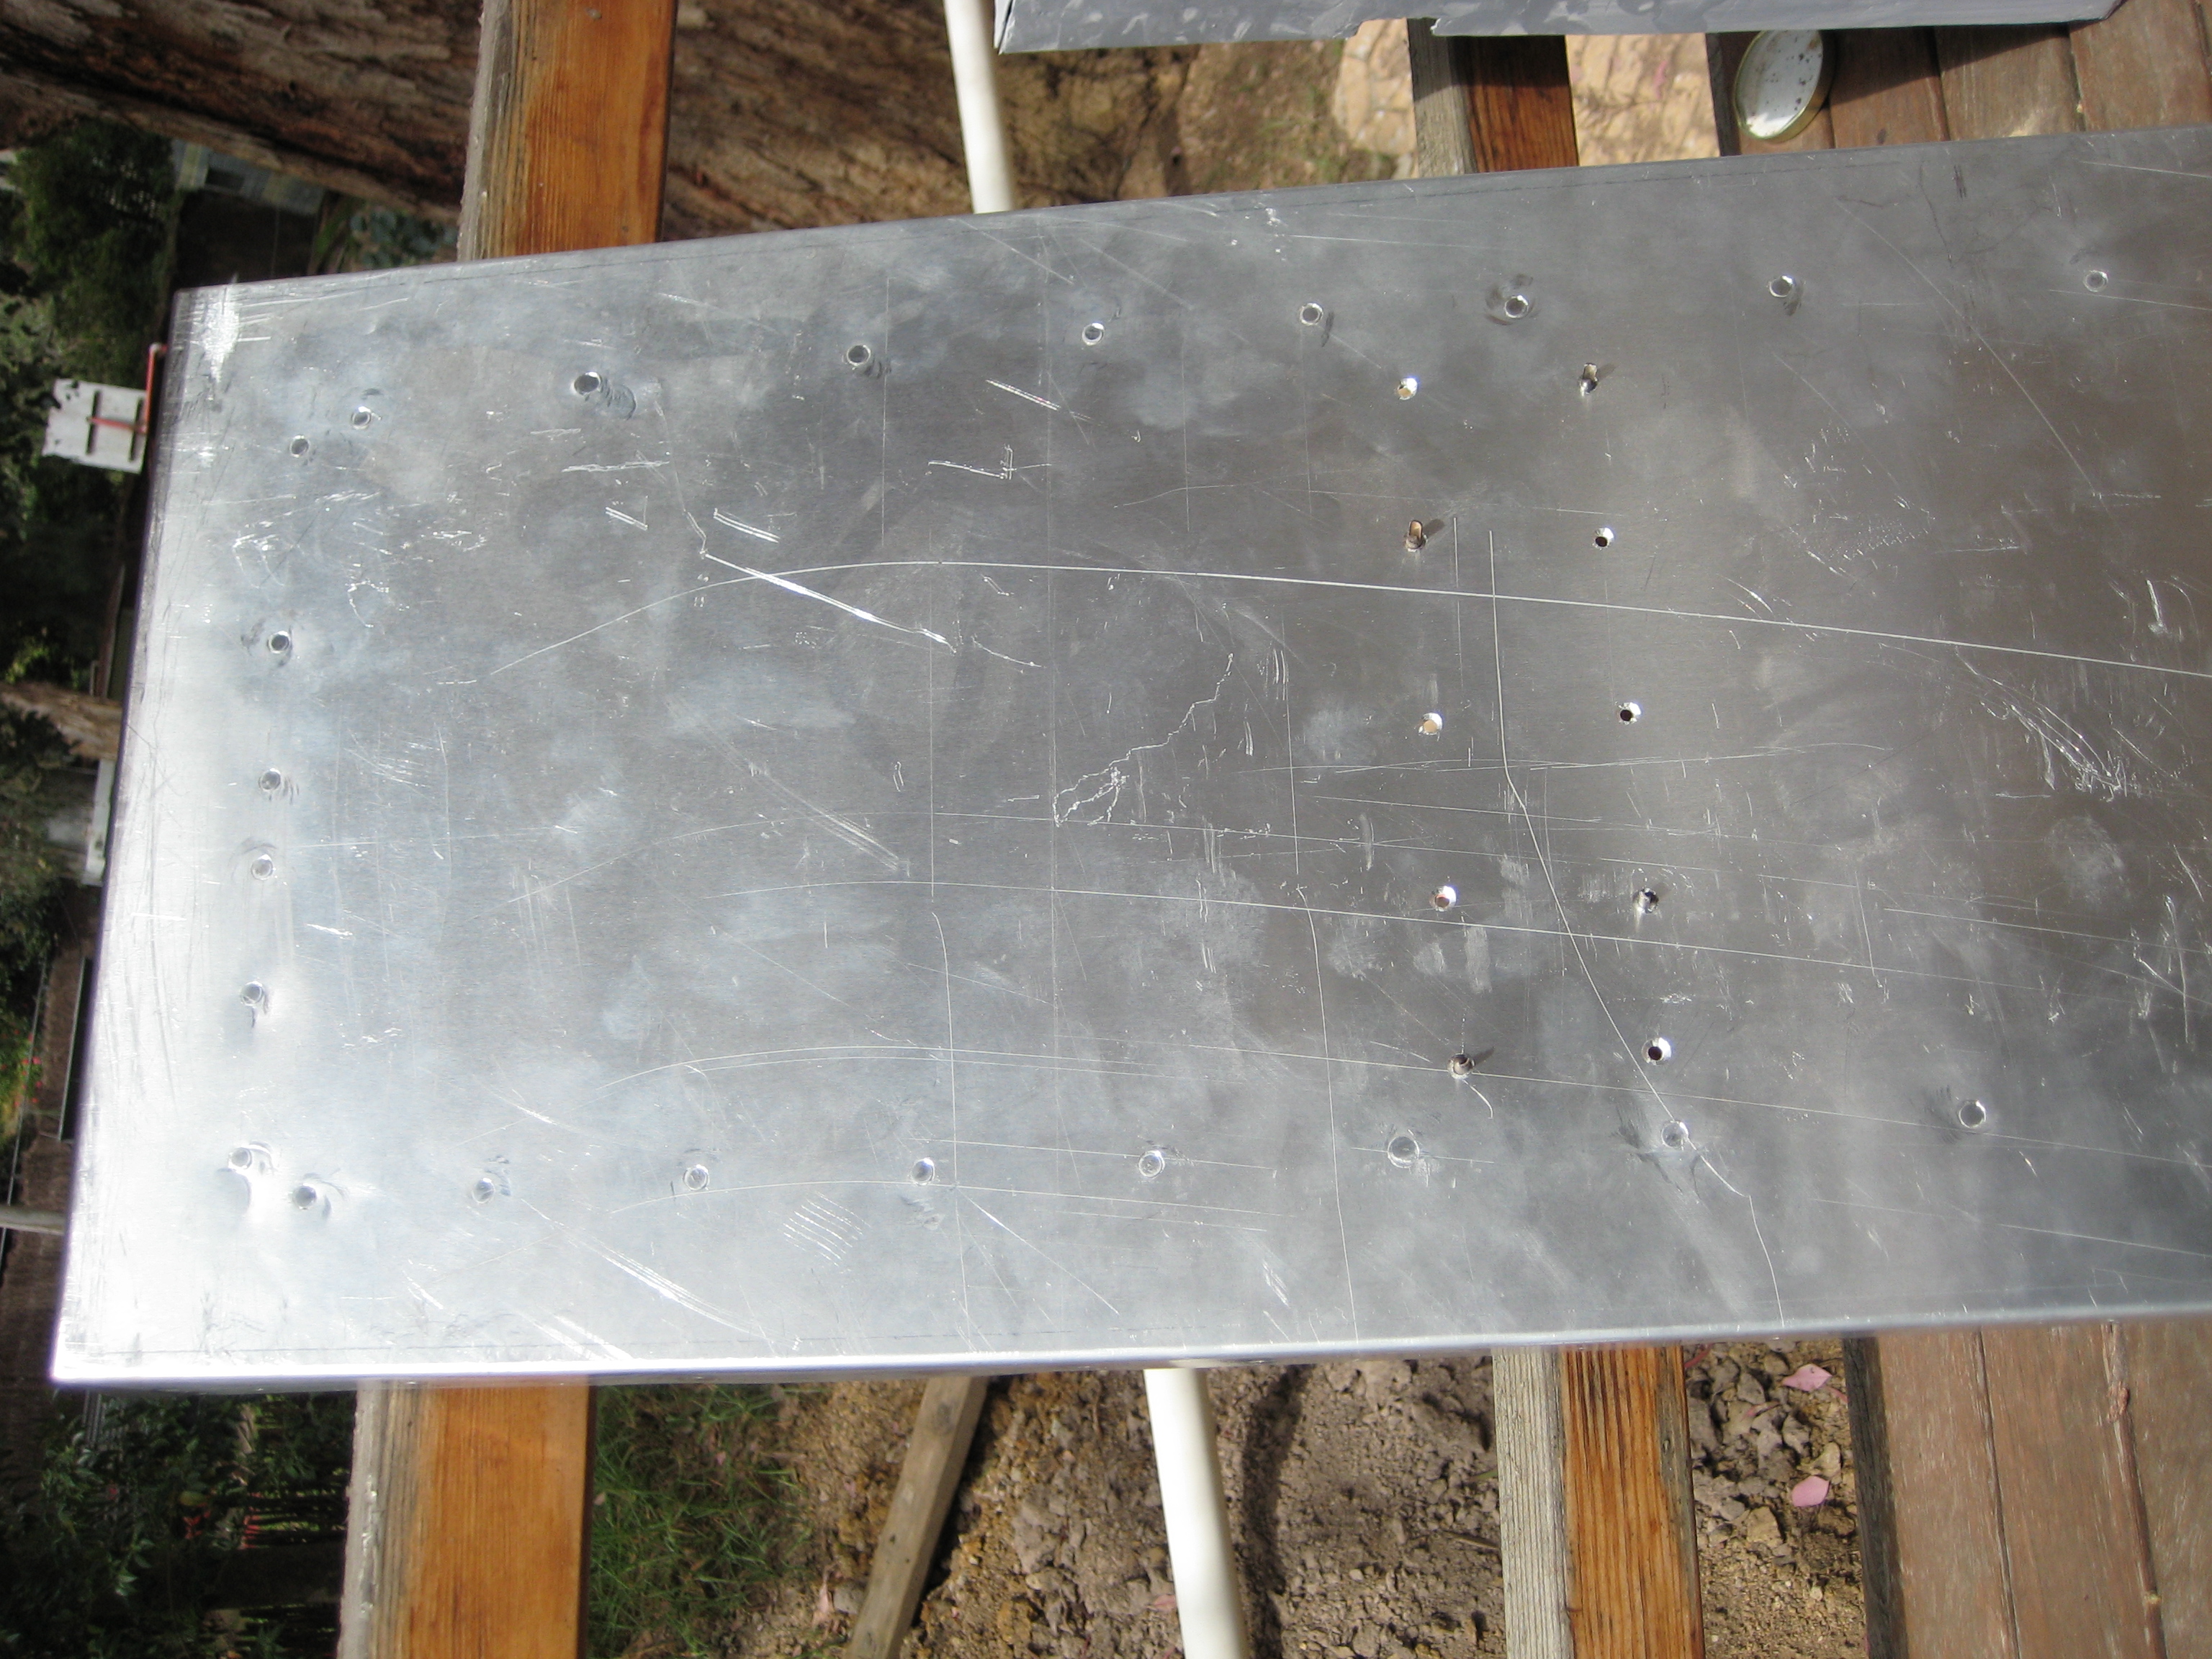
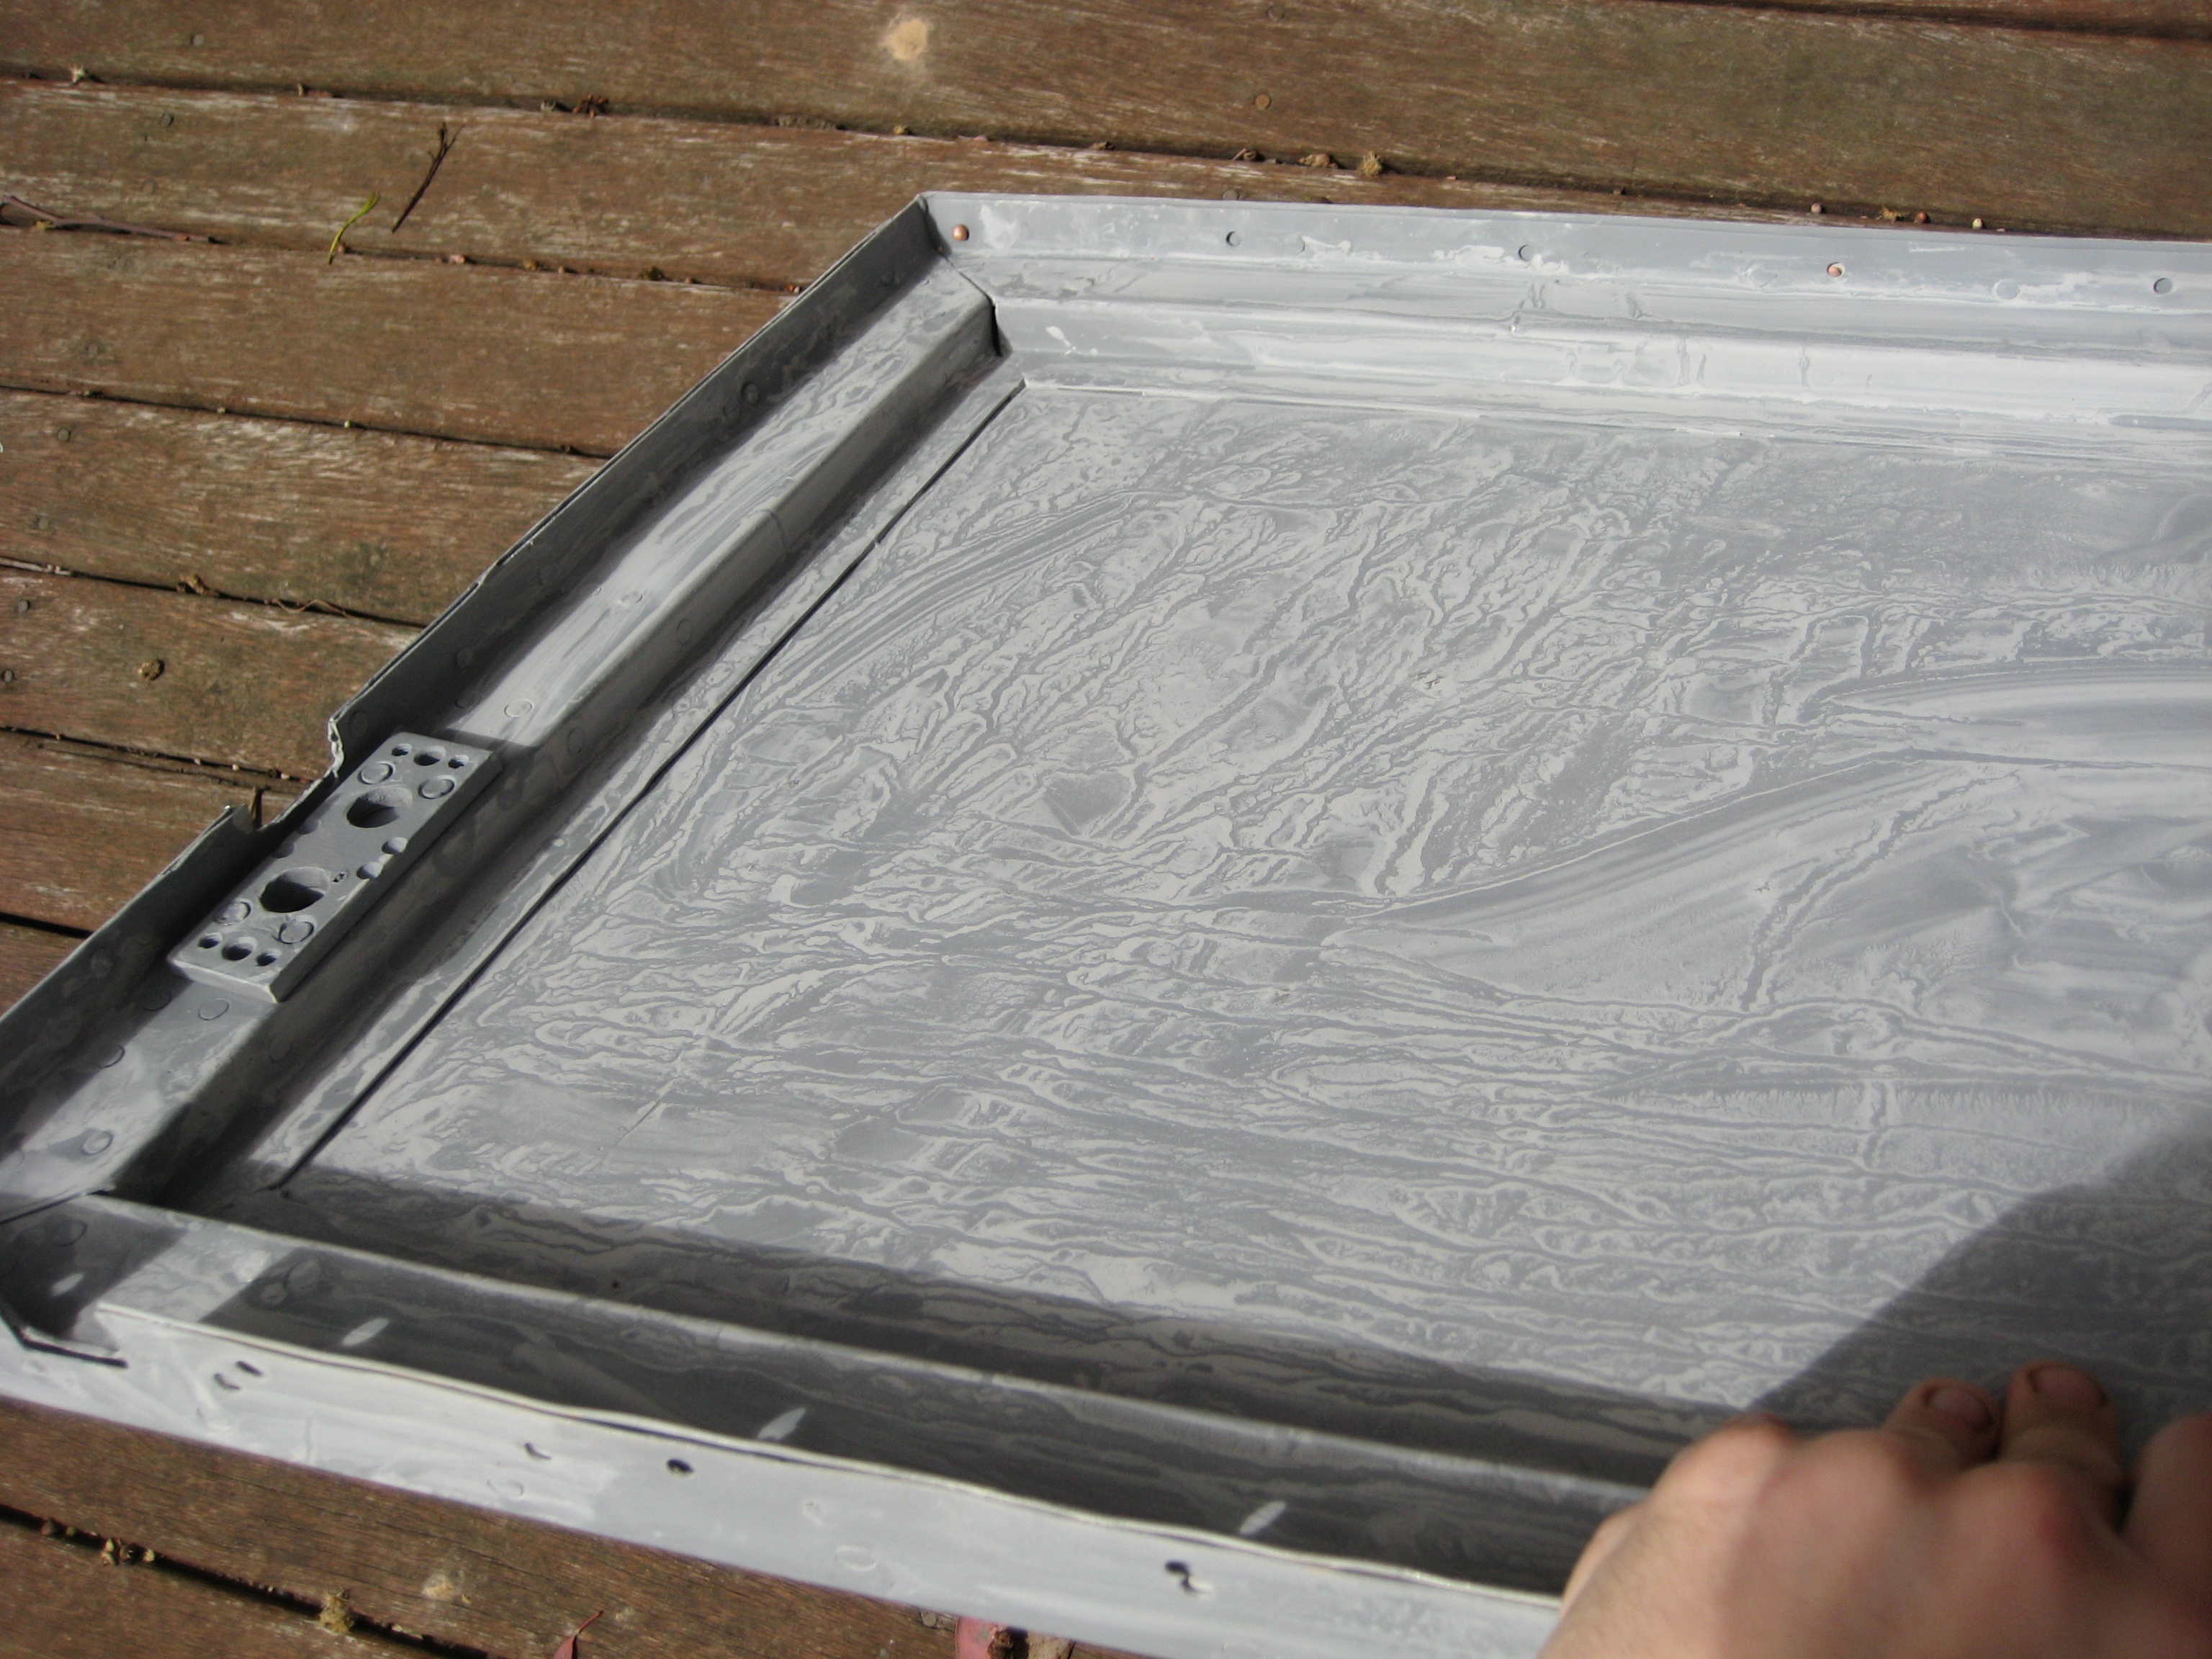
The next part of my restoration involved fixing the bruised and battered panels which were showing a good 50 years of abuse. Many of the spot welds had broken near high stress areas such as door latches and seat bases while many sections of the aluminium doors had work hardened and cracked. The tailgate was in particularly bad condition as it had the usual tow ball and heavy object dropping dents. I decided to have a new tailgate skin bent up at a local sheet metal workers from slightly thicker aluminium, and then rivet the girder sections from the original back on.
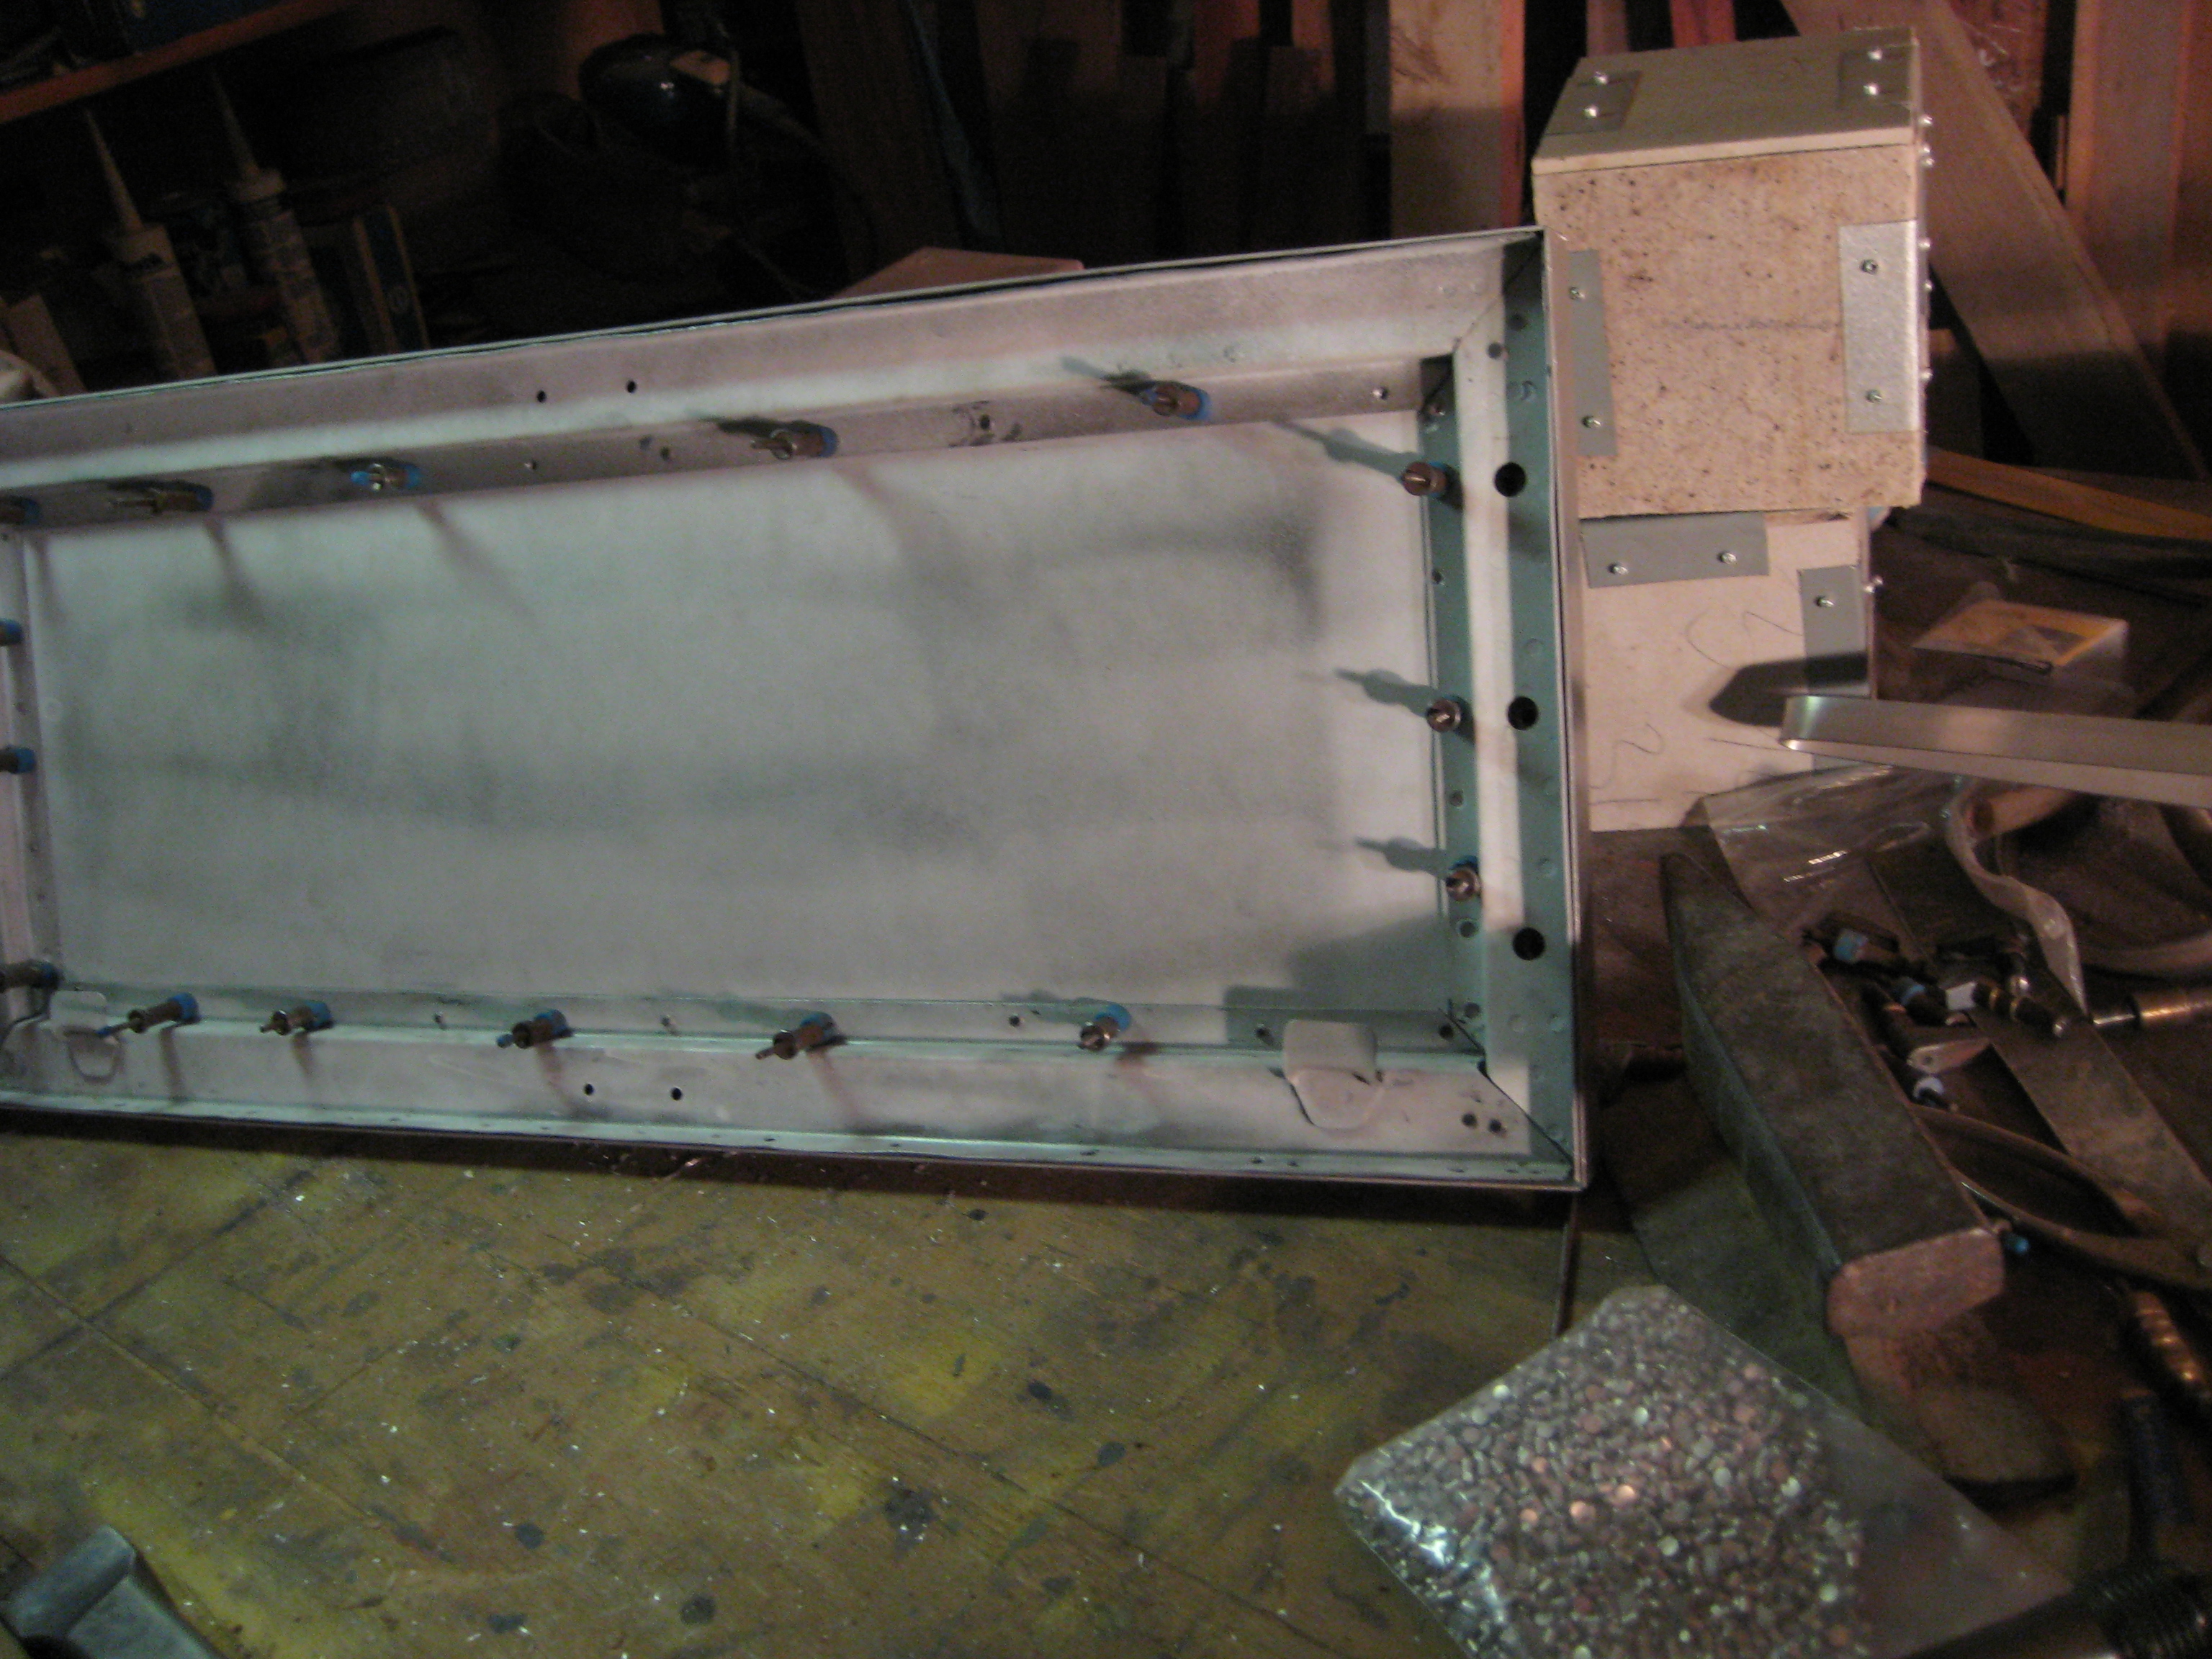
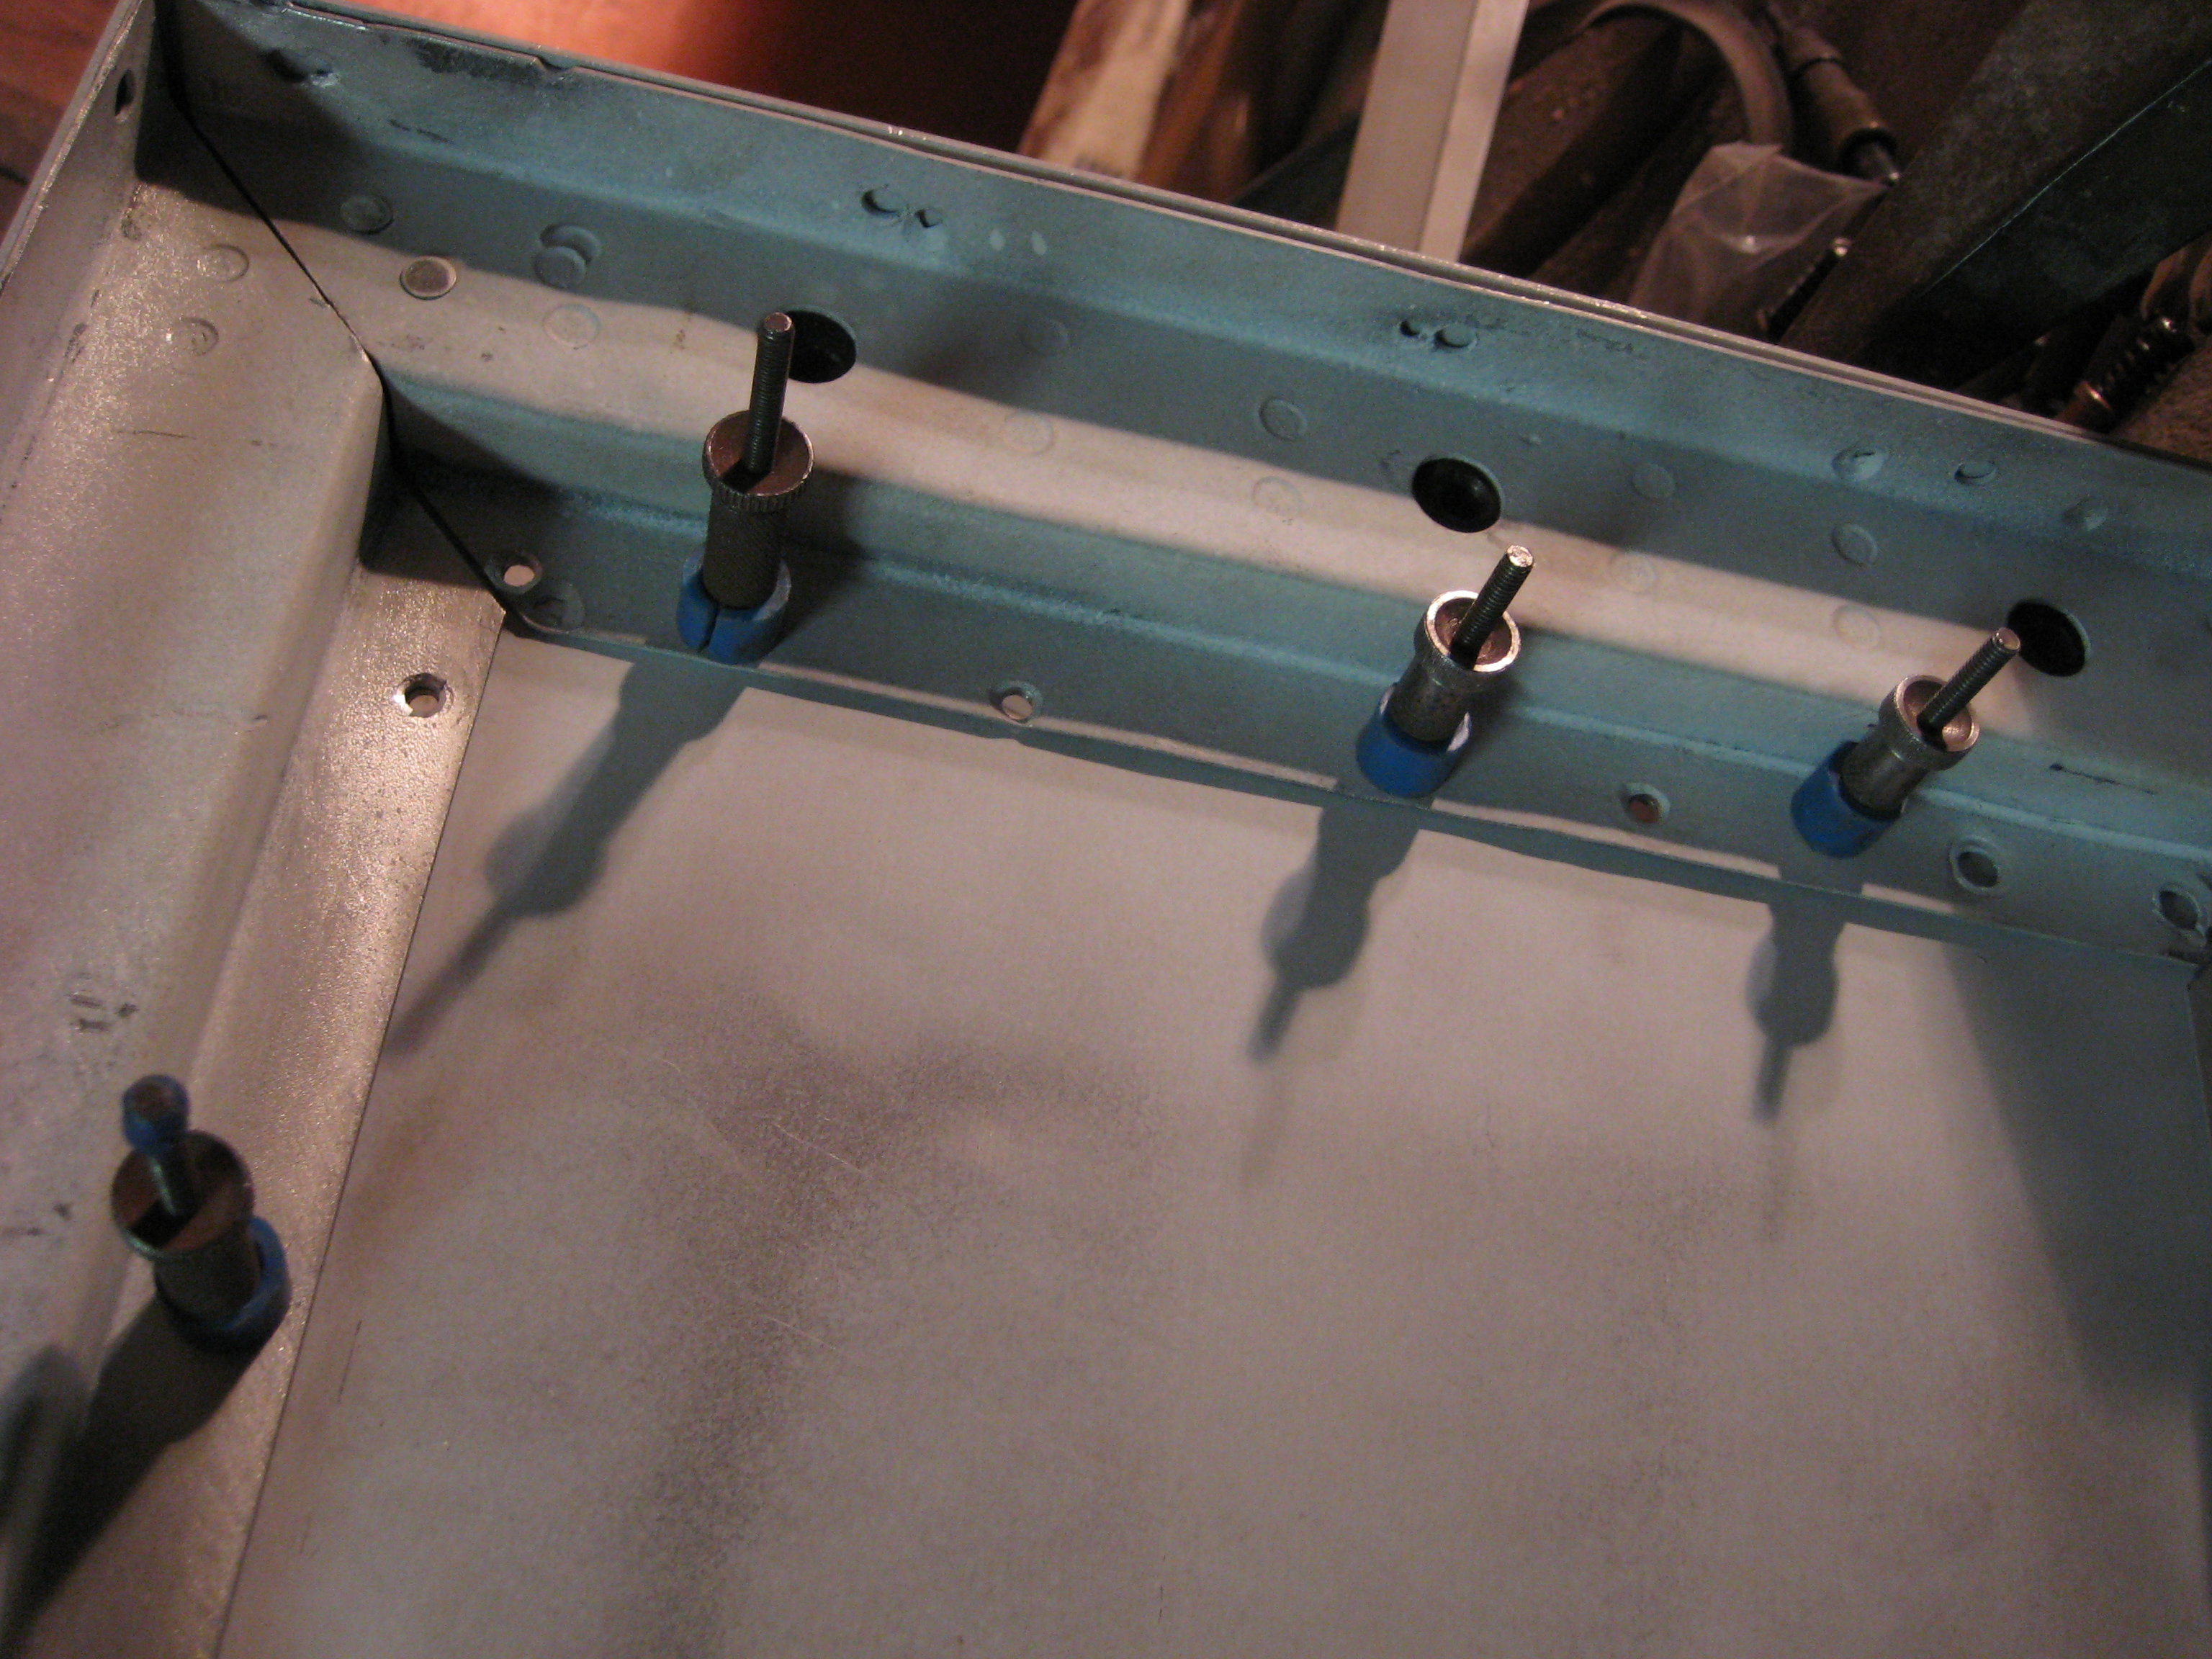
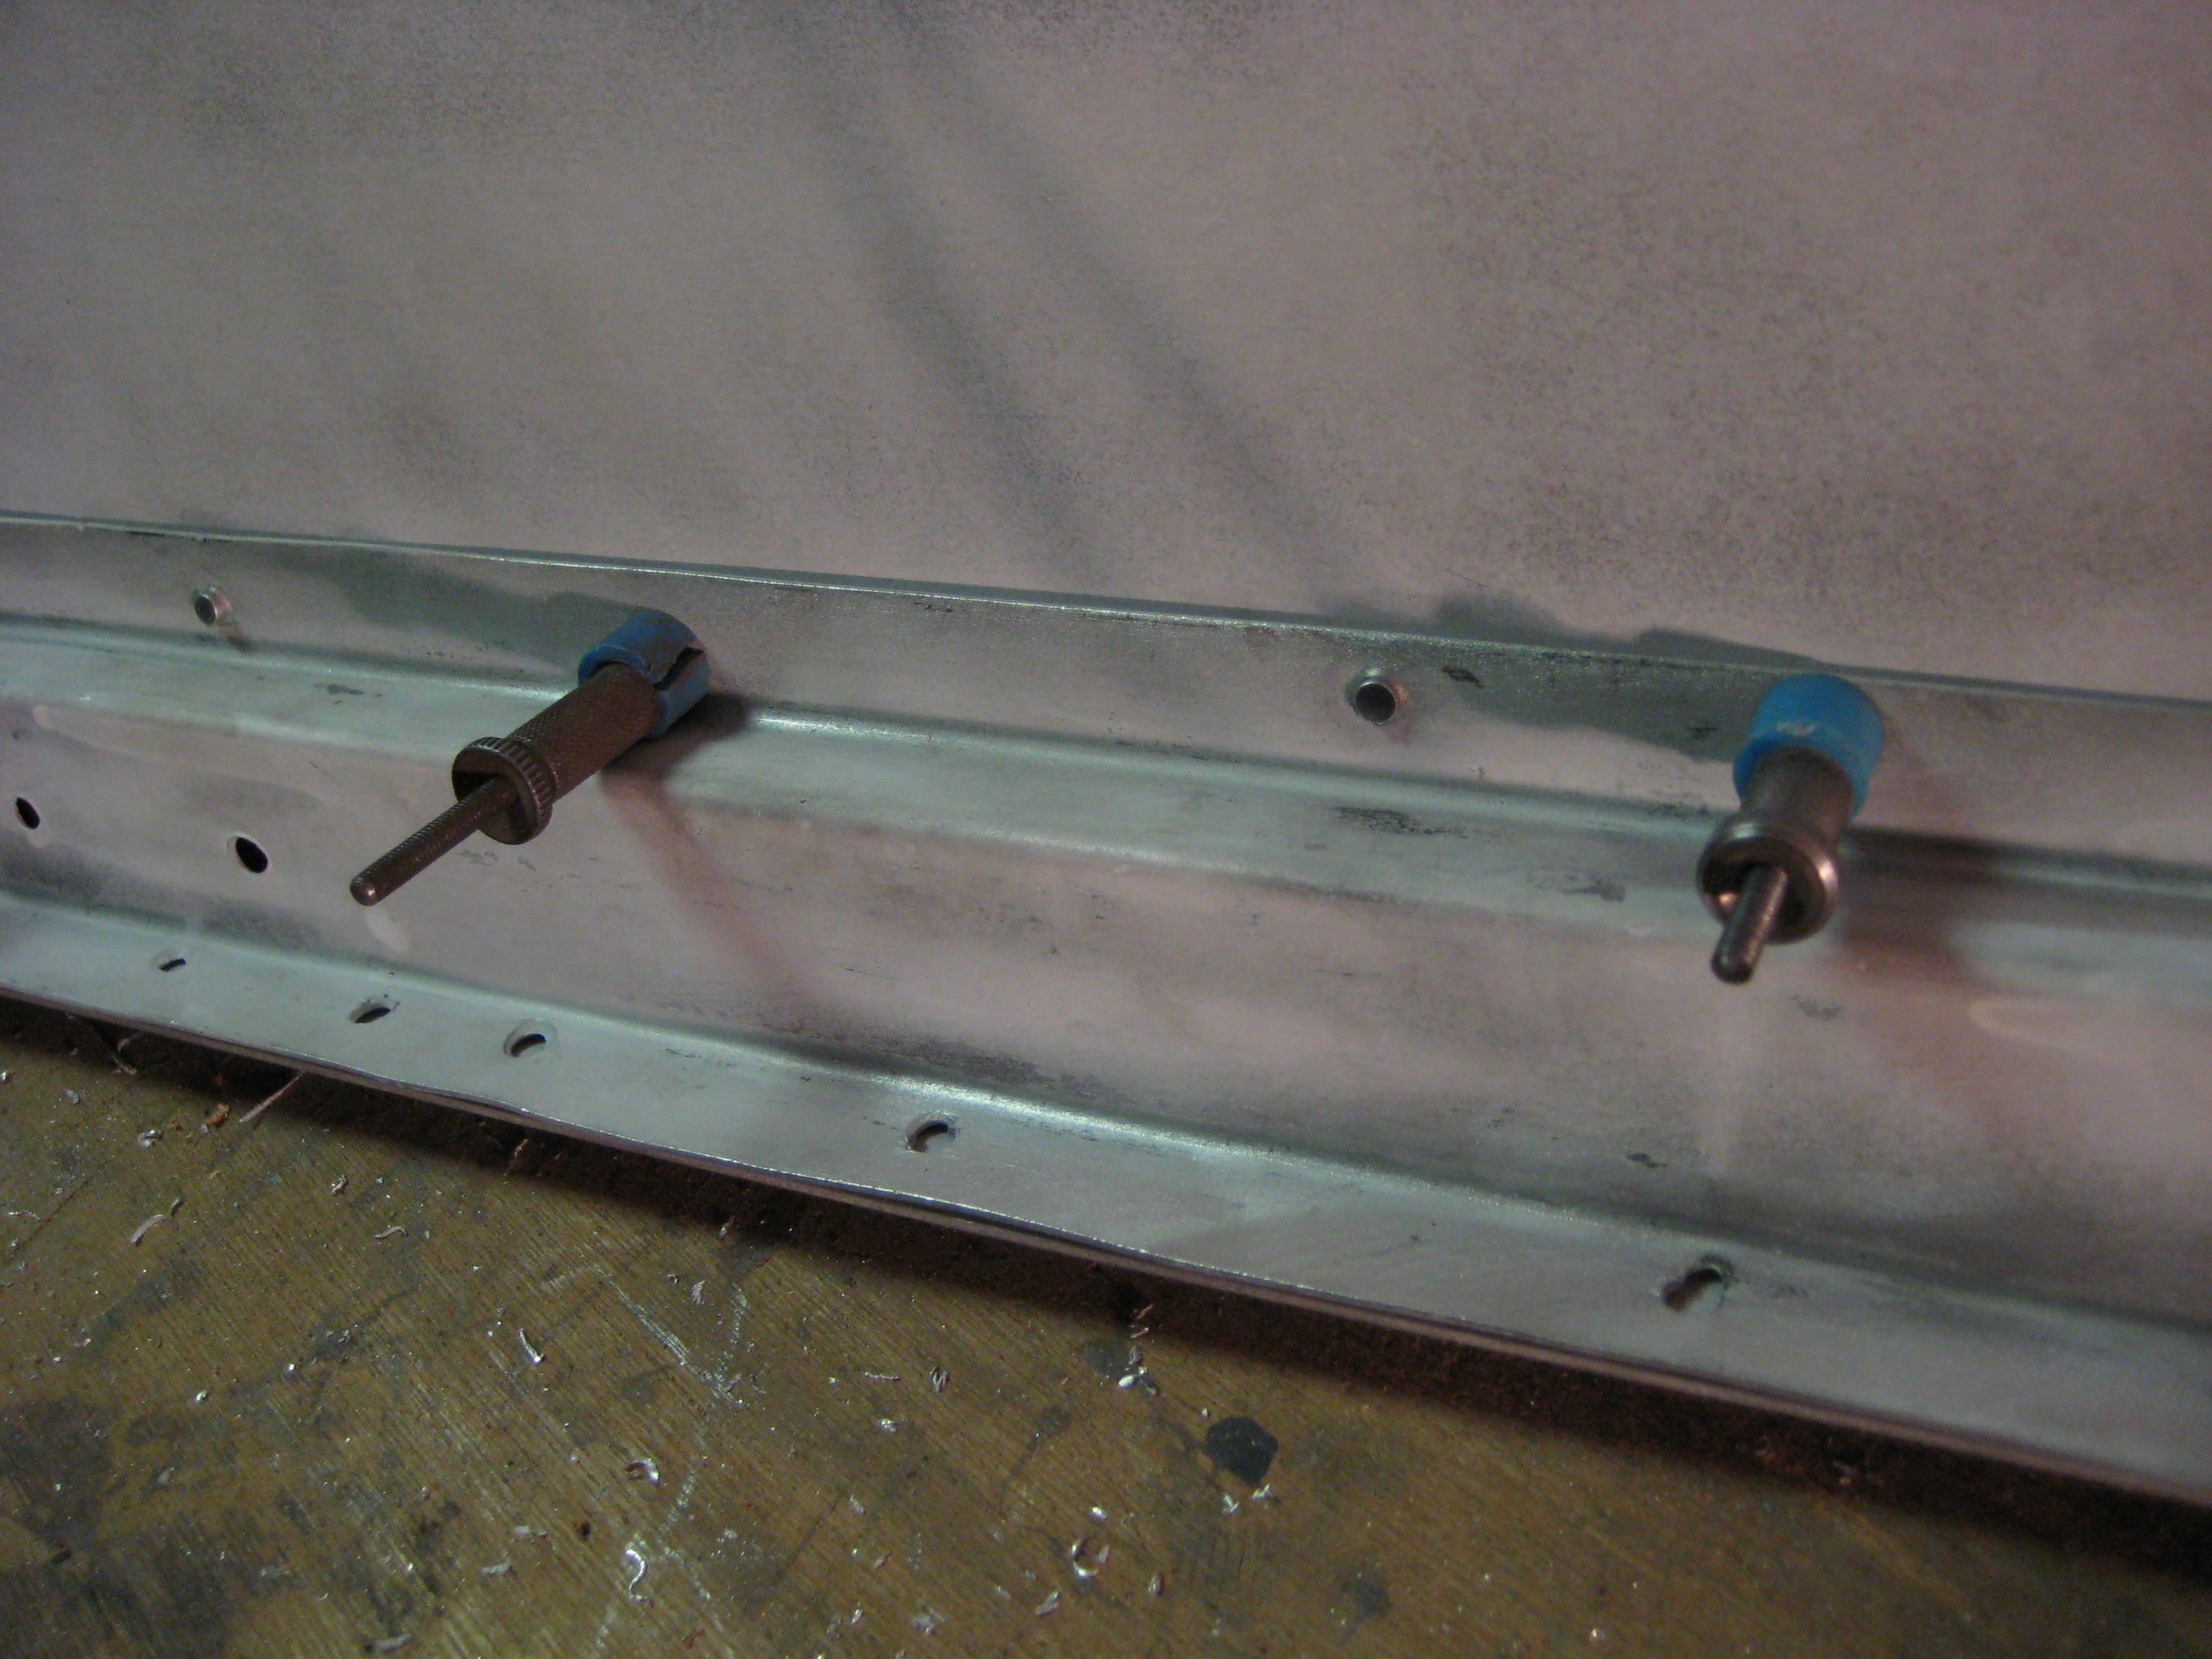
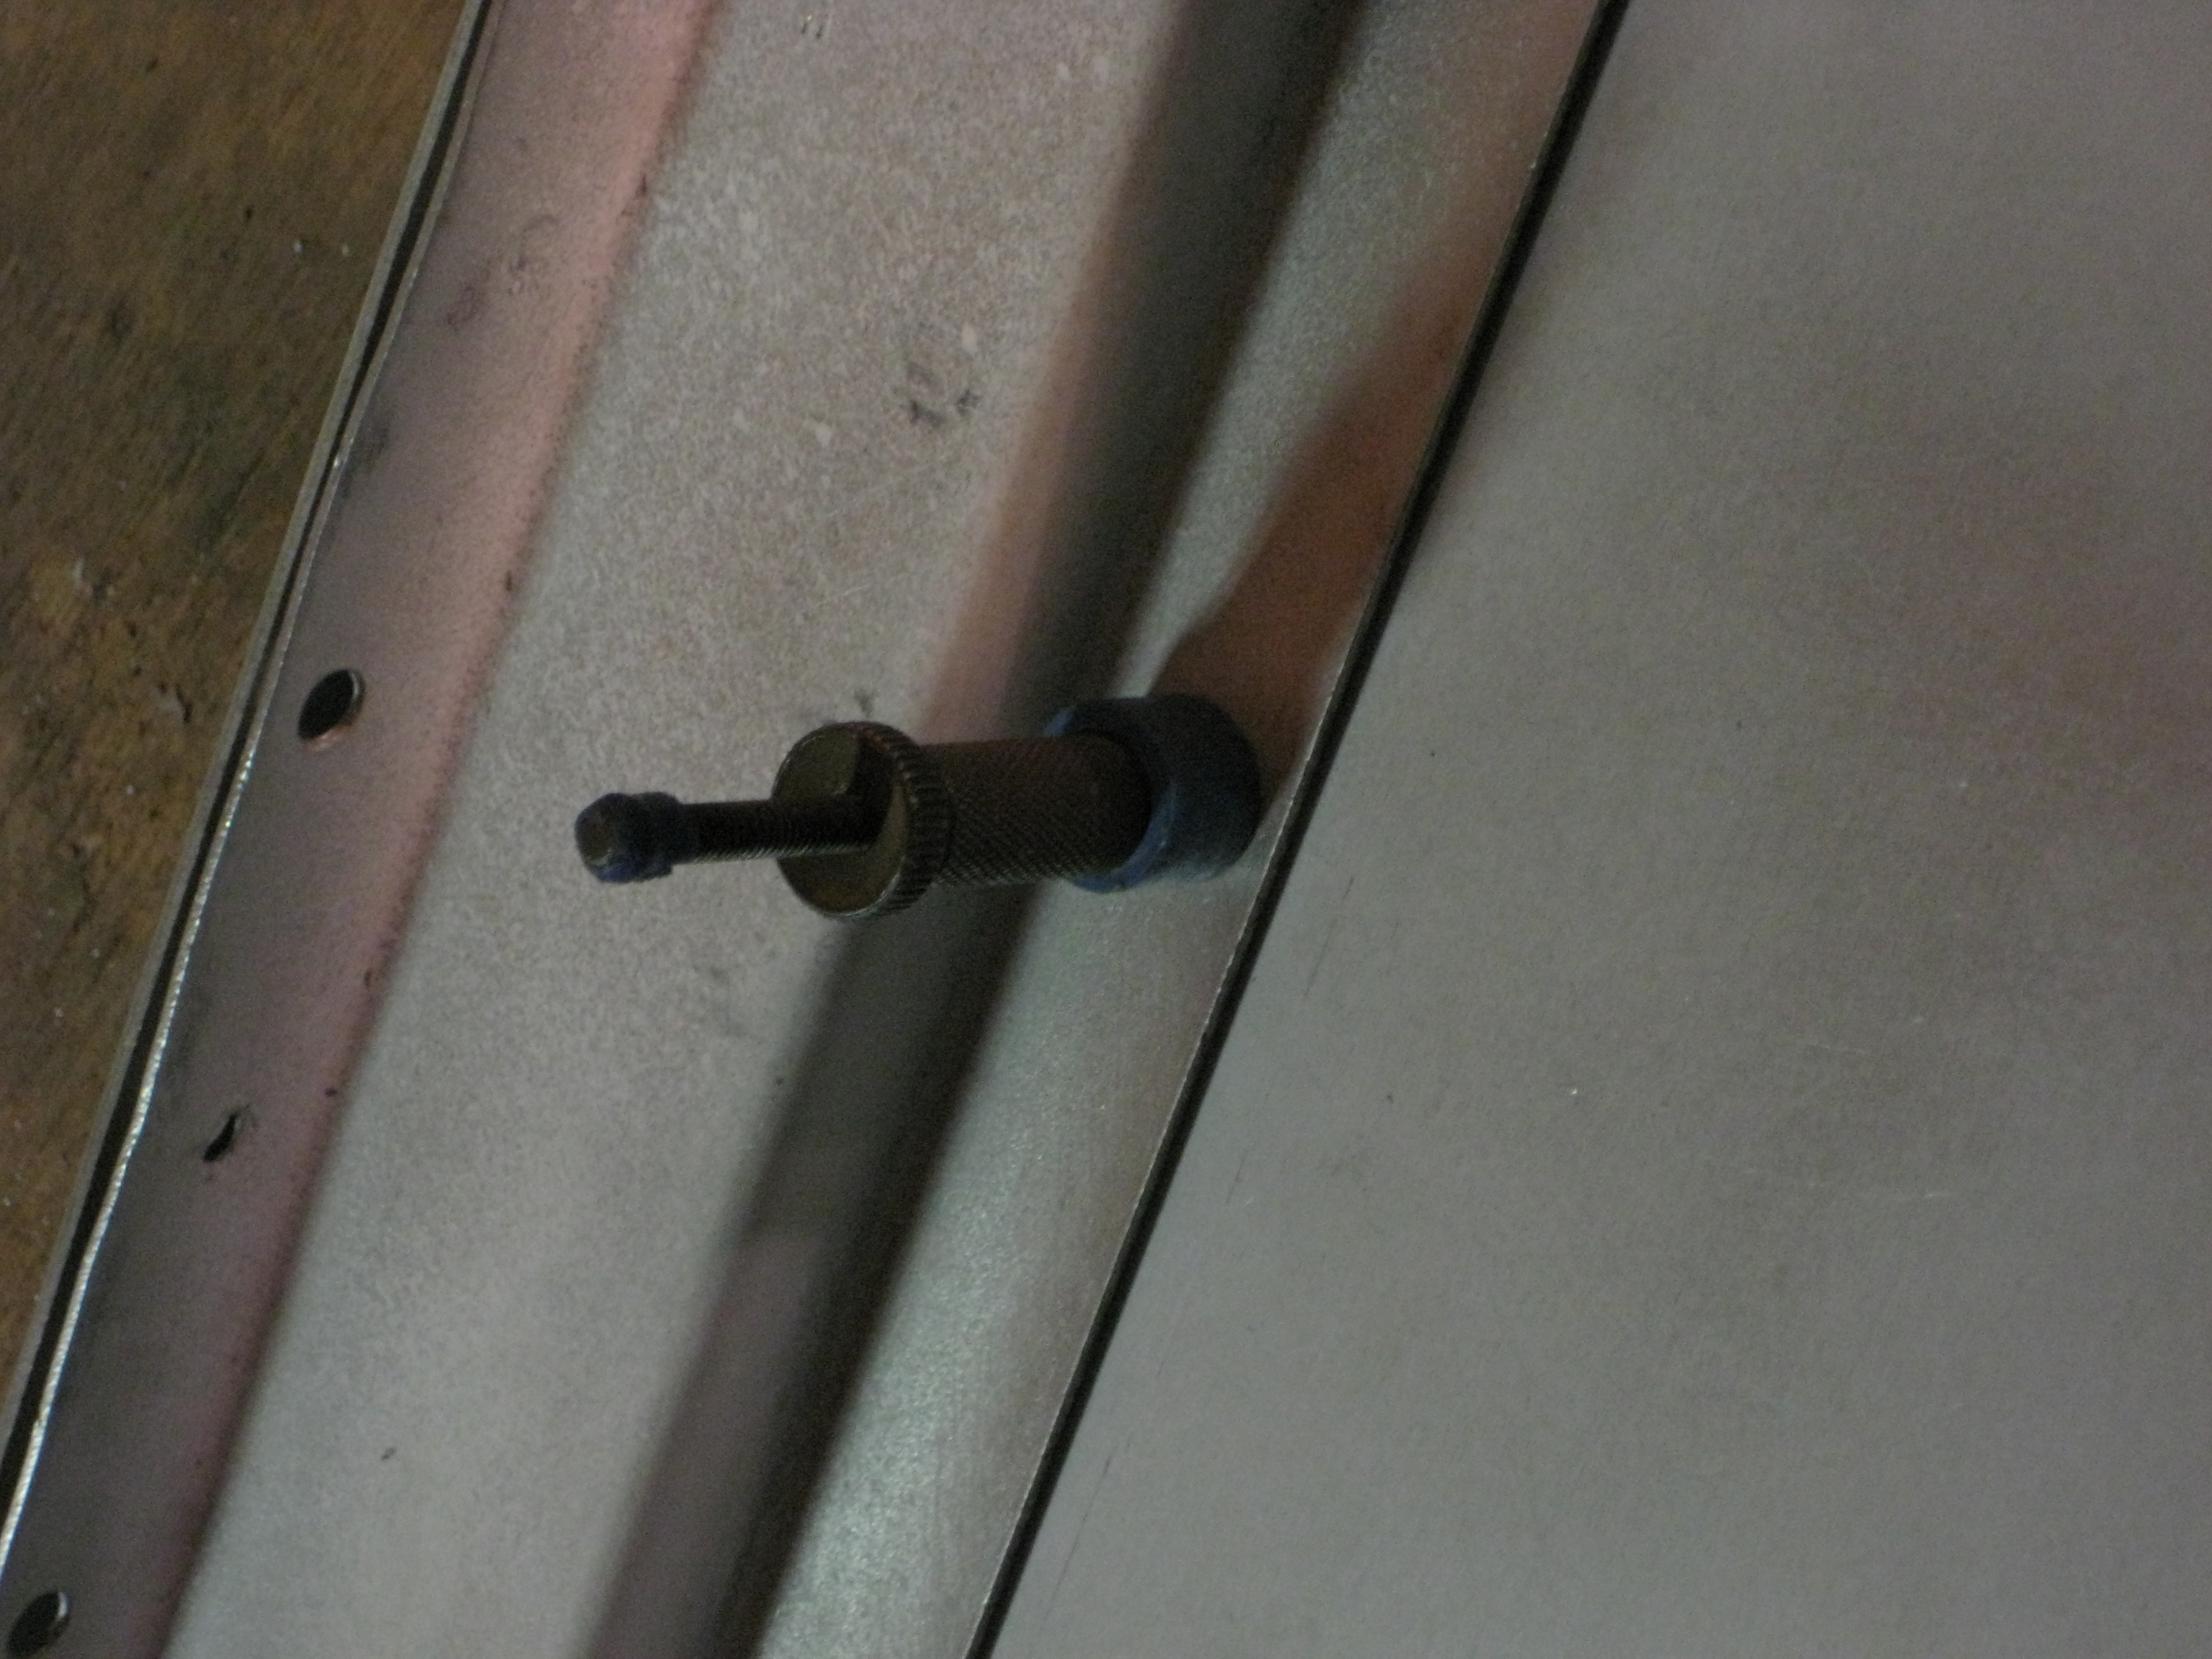
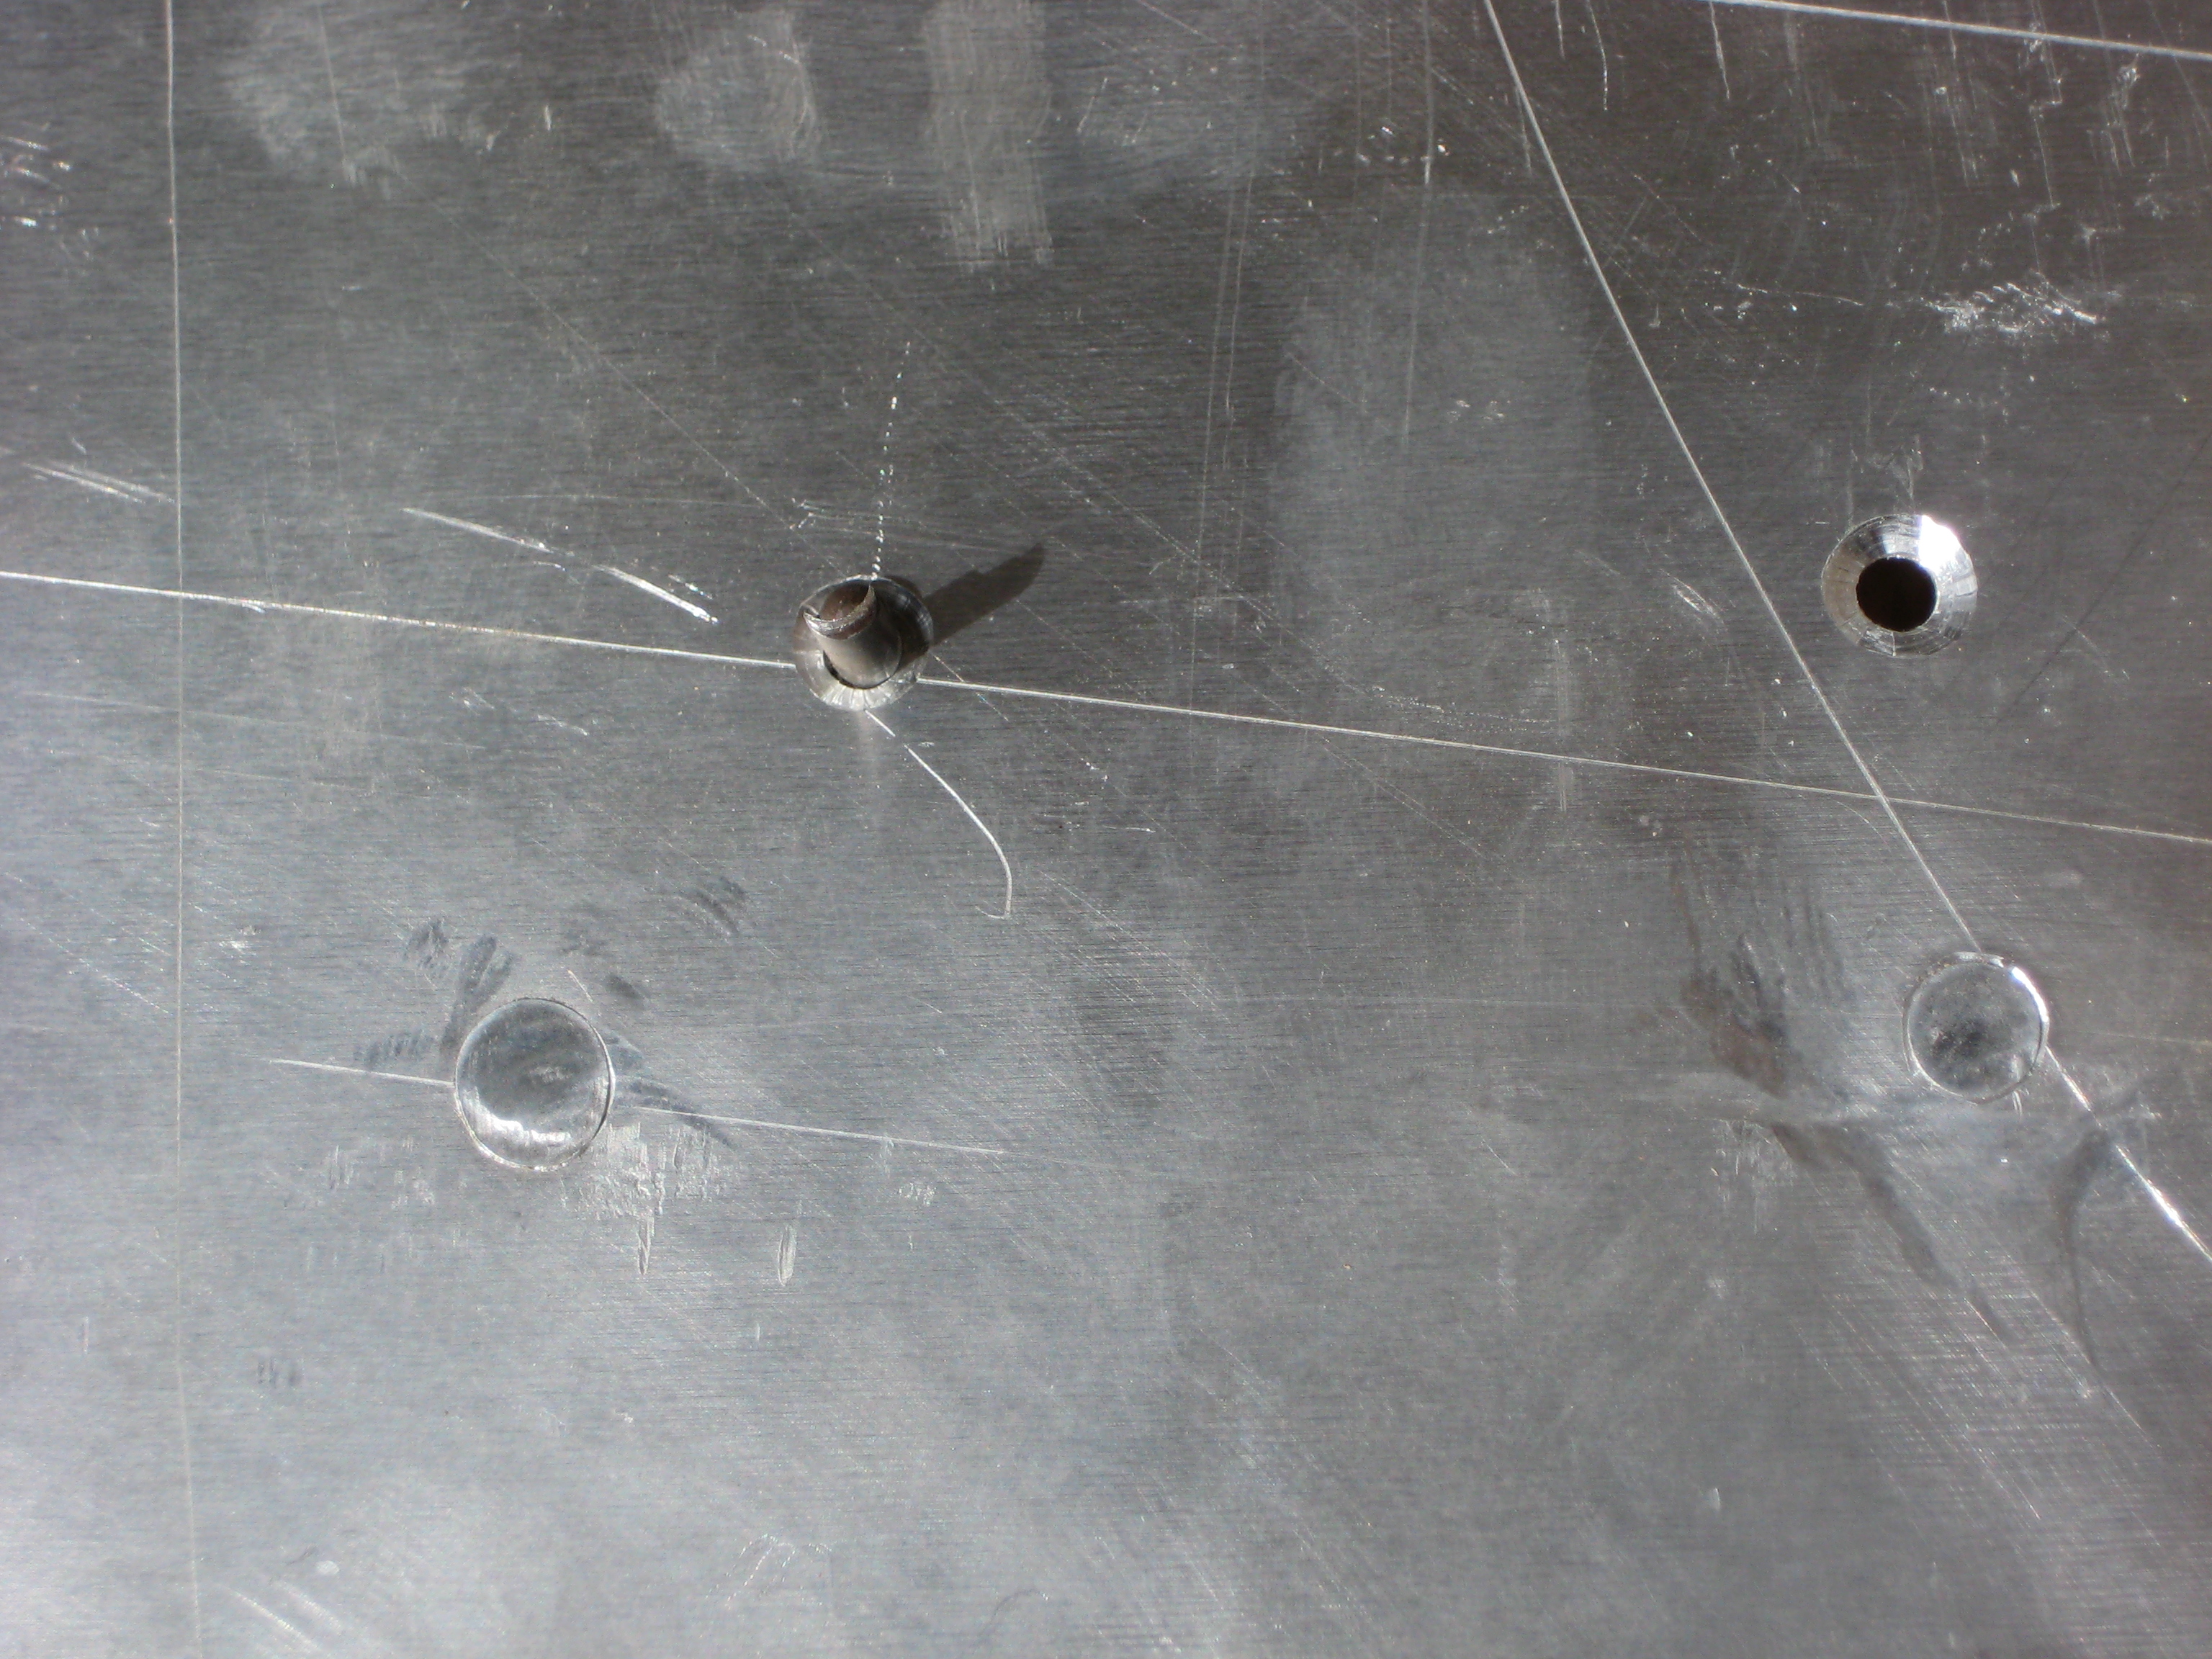
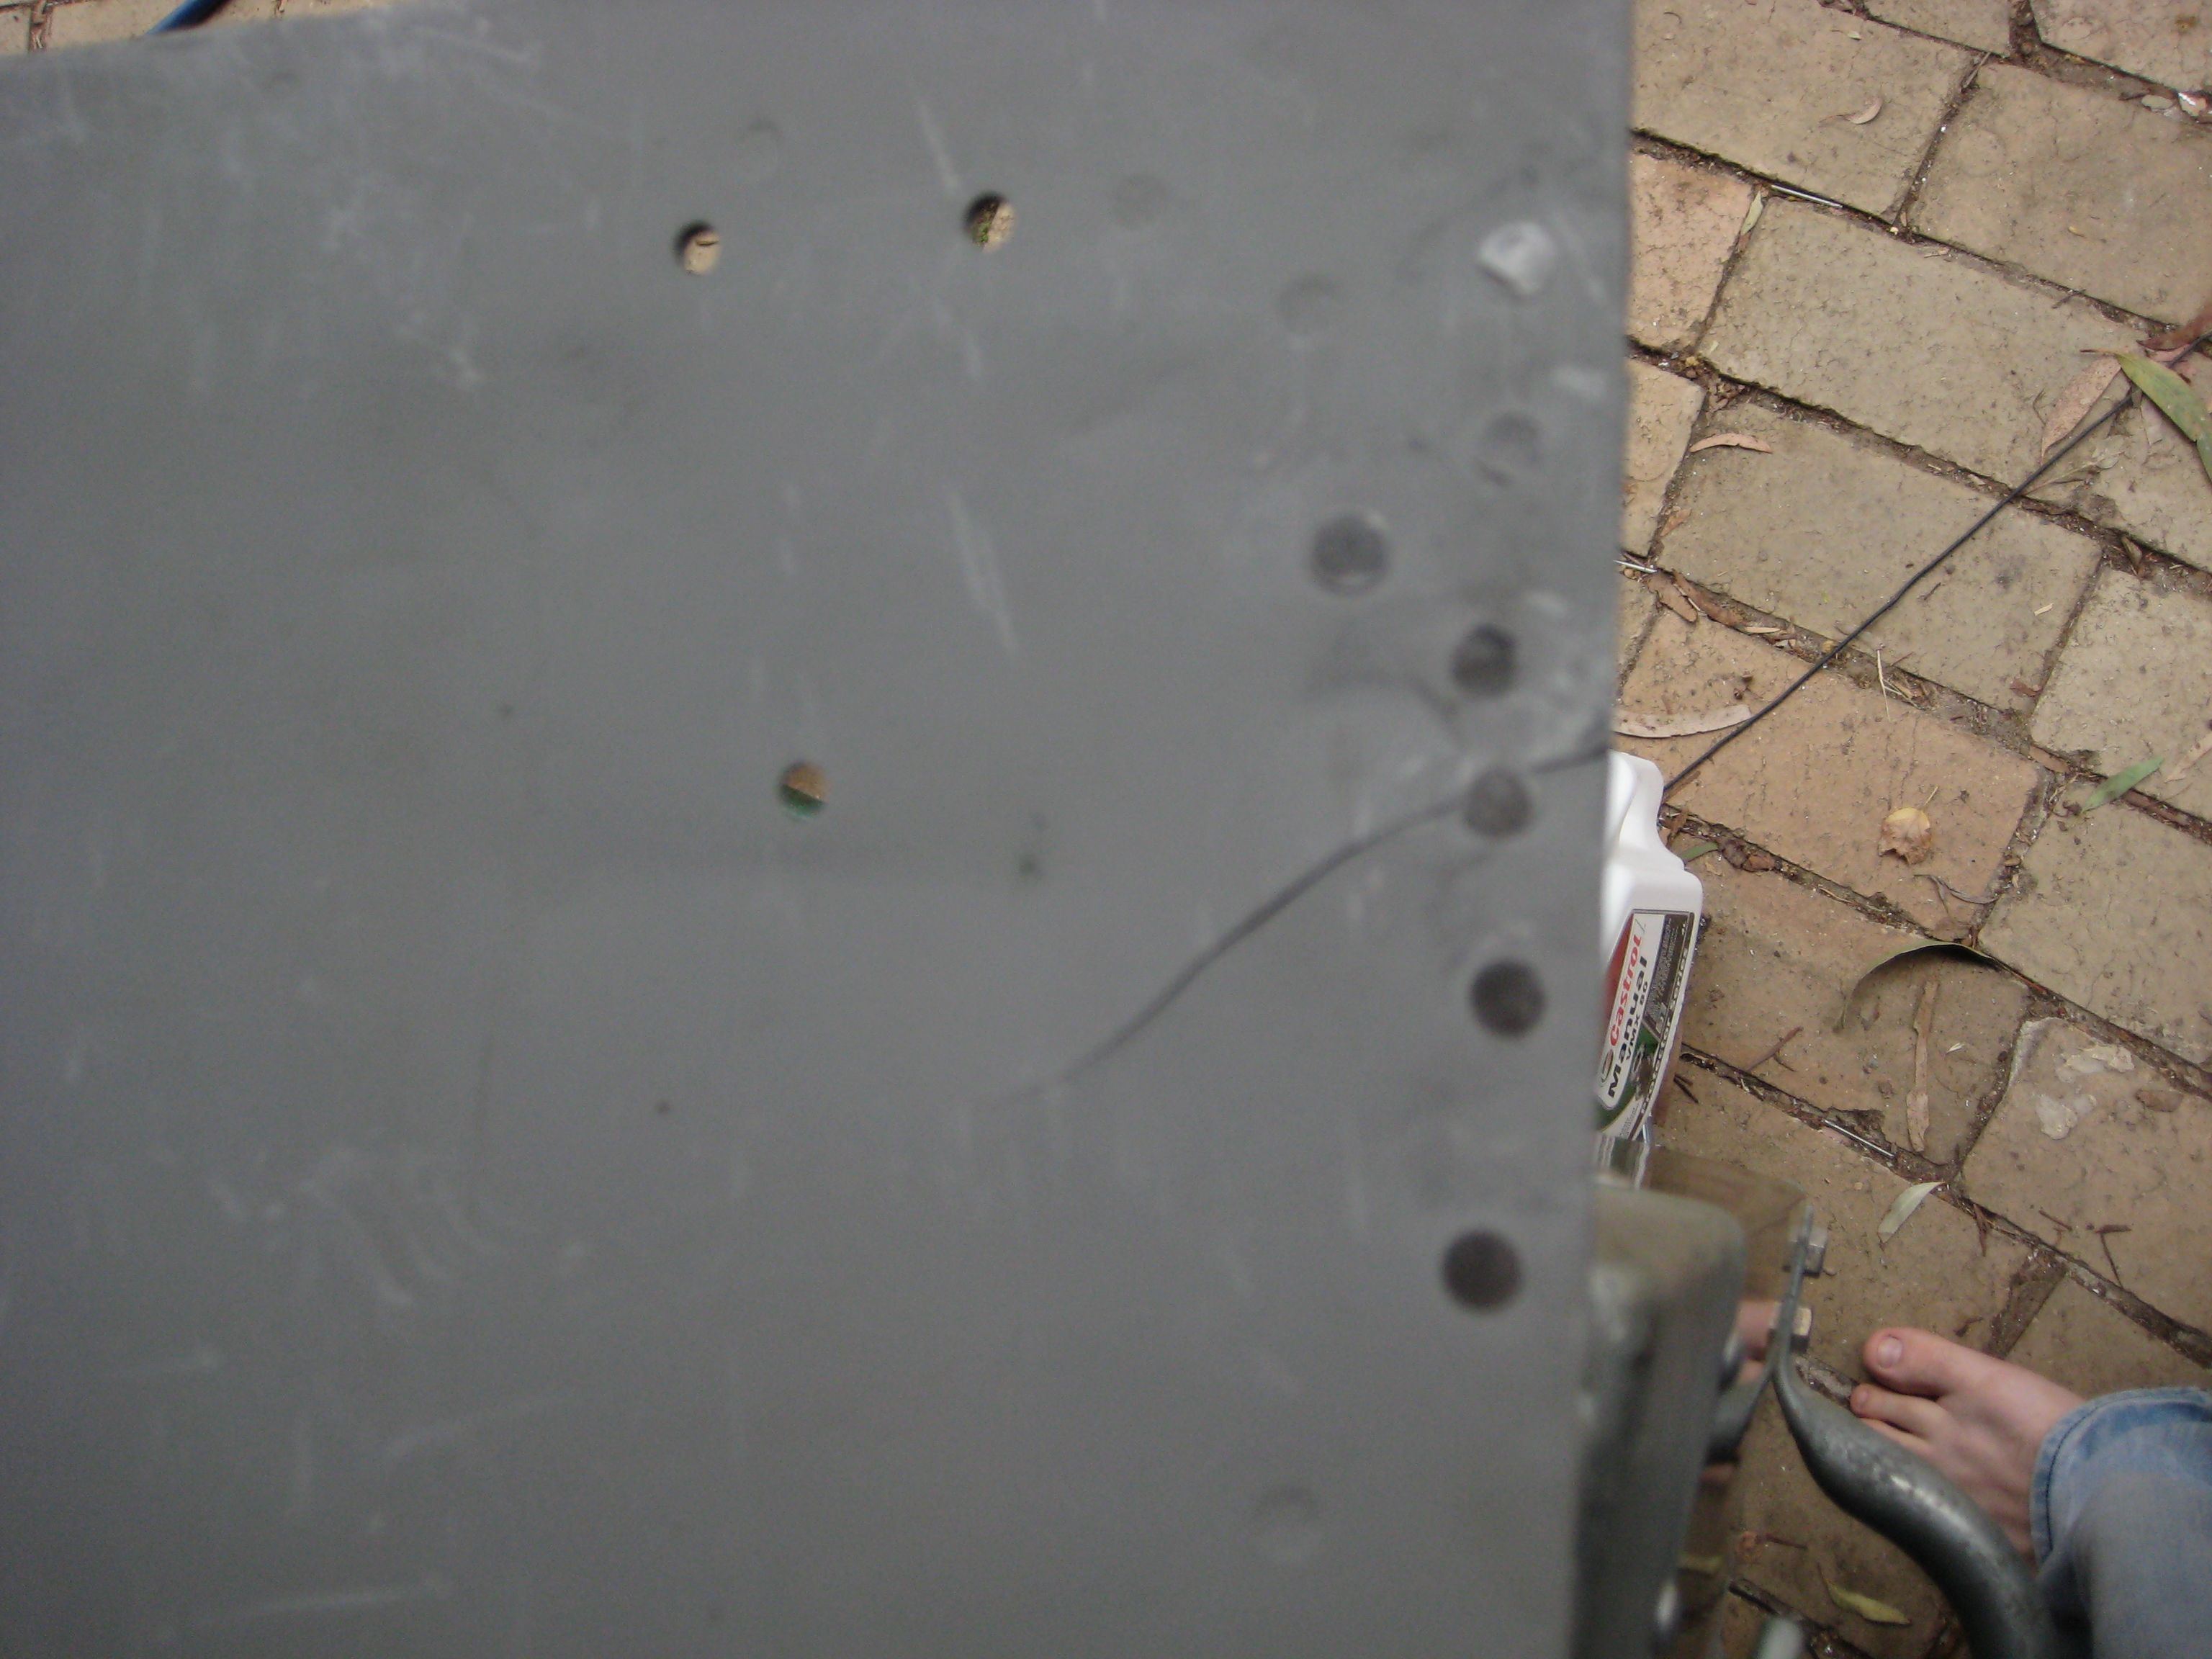
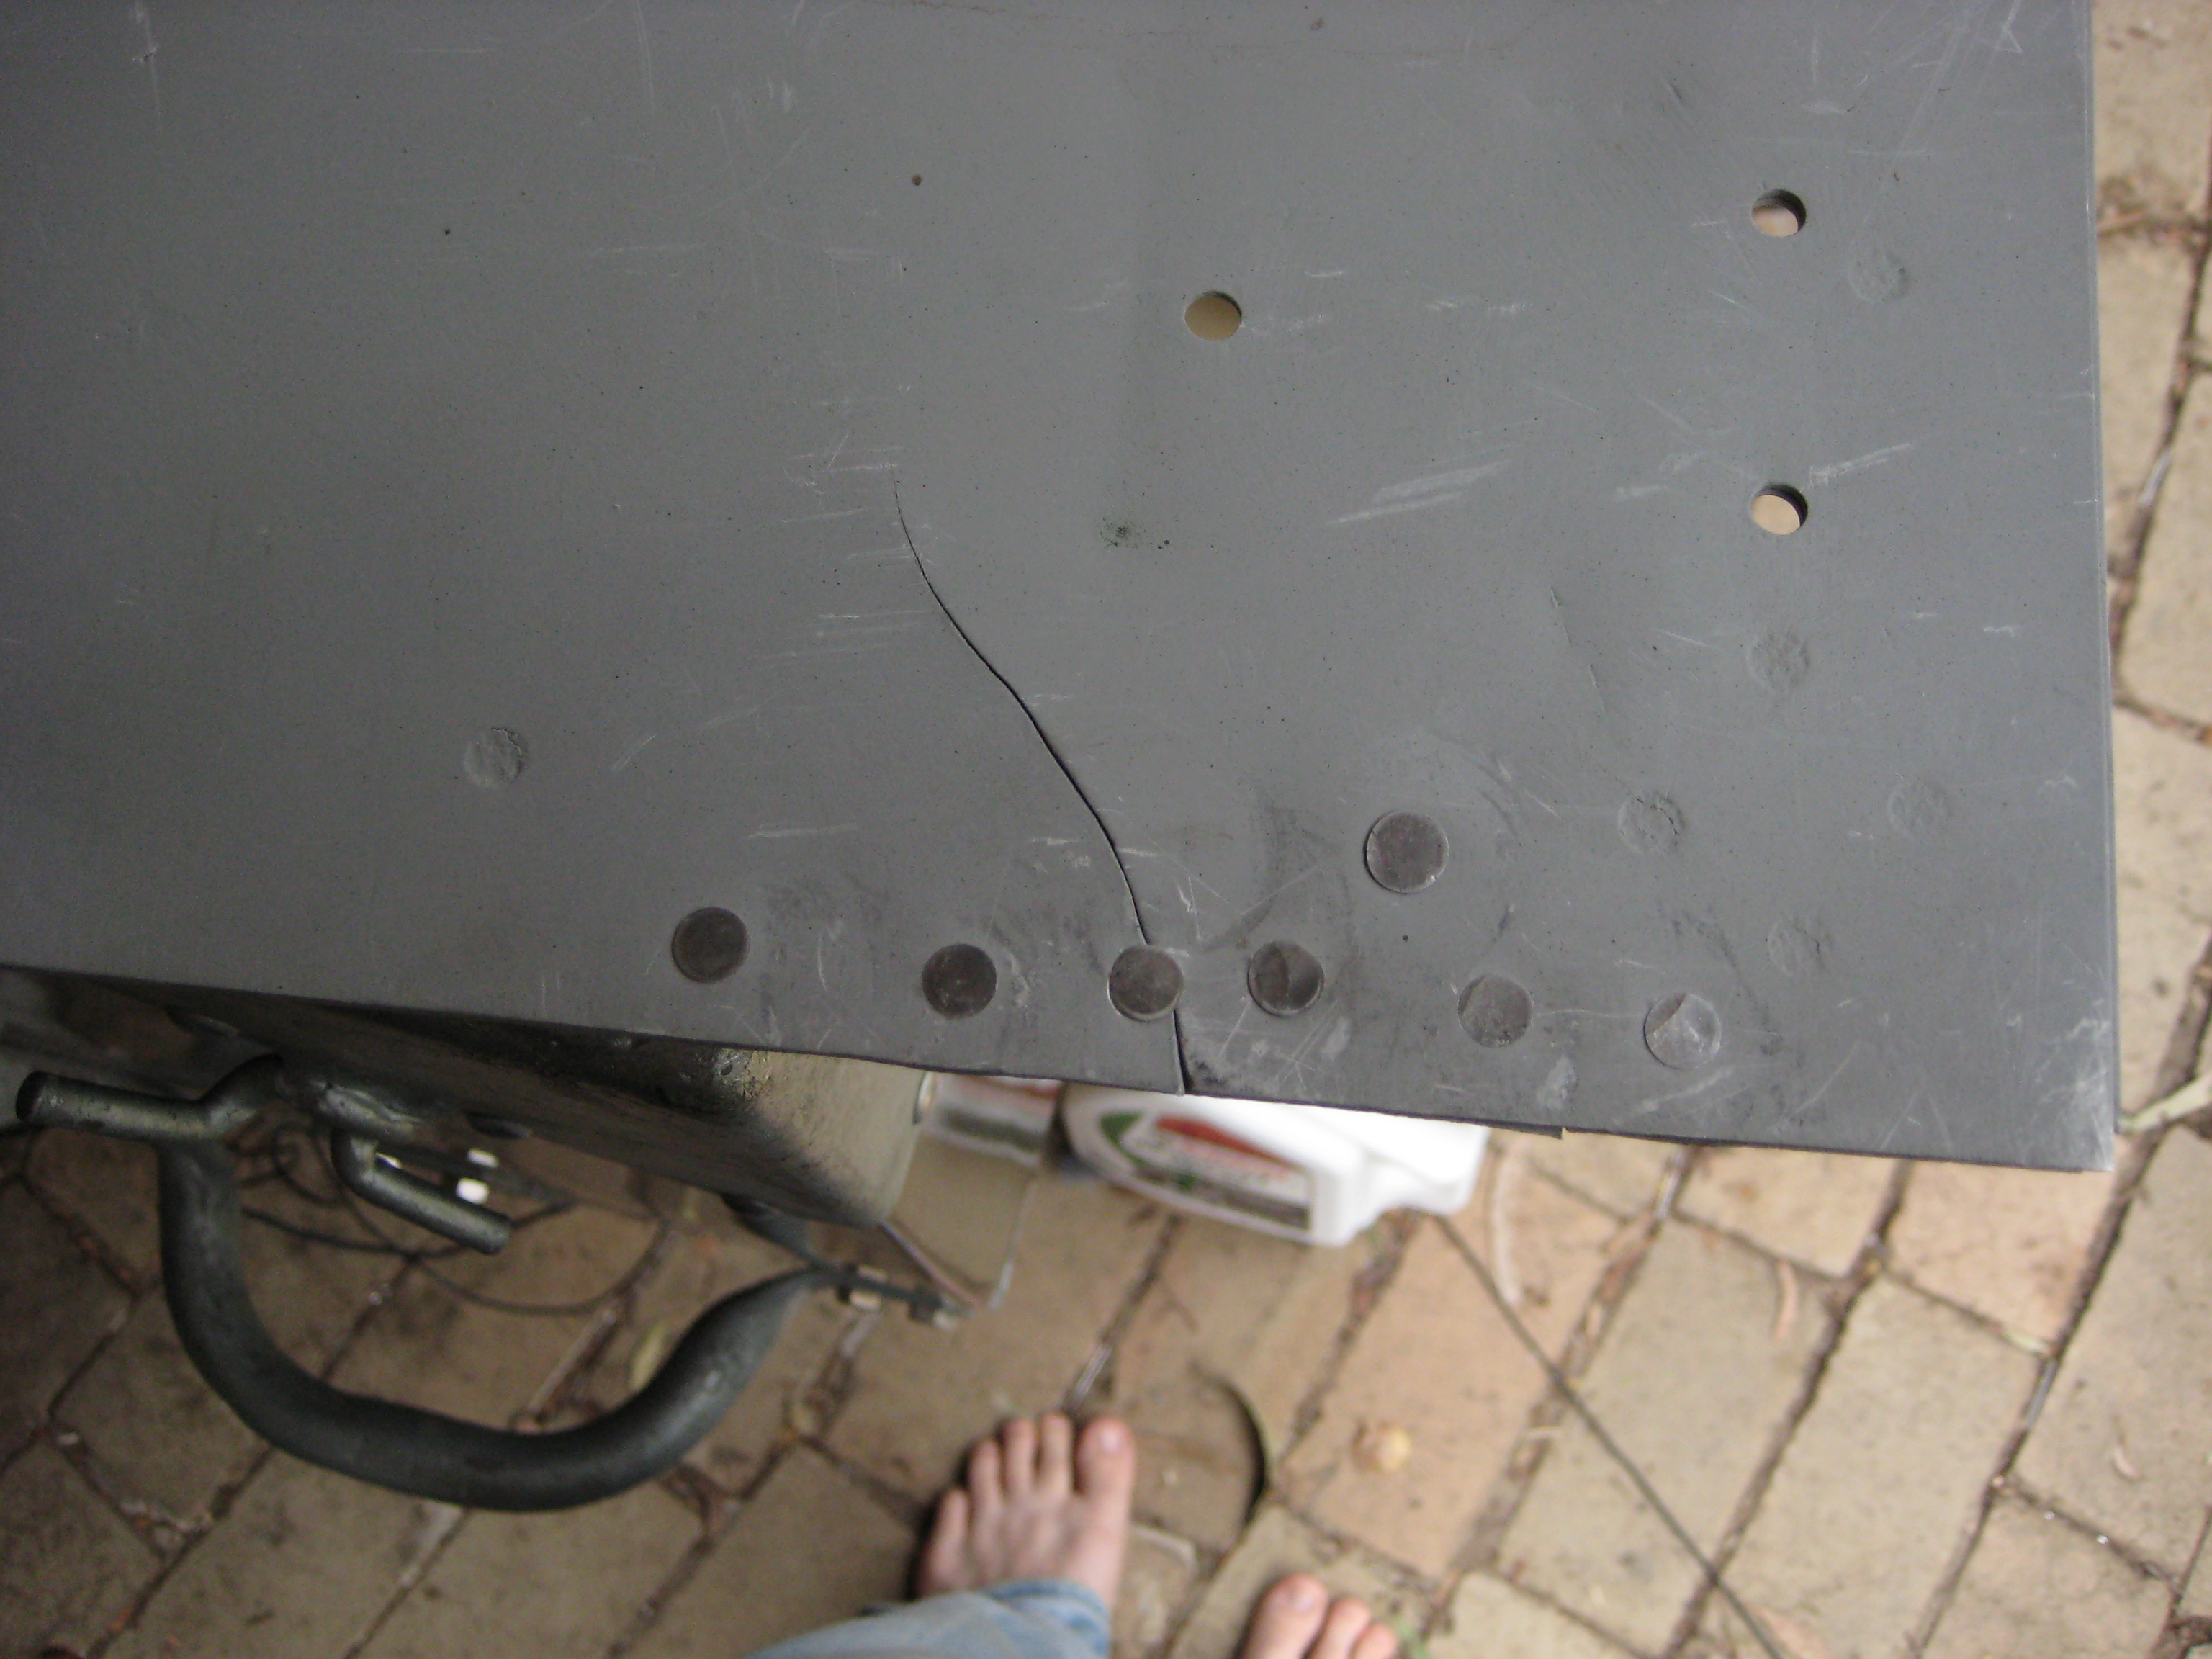
As you can see I used aluminium countersunk aircraft rivets so that I would have a flush finish, however with much more strength than the original spot welds. I used screw type temporary rivets to hold the sections in place while I riveted them together using a pneumatic rivet gun and a heavy dolly. the excess rivet was then ground back flush with the surface leaving a very clean finish, obviously both sides of the rivet hole needed to be countersunk for this method.
The doors and seat bases were given a similar treatment in sections where spot welds had failed. The drivers side door that I had was in particularly bad condition as most are, to address this I removed the internal girder section along all four edges by drilling out the remaining spot welds, then riveted angled aluminium along the inside to stiffen everything up. I then put the girder sections back using countersunk rivets through the spot weld holes that I had drilled out. This also served to reinforced where the door latch was mounted as this showed signs of work-hardening.
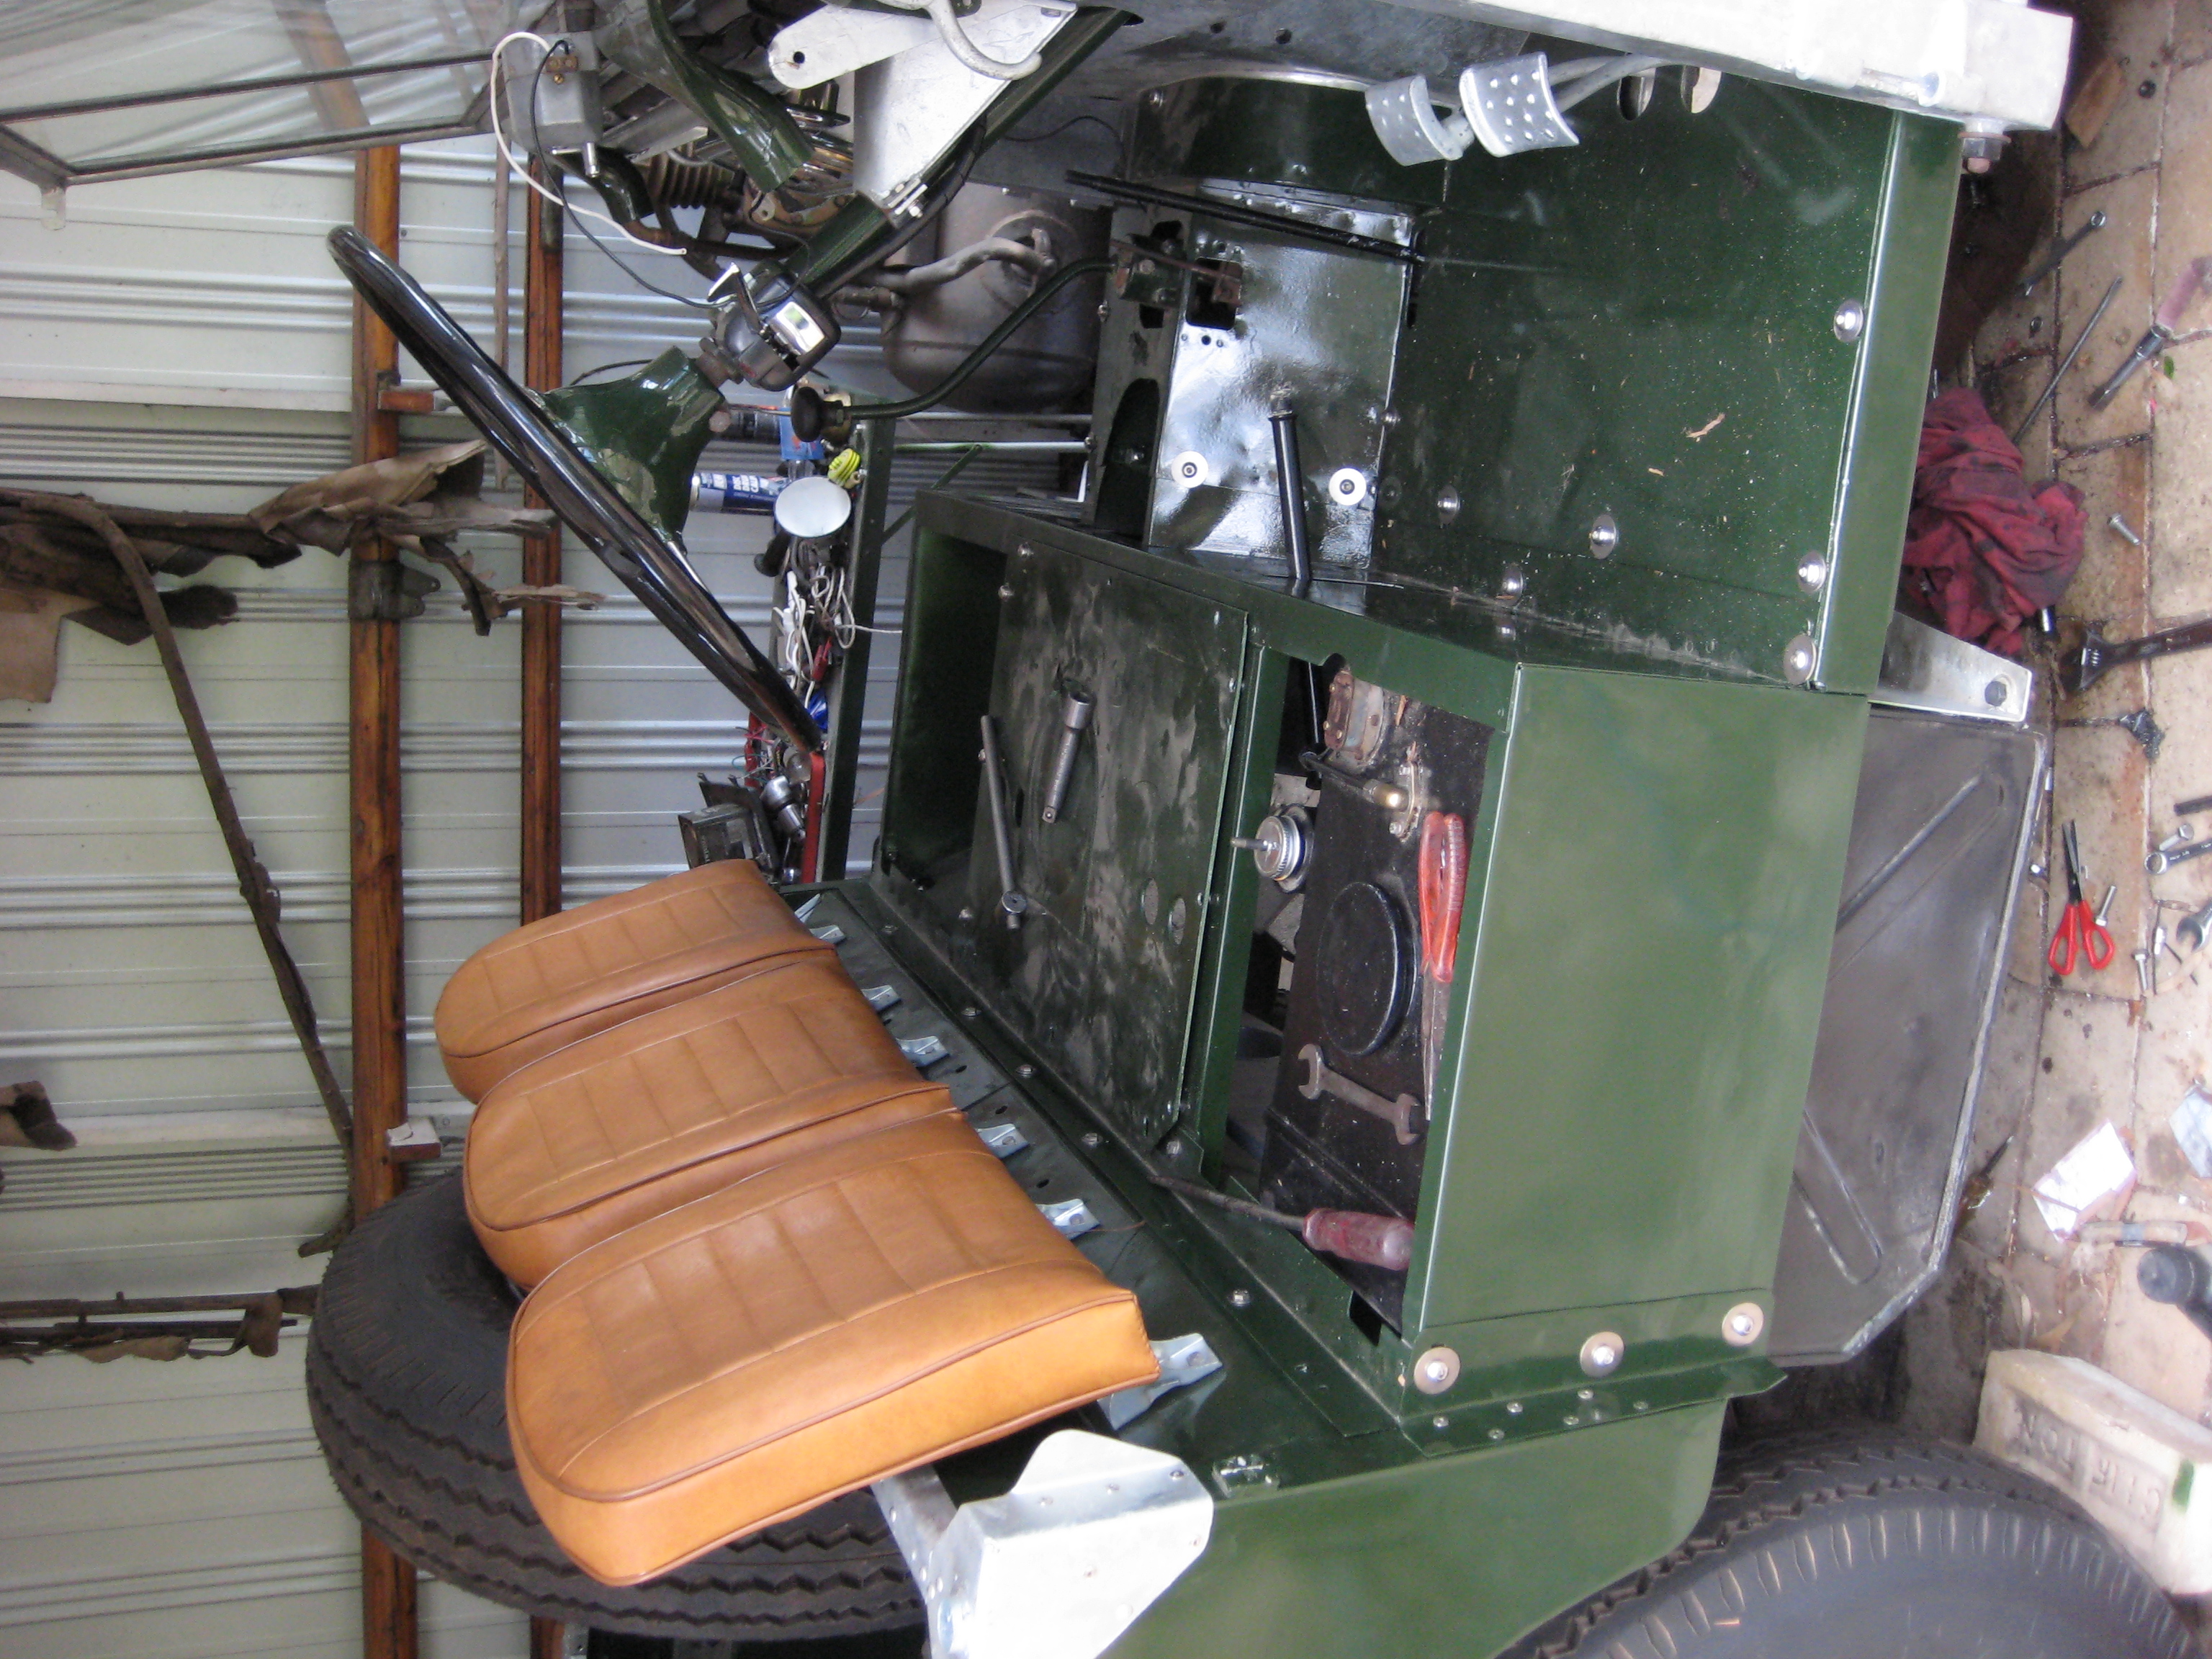
Everything was then hit with etch primer, filler where required and then a coat of grey primer. This was then wet sanded back with 600 grit then 1200 grit before being painted green with acrylic and clear coated. The tub and mudguards were also repaired and painted using the same techniques. The galvanized edgings and tub corners were riveted back onto the tub using dome aircraft rivets and a pneumatic rivet gun with a domed tip. Stainless pop rivets were used where pop rivets were originally used which was always over enclosed sections.

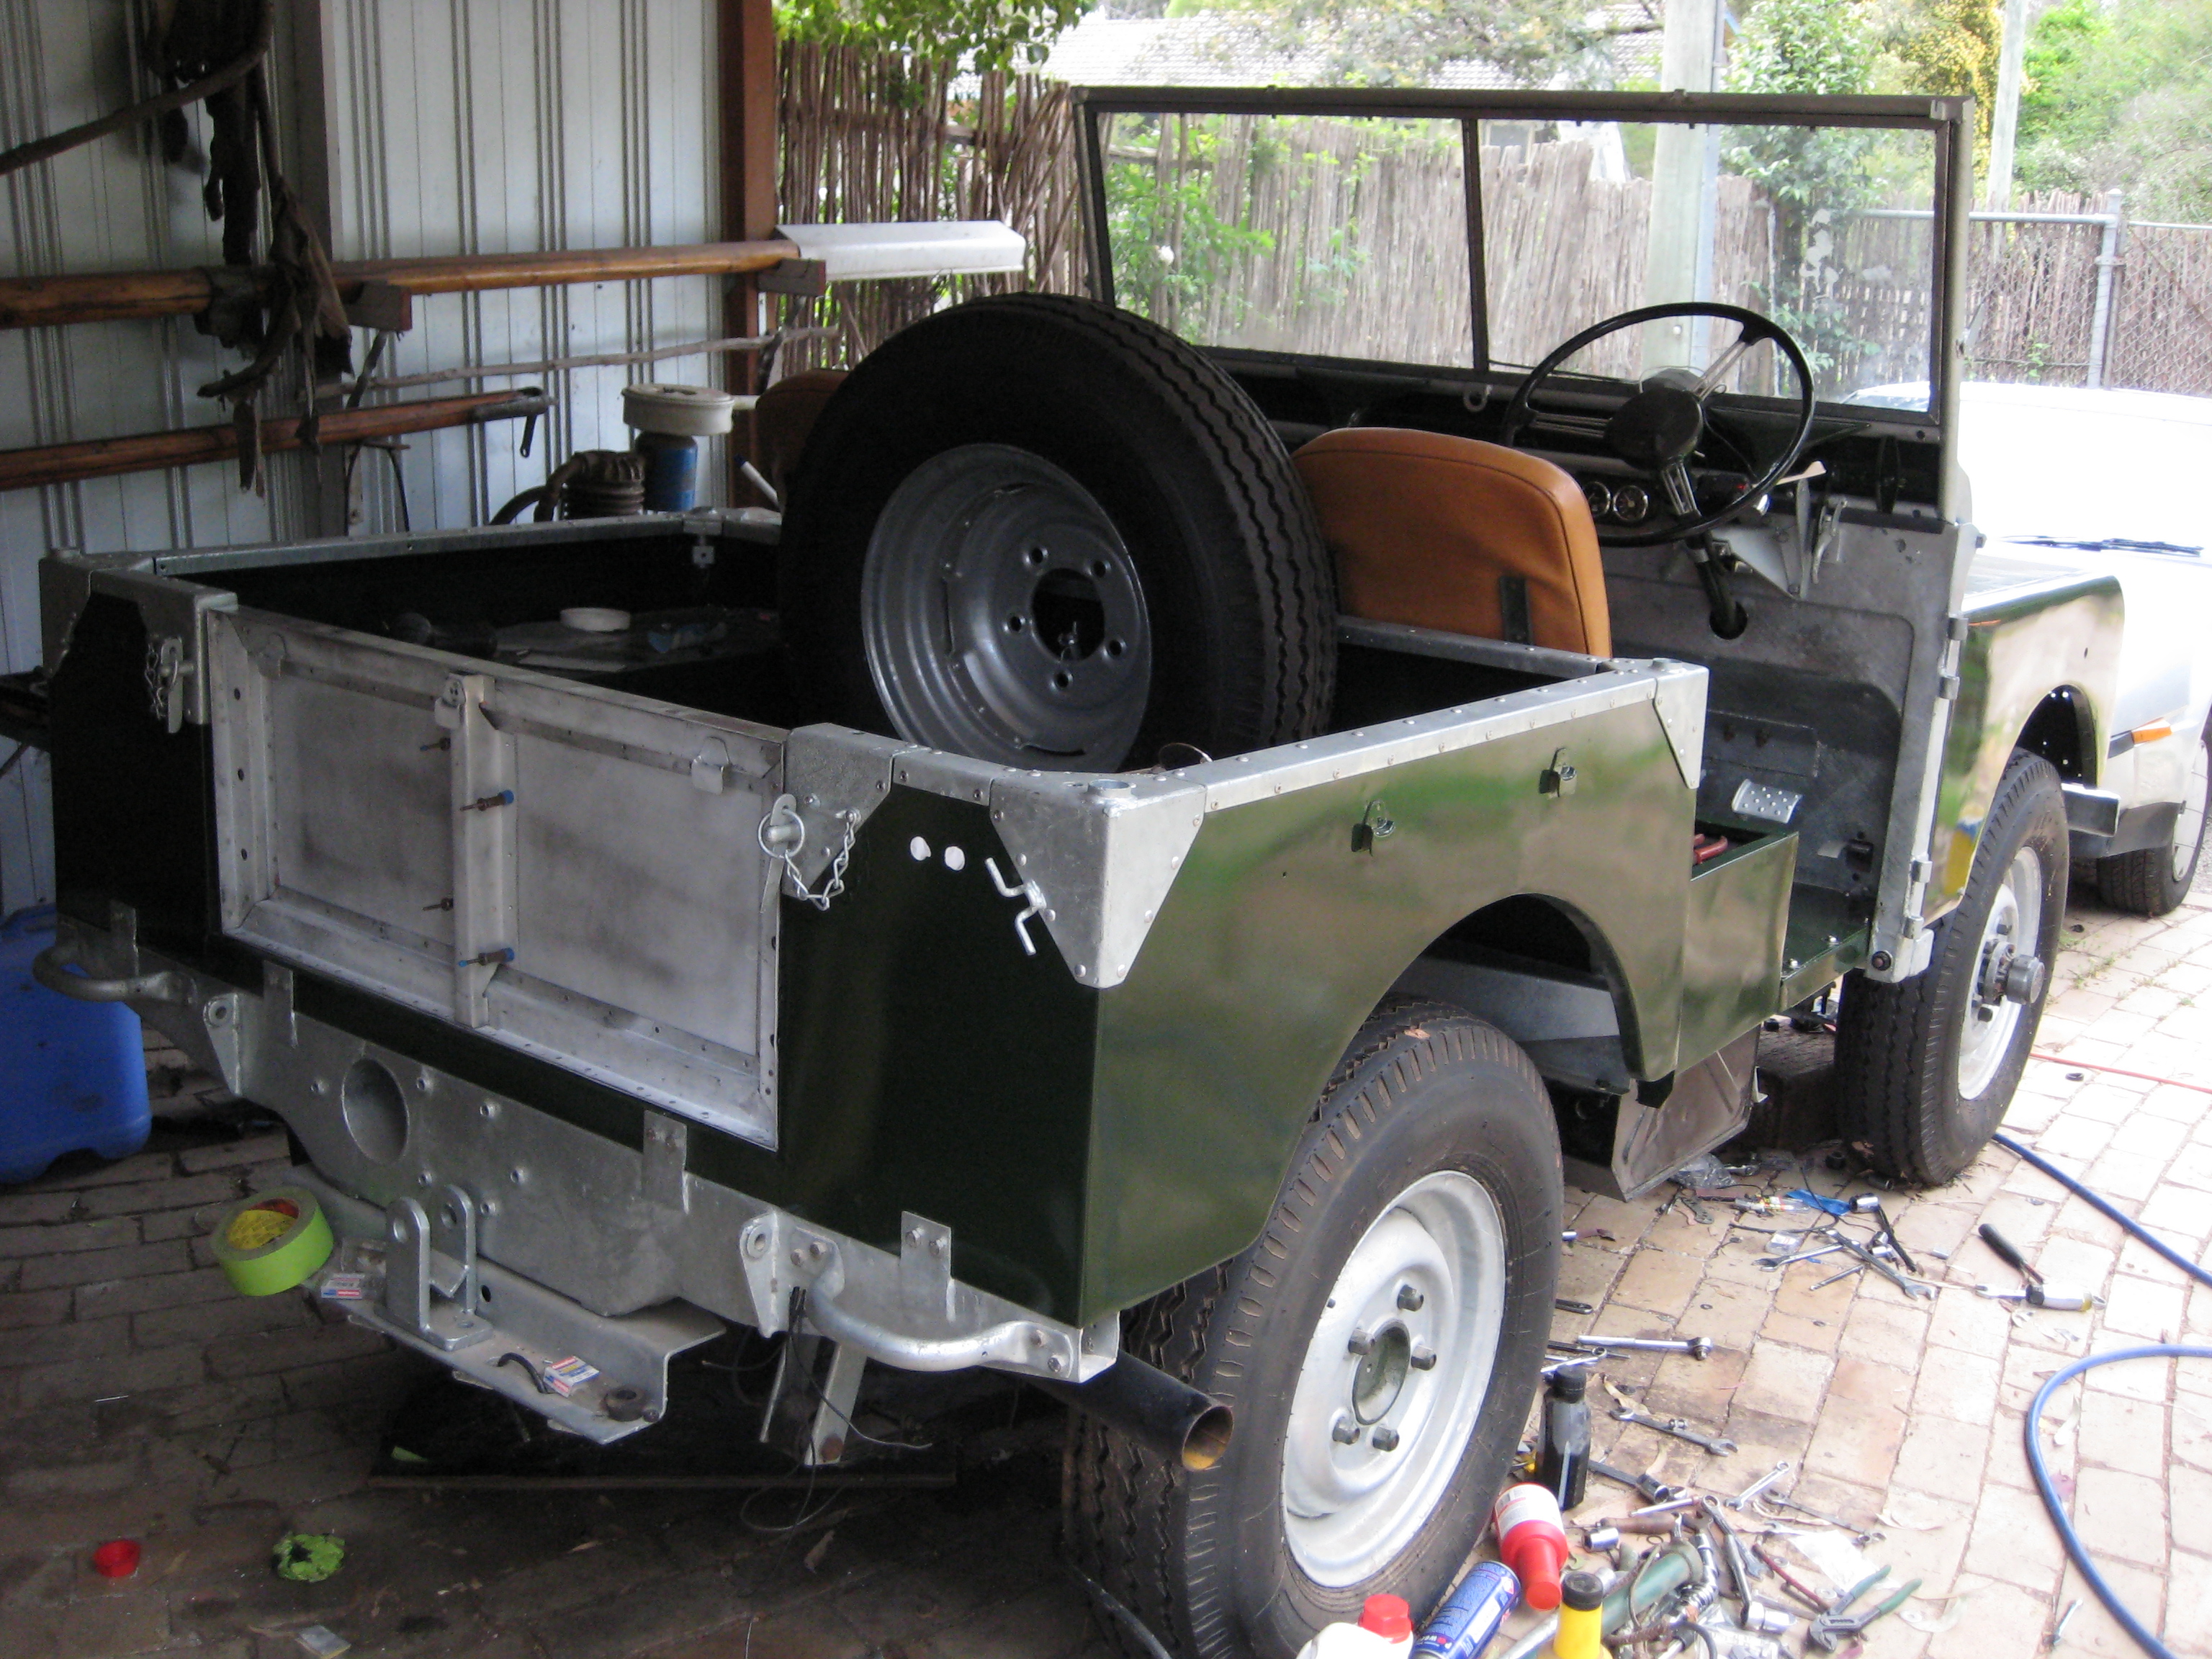
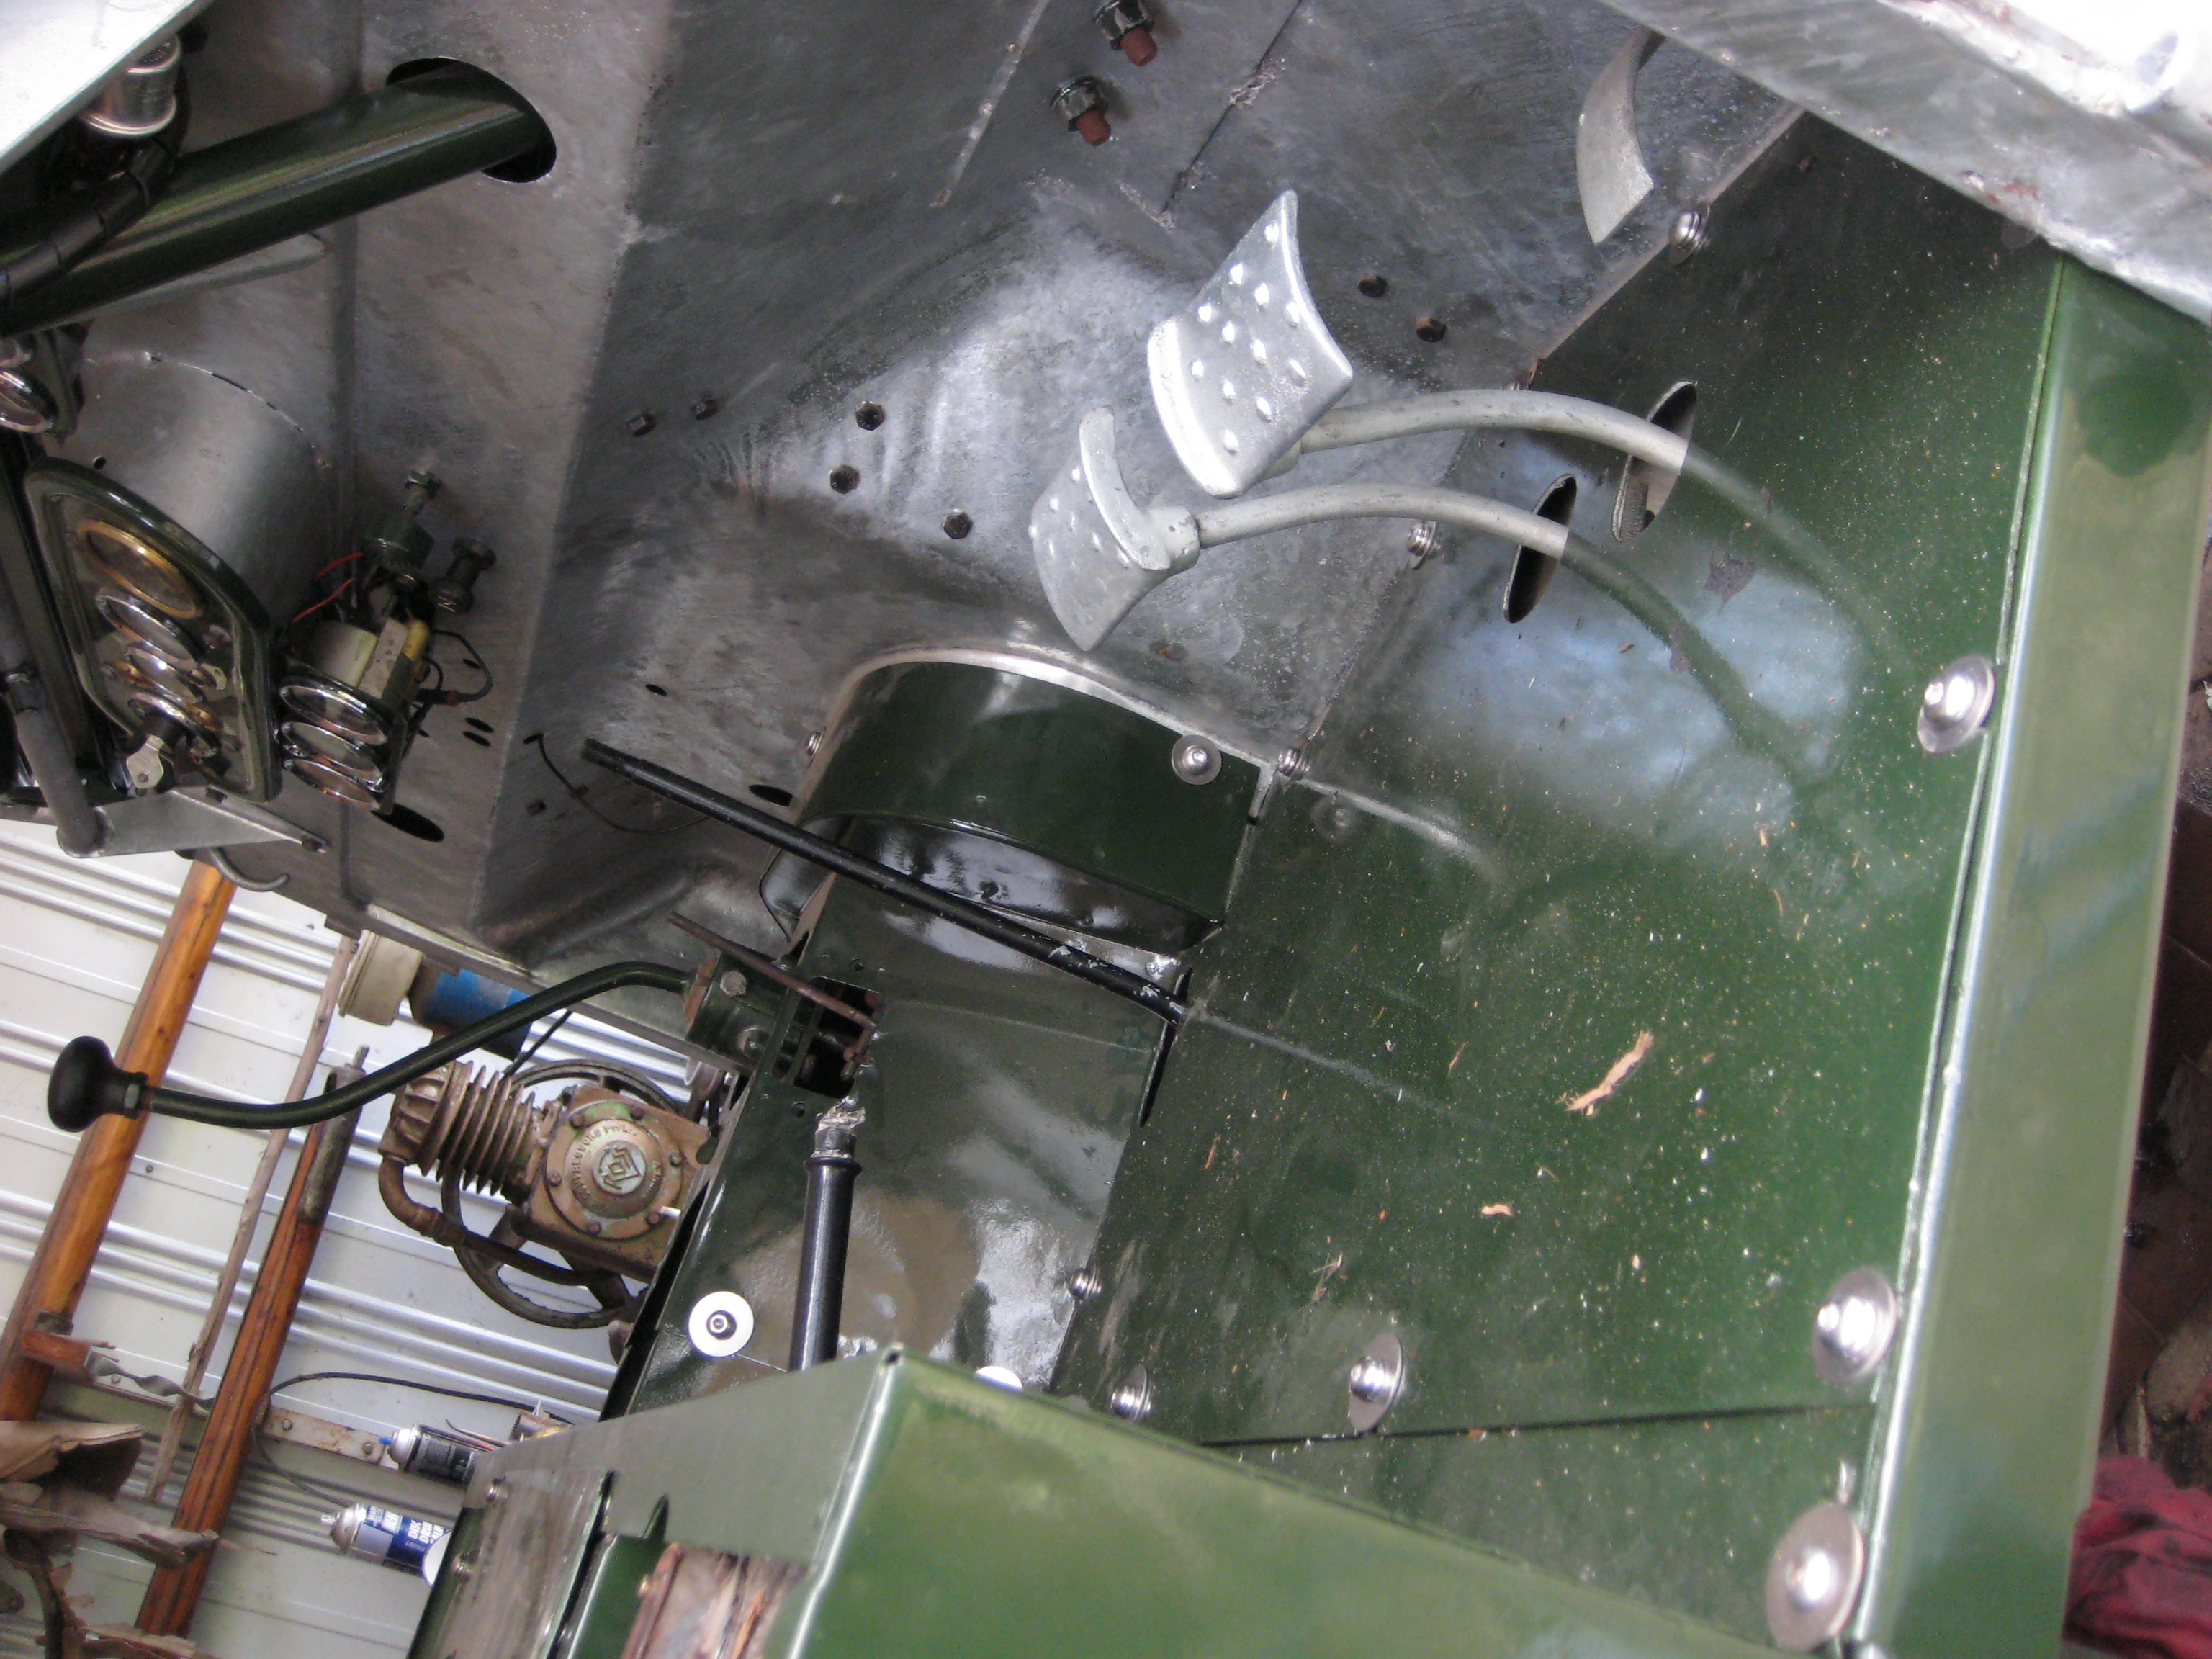
All panel bolts wherever possible have been replaced with 316 metric stainless hardware, this often required tapping out or replacing the original captive nuts, however once done should last forever. I added a little bit of molly grease to the threads to stop them binding as stainless can do. Dome head set screws were used on the floors as I sometimes enjoy driving barefoot and thus would prefer not to have sharp edges on the bolt heads.